Since FreeNAS 8 binaries snapshots are available, here is a little HOW-TO with one disk shared by CIFS.
Simplified steps
Simplified steps
- log on the webgui with login “admin” and password “freenas”
- Declare the disk
- Create a “group” (single) using previously declared disk
- Create a volume (mount point) using previously created group
- Enable a share service
- Add a share corresponding to the service previously enabled
Detailed steps with screen-shots:
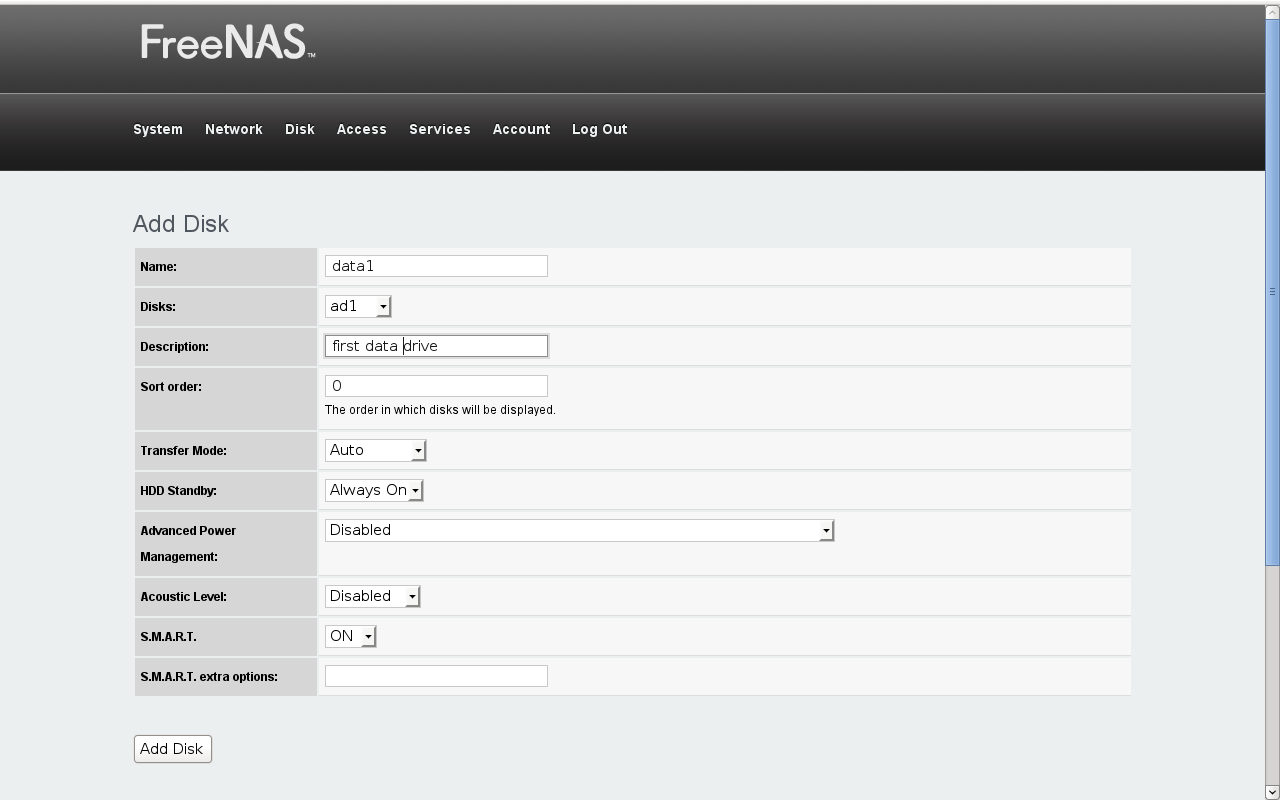
- Go in Disk: Add disk

- Add your hard drive:

- Go in Disk: Group disk

- Create a “single” group type:

- Go in Disk, Create Volume

- Enter the detail of this Volume (mount point):

- Go in Services, CIFS/SMB

- Enable CIFS by Checking ON and clicking on save:

- Go in Services, CIFS/SMB, Add share

- Create your CIFS share by entering the name of your share, a description and the name of the volume you want to share, then click on save:


Share available with CIFS 🙂