- Joined
- Nov 12, 2015
- Messages
- 1,471
TrueNAS SCALE Testers,
As many of you know, one of the major new features we’ve been hard at work on with SCALE is the ability to create scale-out clustered SMB shares. Much of this functionality has already landed in 22.02, and the upcoming TrueCommand 2.2 version will provide a more full-featured UI driven experience in setting up your own cluster. In the meantime, it is possible to manually create your cluster to begin testing on SCALE today.
BEFORE YOU BEGIN:
Gluster does forward and reverse DNS lookups on the peers even if IP addresses are provided when adding them to the trusted storage pool. This means that if your DNS is not 100% fully functional, adding peers to the trusted storage pool will fail in extravagantly, non-obvious ways.
To get started, you will need the following:
Creating a clustered SMB share will re-configure SMB services for clustered mode exclusively. This means that any previous local ZFS/SMB shares you’ve created will not be visible to your clients while in Cluster mode.
Please note that this is an experimental feature and you should always keep backups of your data. The feature may change significantly over the course of 22.02 Angelfish so use at your own risk…
## Getting Started
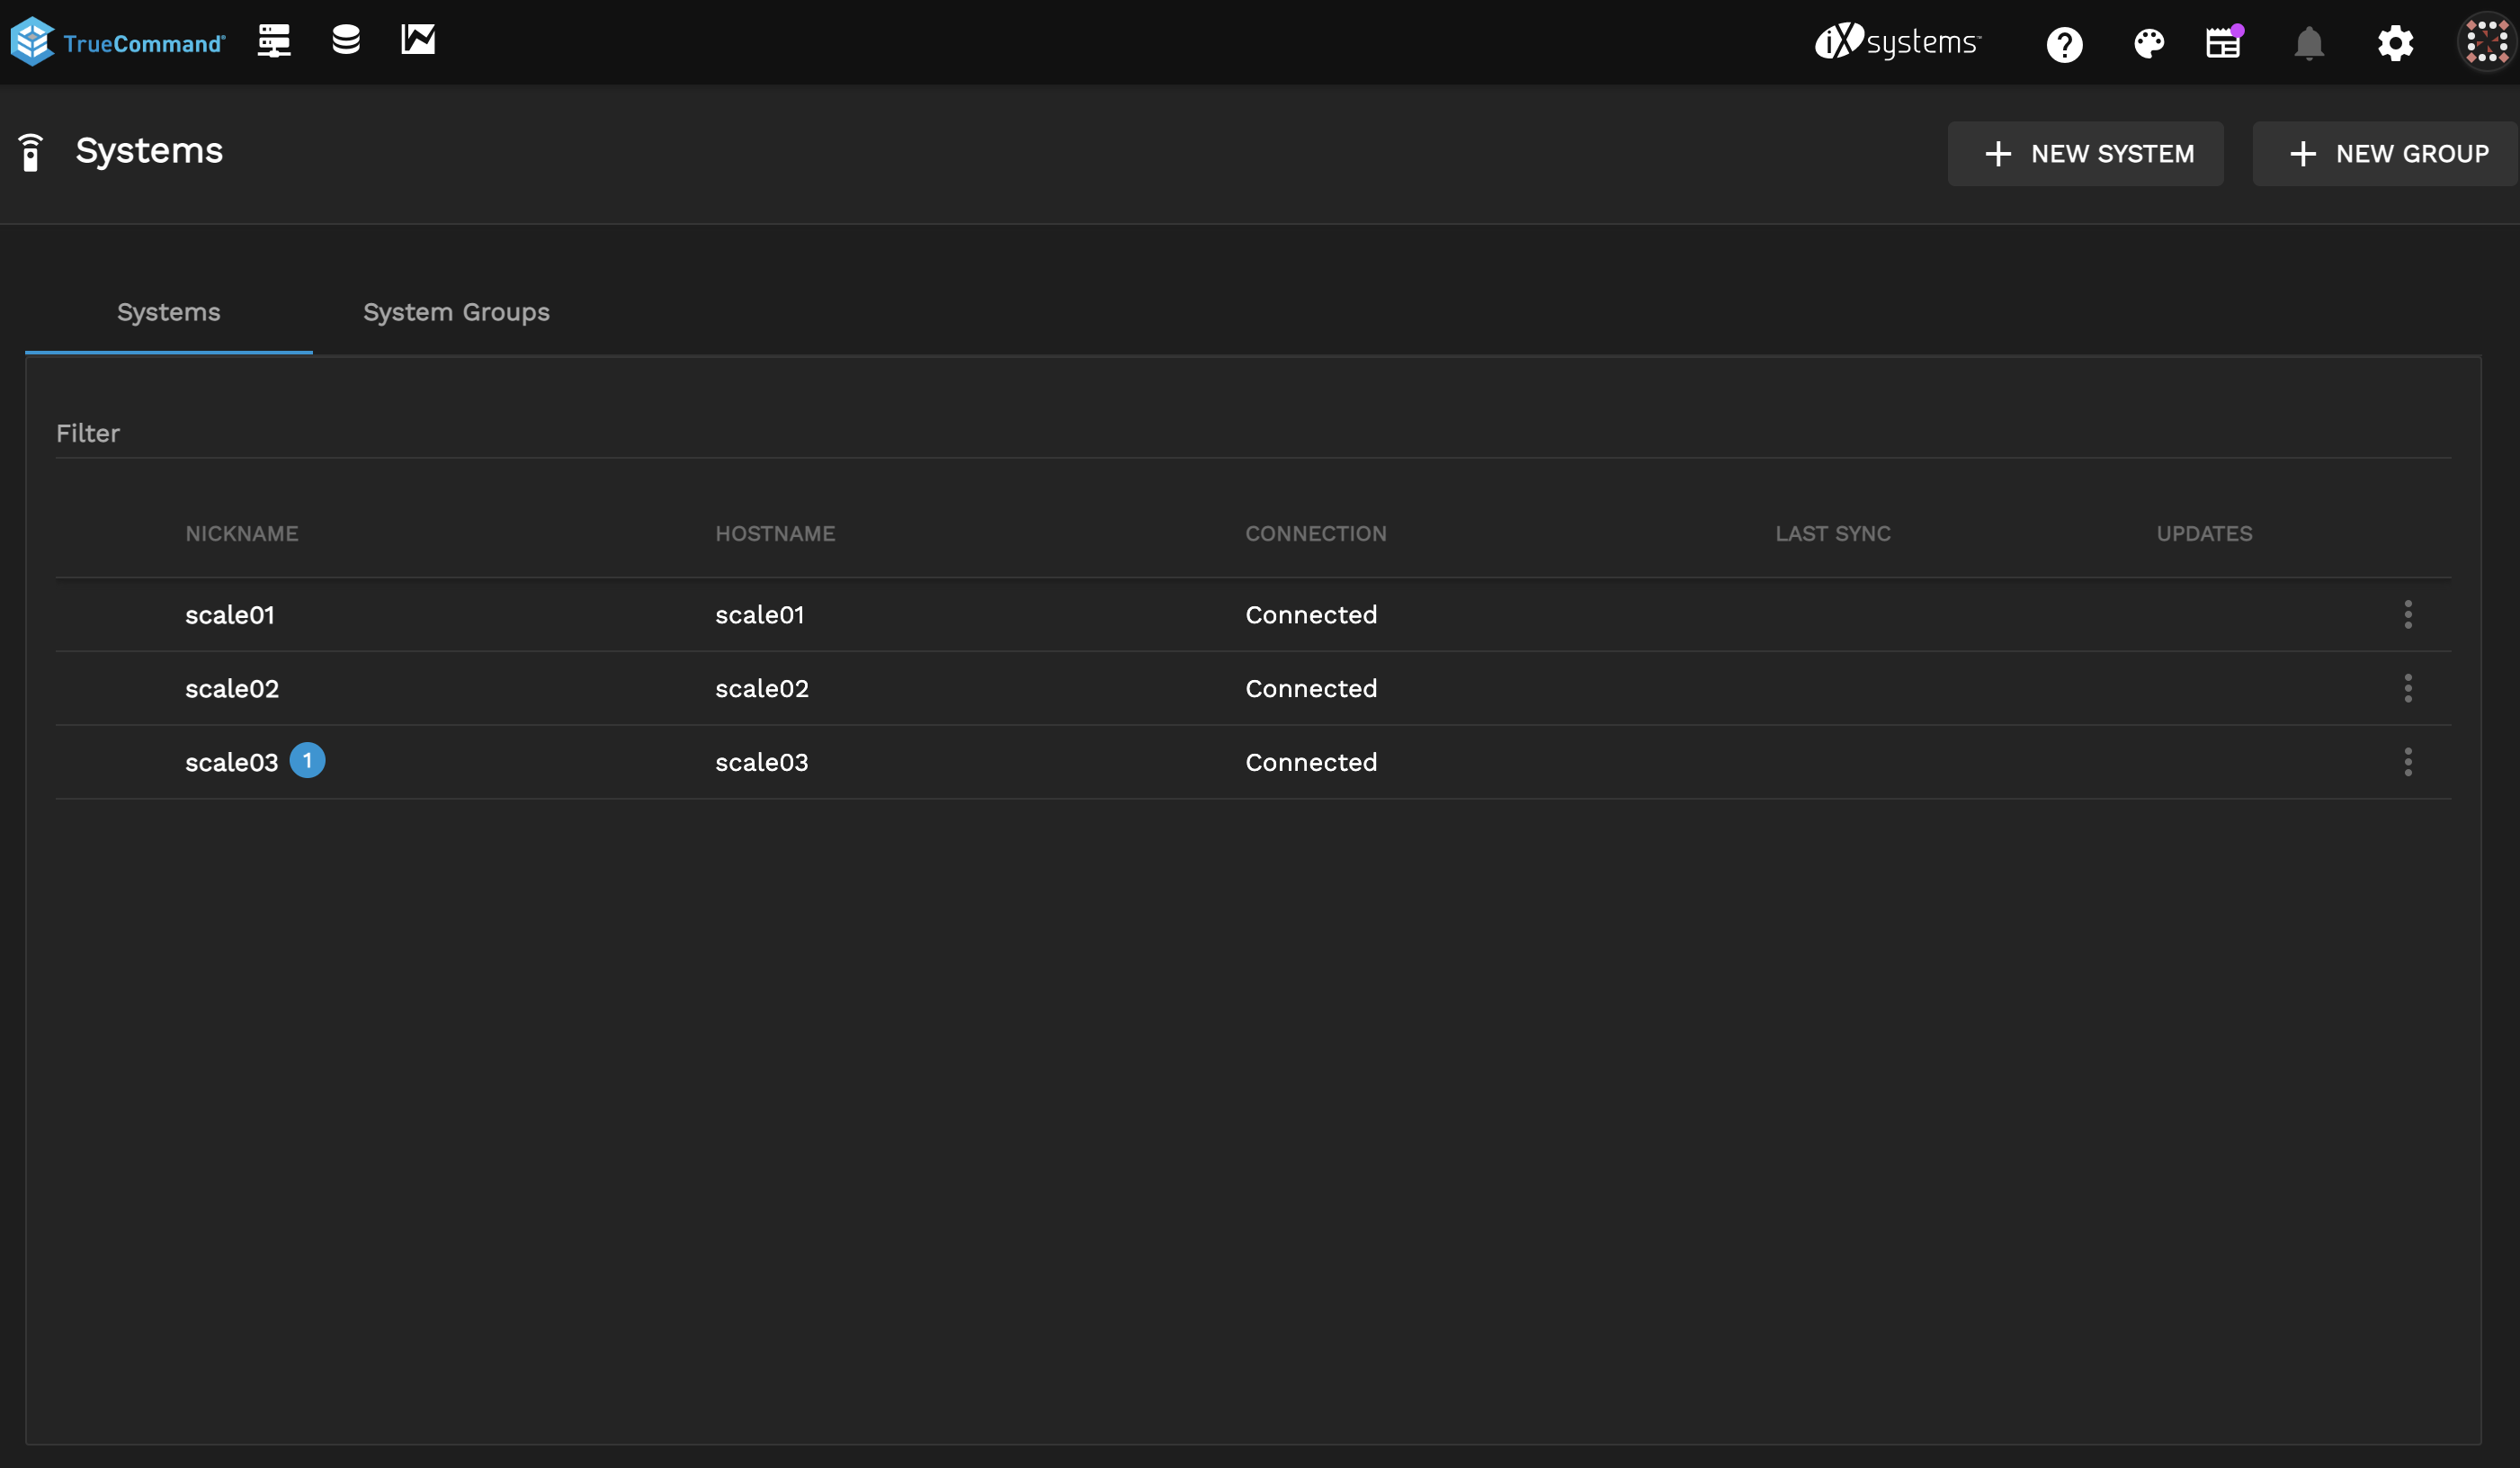
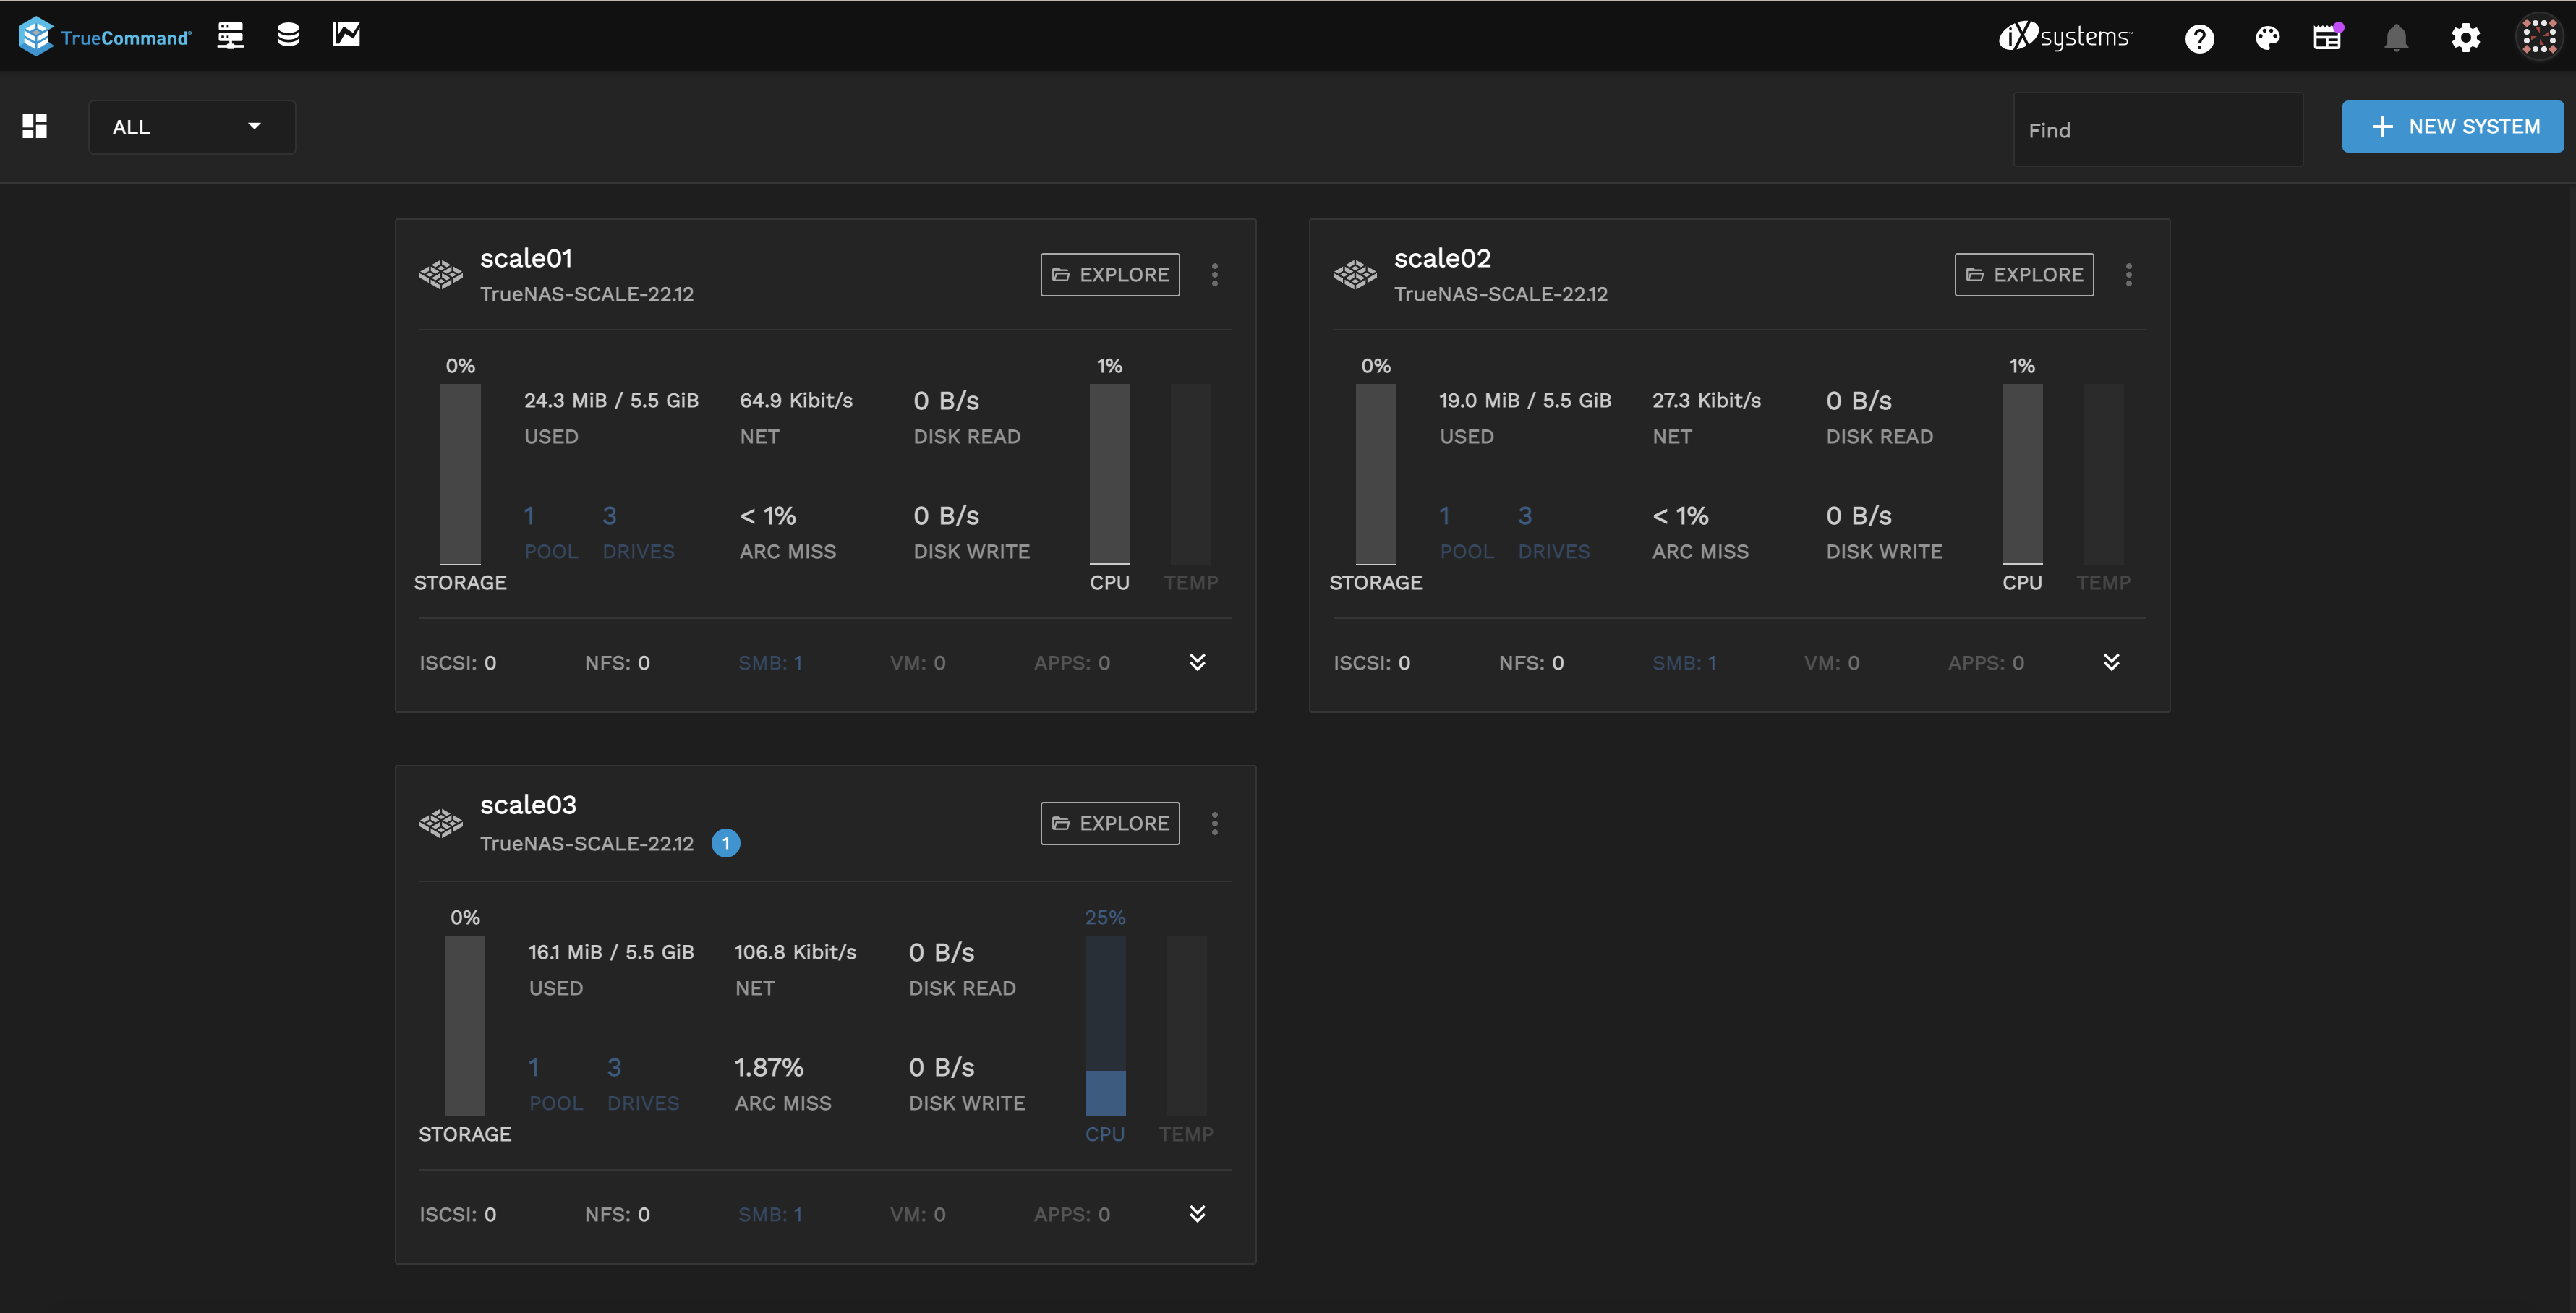
In order to get started, you will need to have your three or more SCALE systems connected to TrueCommand 2.1 or later release. With that in place, we can start by creating our first Cluster Volume through the Clustering UI.
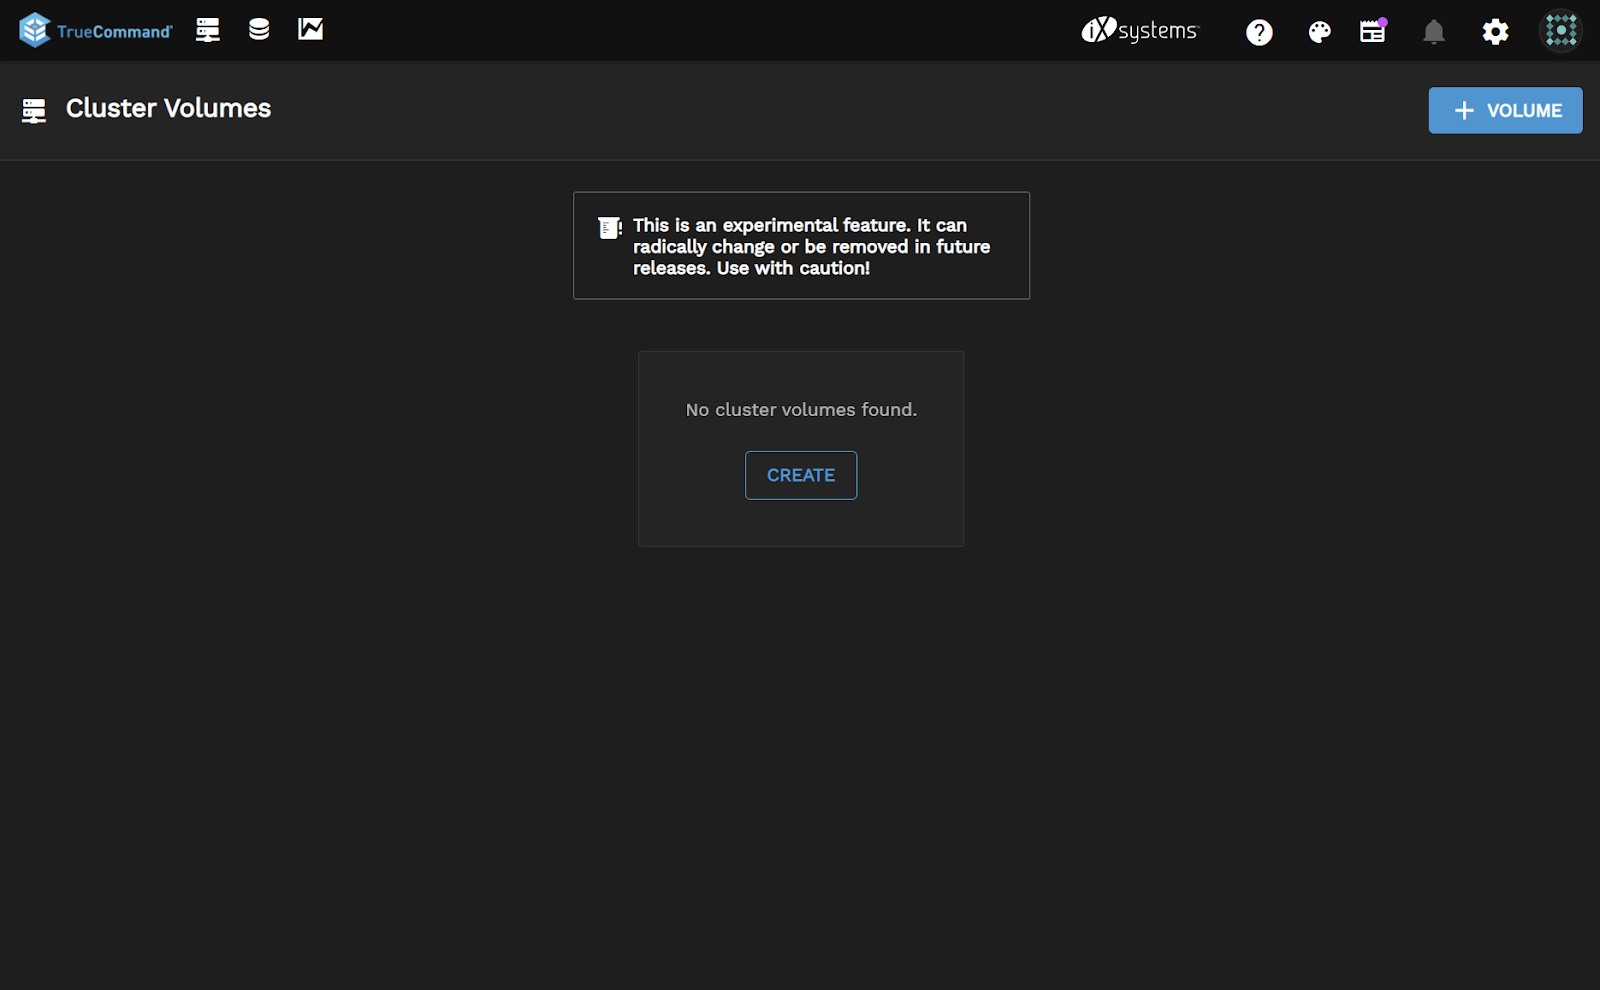
Click “Create” on the Clustered Volumes page.

Give your Volume a name, such as “myvolume” and select three or more systems to join to this cluster, along with a size to be used on each.
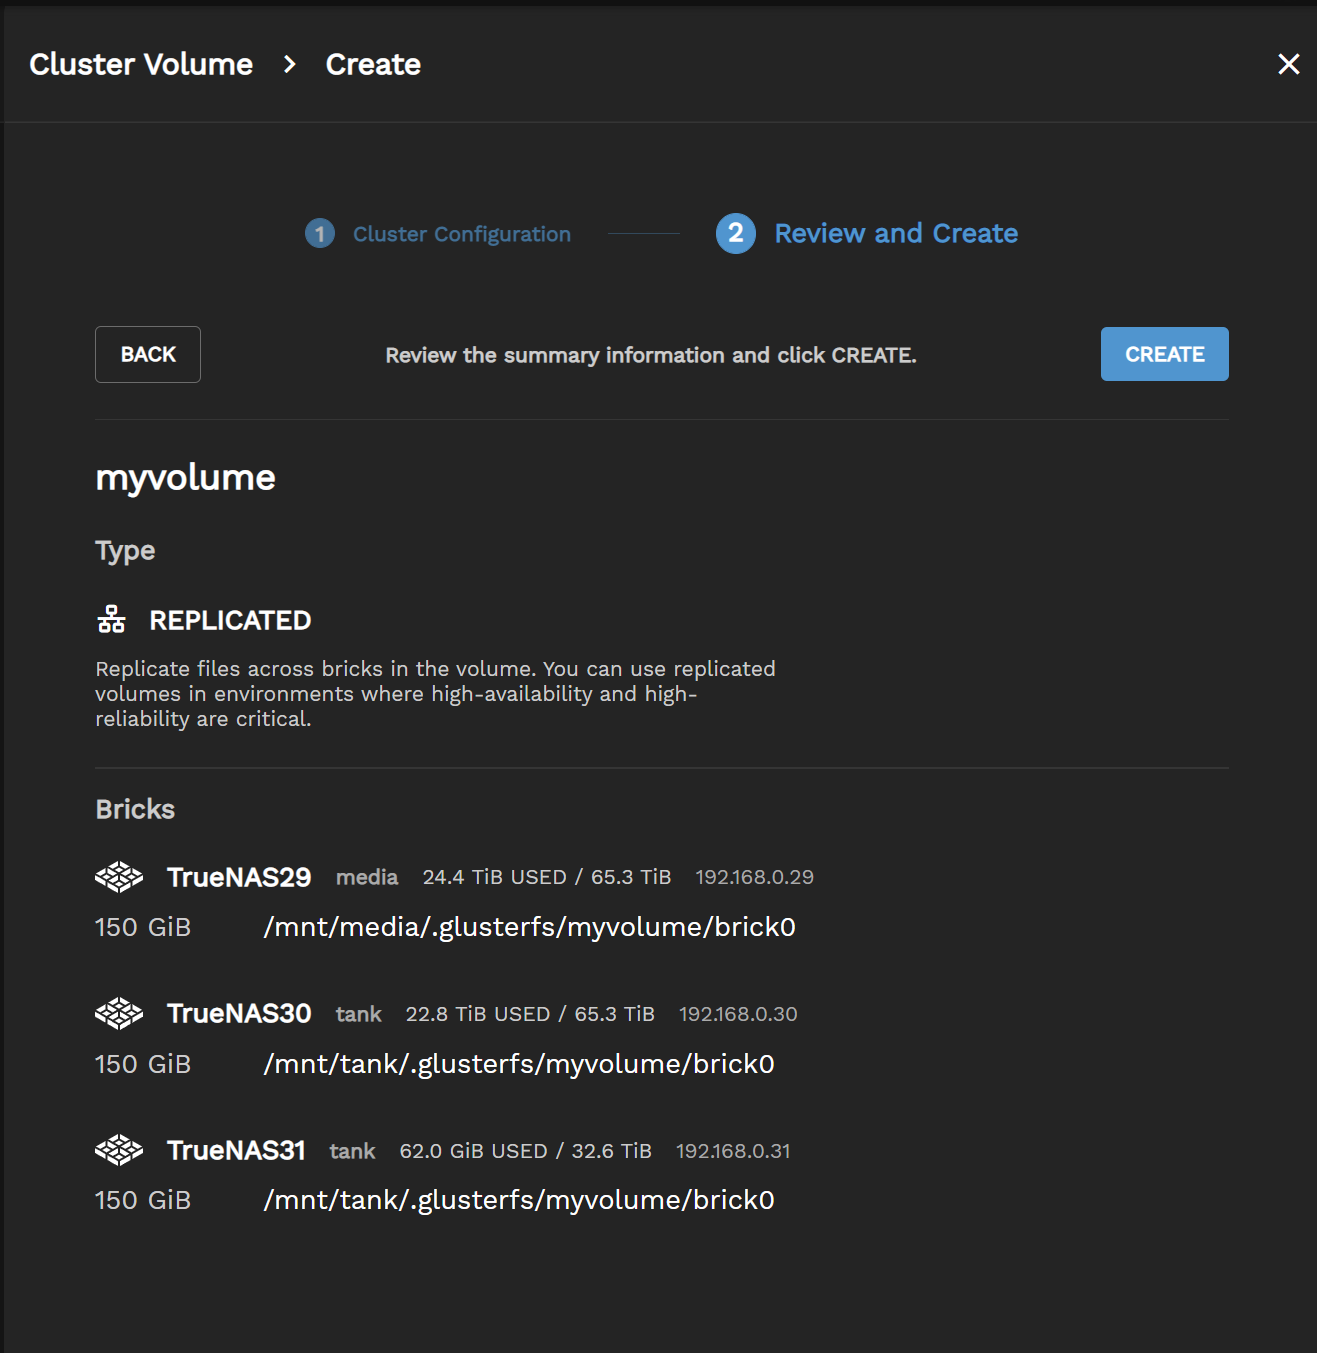
Confirm your choices before clicking “Create”.

If successful, you should see this screen. Click OK to go back to the Clustering Page.

Lastly, your cluster volume will now be visible on the UI. We now need to transition to the command prompt to finish the SMB sharing setup. (Note: this will be UI driven in TC 2.2 and later as well)
## Configure clustered SMB IPs
Now on each node, we need to create a new virtual IP that will be unique to that node for SMB shares to access. To do this, we do the following steps on each of the nodes:
0
Store that number ‘0’ and then on the same node run, replacing ‘0’ for the pnn number, assigning the virtual IP you wish to set, and replace <network interface> with the network device name, such as “eno2” in my case.:
## Creating the clustered SMB share
First, we need to validate that we are in clustered SMB mode already. To do this, run:
(should return CLUSTERED)
If not, run the following:
(should return CLUSTERED)
Now lets create the clustered SMB share, which should only need to be done on ONE node:
Now lets make sure the directory that's being shared via SMB has been created:
And then change permissions so that your SMB user can write to this share. Replace “testsmb” with your username.
Lastly on each node, you may need to manually restart the SMB services:
Thats it! In a proper enterprise cluster, you would normally have AD setup on all of your SCALE nodes and can now proceed with connecting via SMB to any of your Virtual IPs you specified and begin sharing. If you are testing and do not have AD setup, there is one more step before finishing.
## Local Shared User Hack
To get started, make sure you have the same local user with identical UID/GIDs on each of your nodes.
Then on one of your nodes, run the following command:
Your local user should now be ready for SMB sharing across the cluster.
## Going Back to Single System SMB
If you want to revert back to traditional ZFS/SMB shares, you can undo the cluster setup using the following steps:
On the the first node, you will need to run through the following steps:
(Get SMB share and remove clustered share)
On the remaining nodes, the cleanup can be run using the following commands:
As many of you know, one of the major new features we’ve been hard at work on with SCALE is the ability to create scale-out clustered SMB shares. Much of this functionality has already landed in 22.02, and the upcoming TrueCommand 2.2 version will provide a more full-featured UI driven experience in setting up your own cluster. In the meantime, it is possible to manually create your cluster to begin testing on SCALE today.
BEFORE YOU BEGIN:
Gluster does forward and reverse DNS lookups on the peers even if IP addresses are provided when adding them to the trusted storage pool. This means that if your DNS is not 100% fully functional, adding peers to the trusted storage pool will fail in extravagantly, non-obvious ways.
To get started, you will need the following:
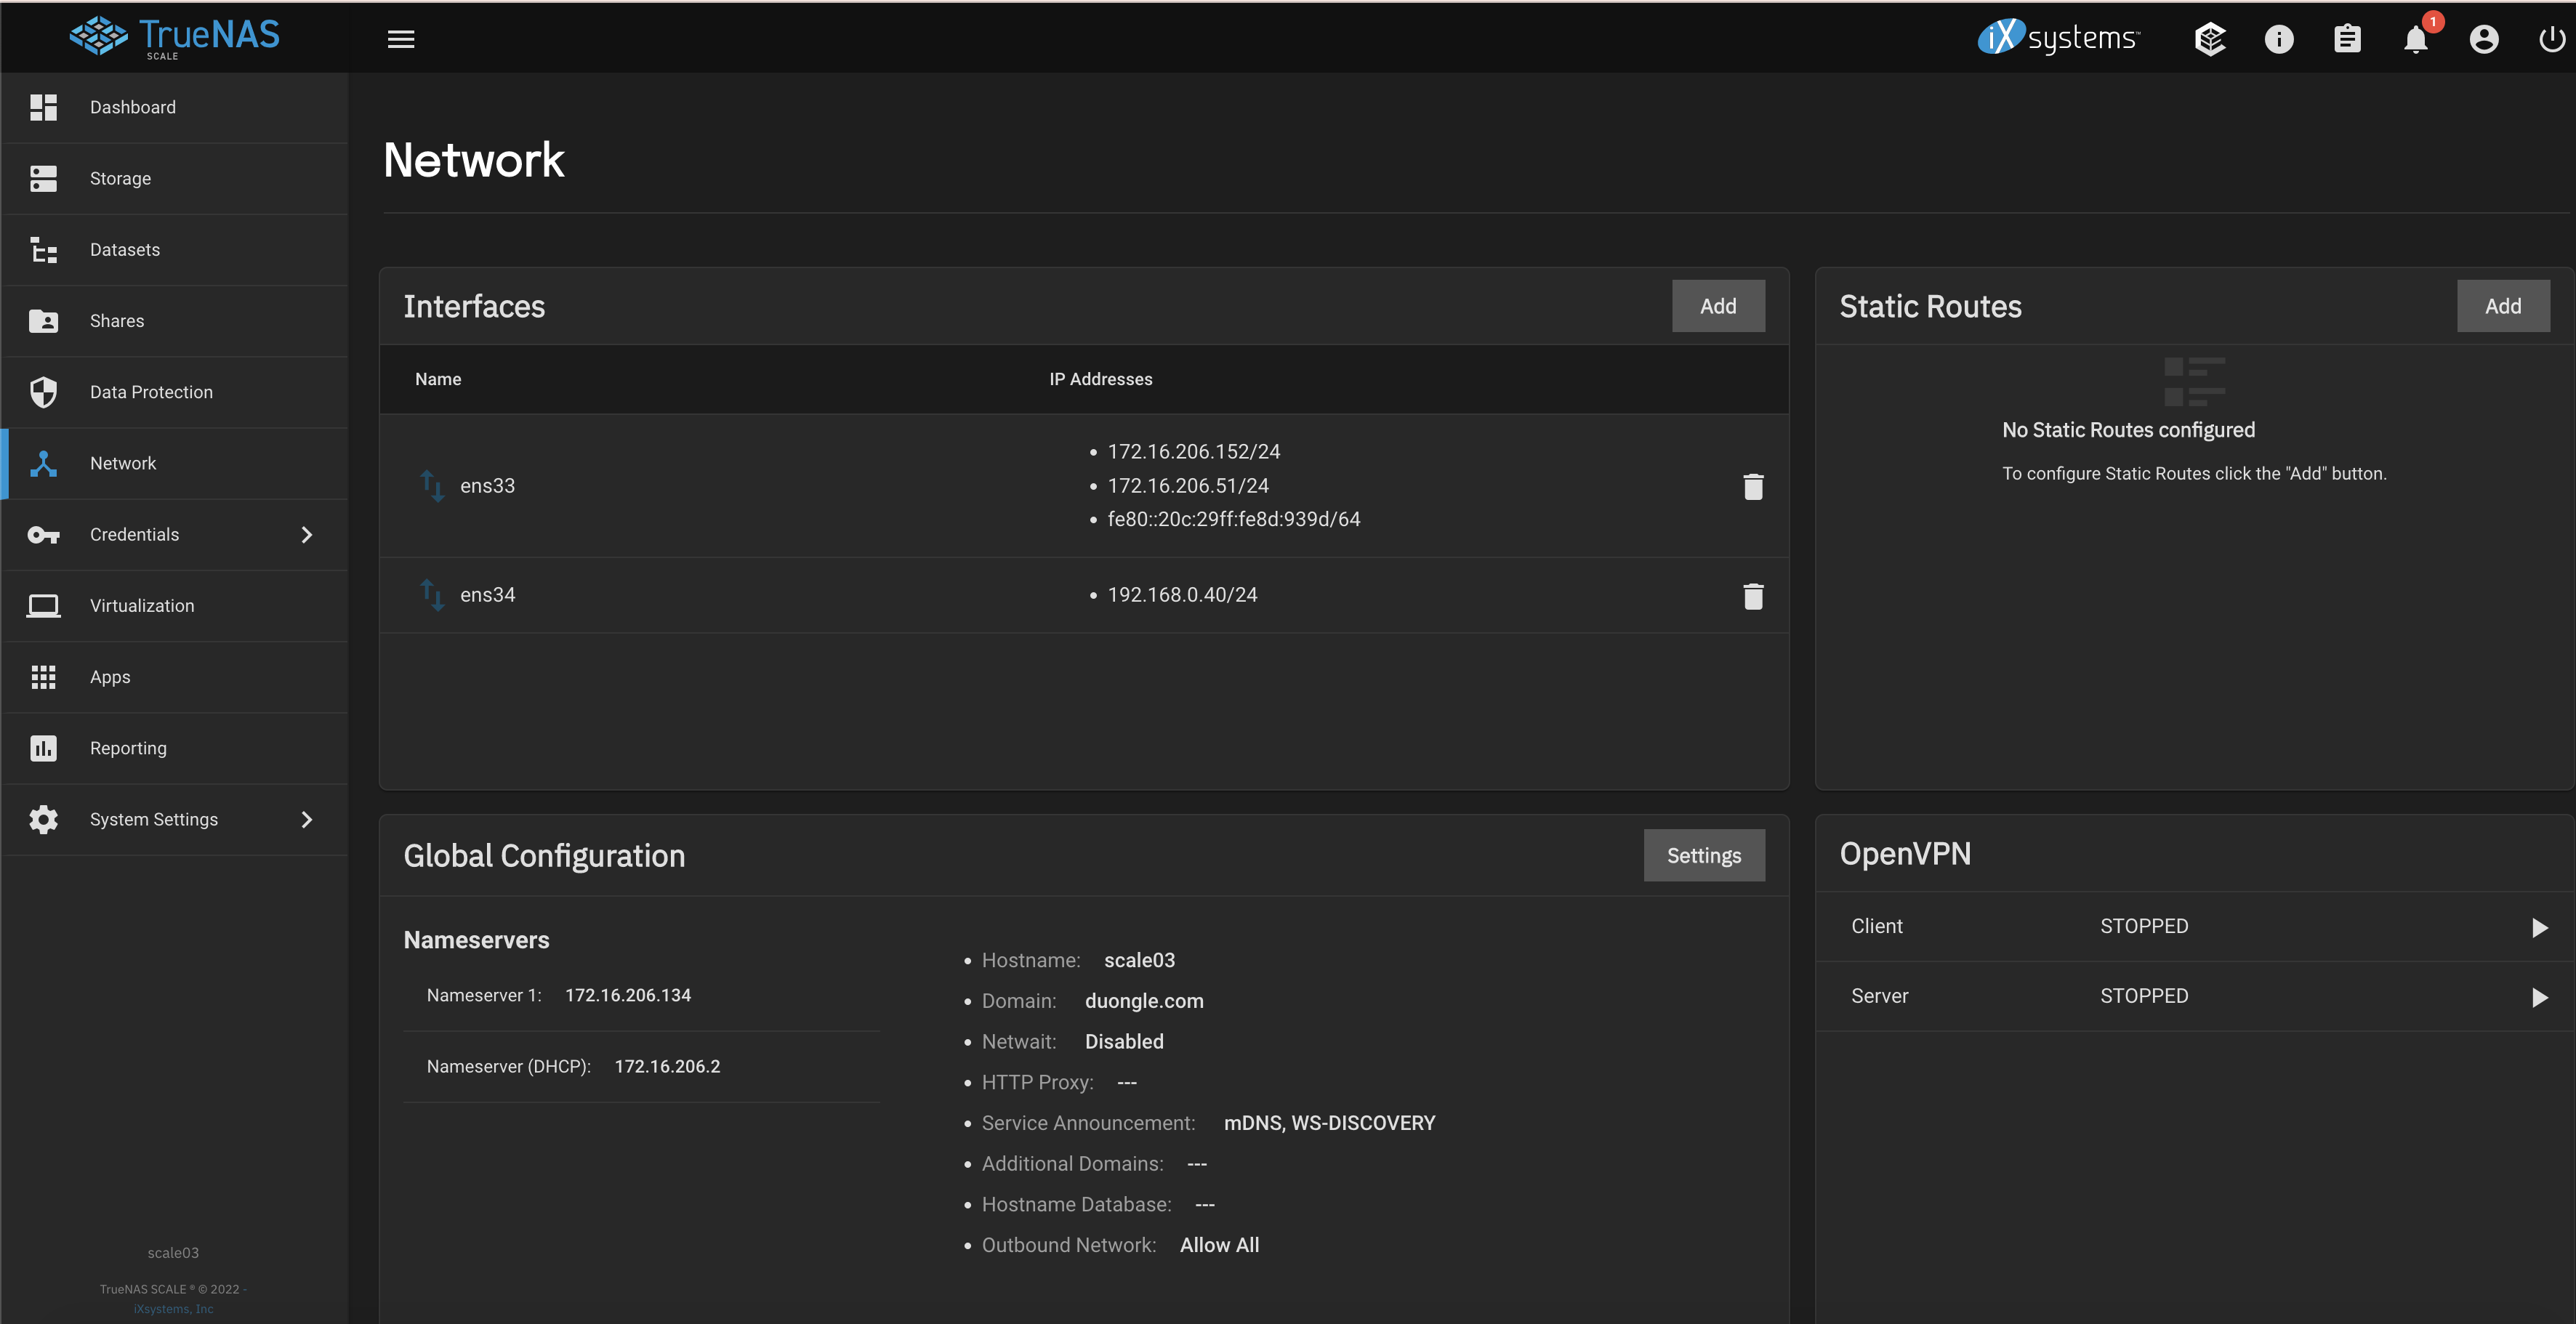
- A minimum of 3 TrueNAS SCALE Systems running 22.02-RC2 or Later
- All connected via the same subnet (Ideally on the same switch for best performance)
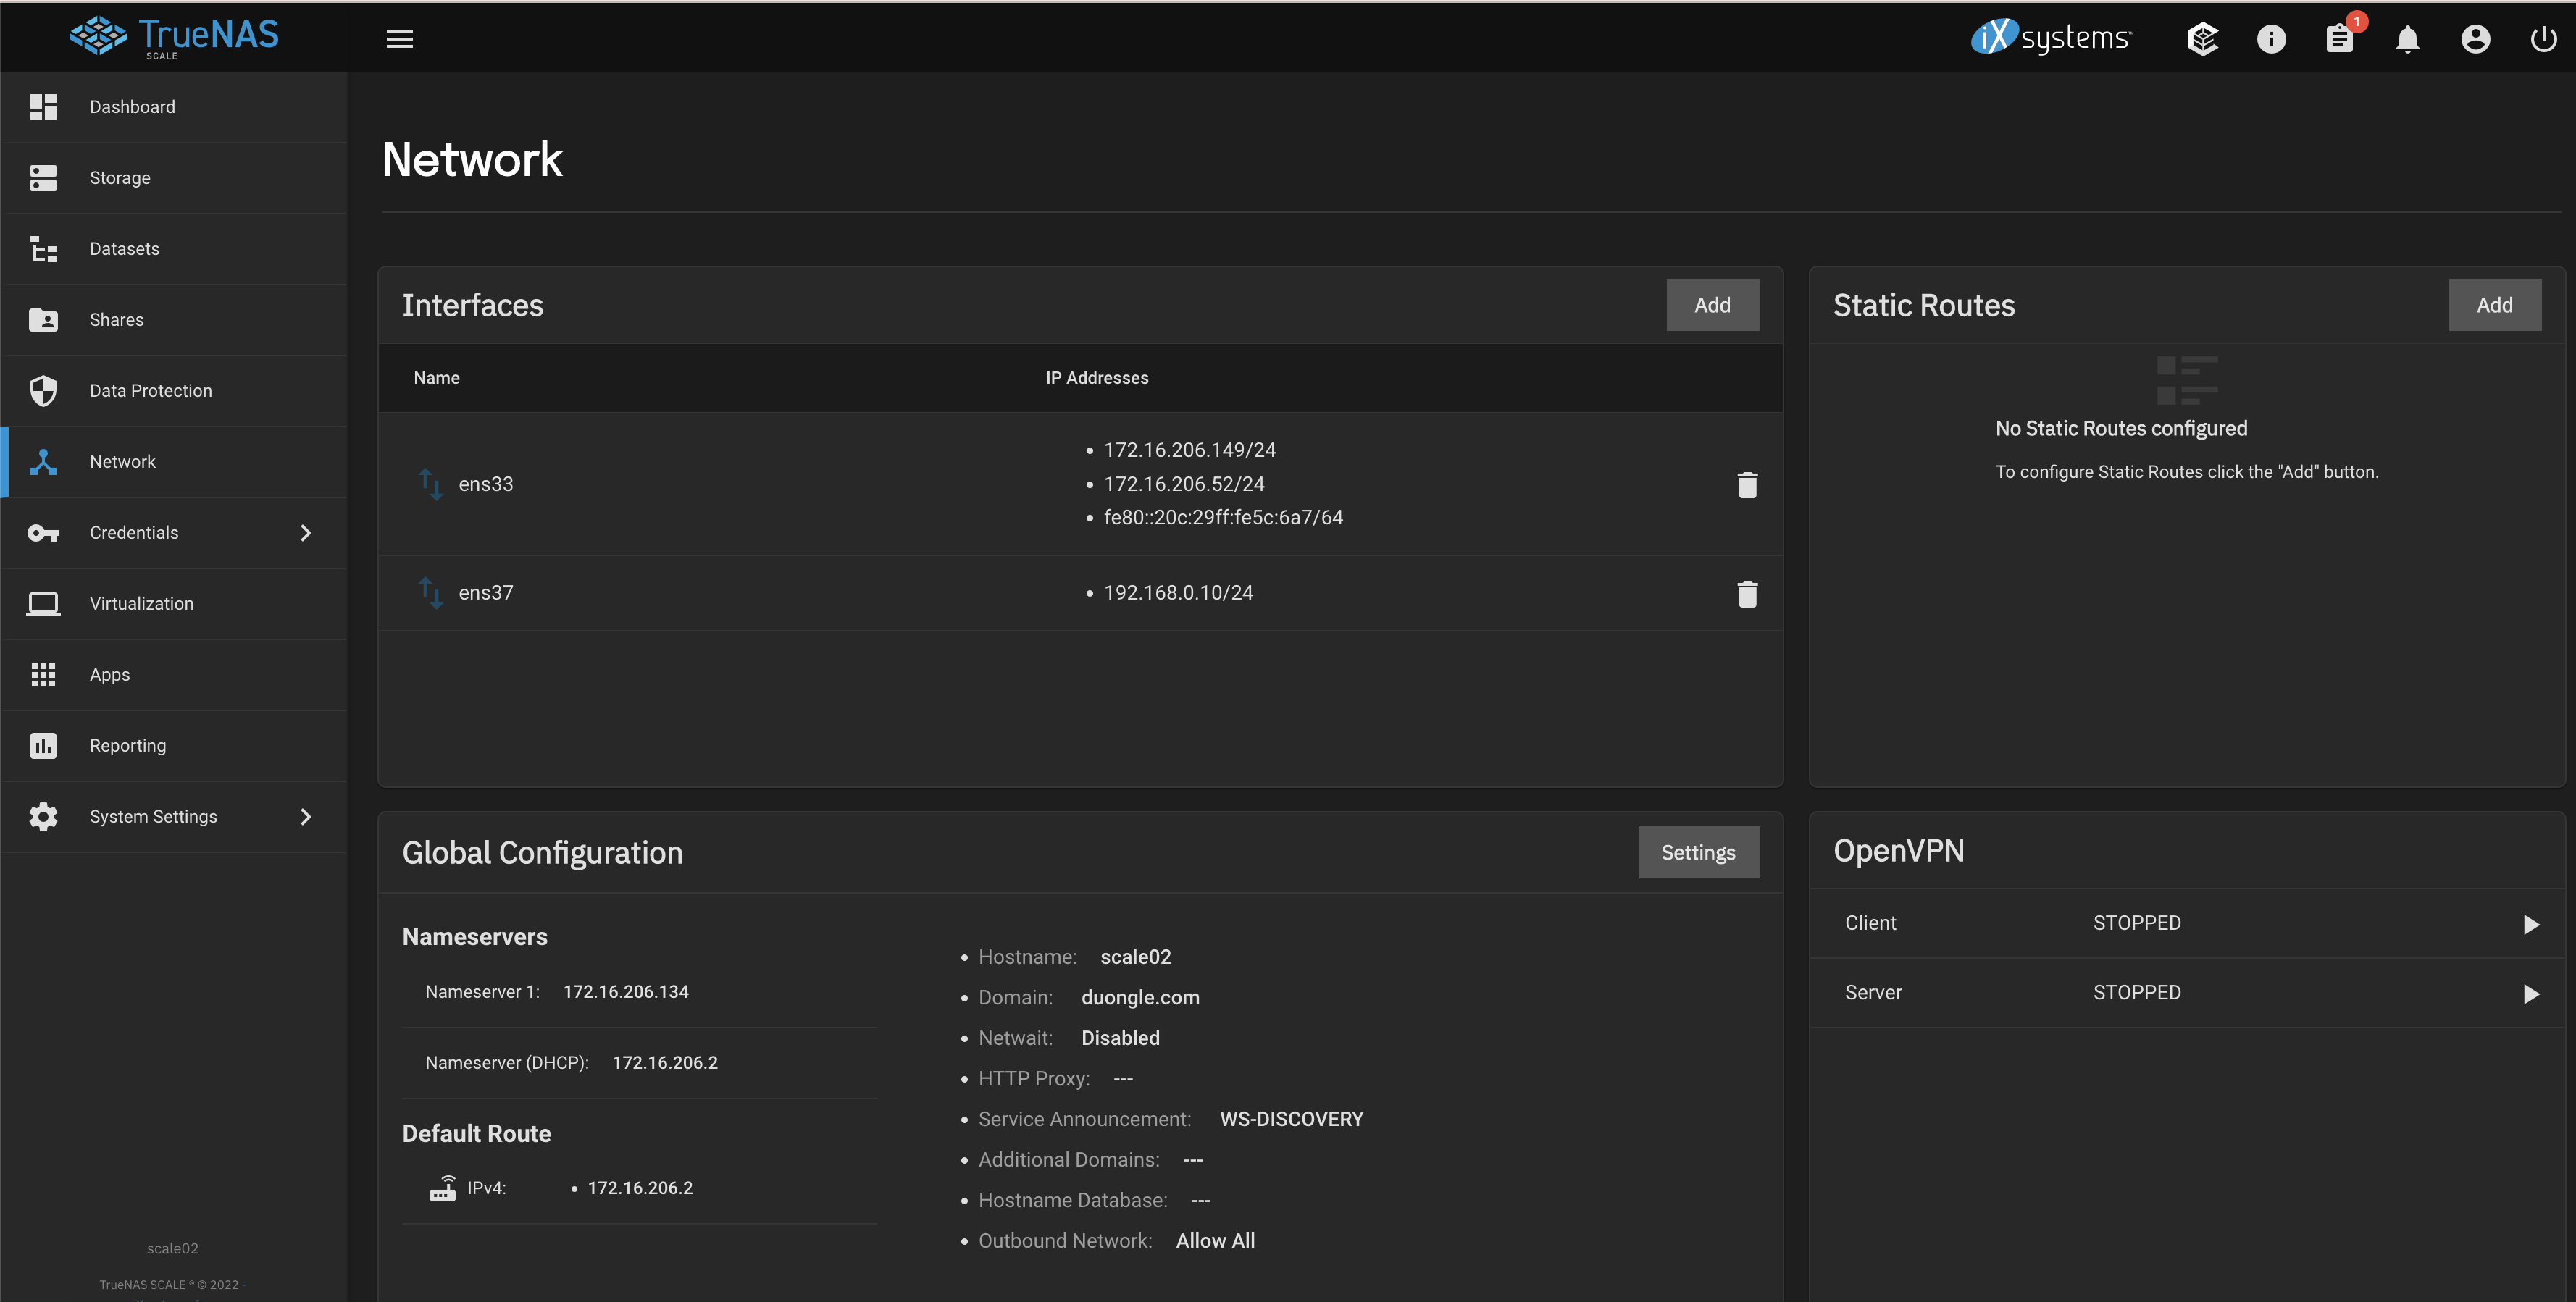
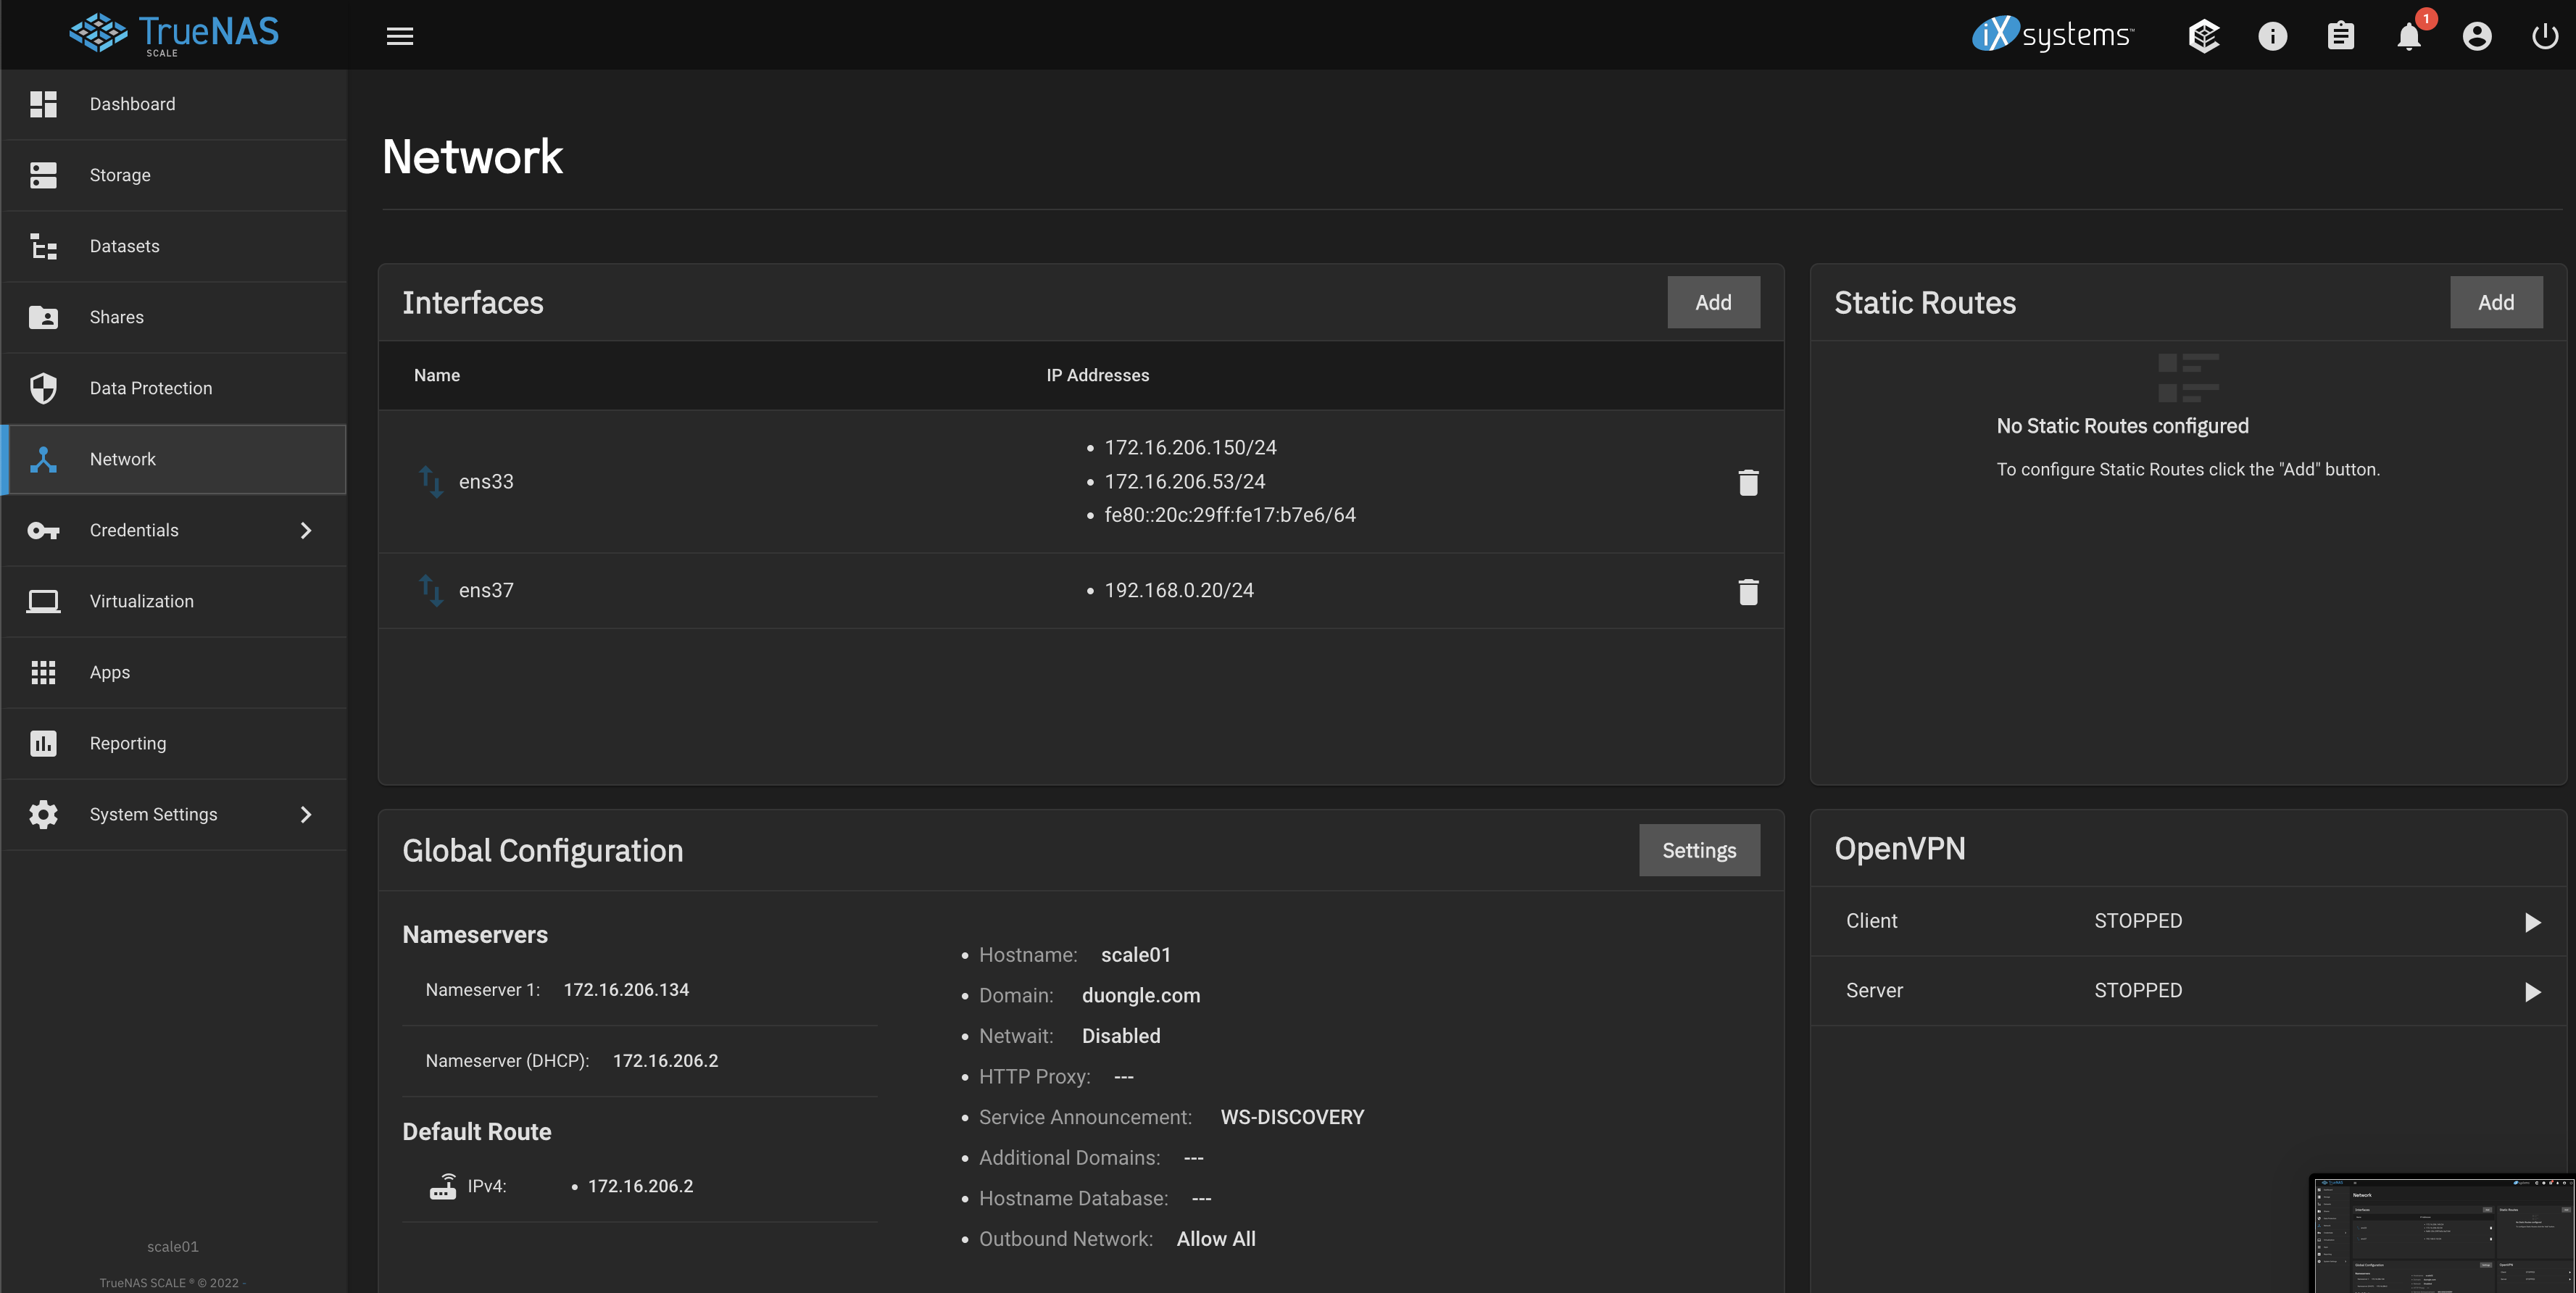
- Preferably a dedicated NIC on each node for ctdbd related traffic (not required). The dedicated NIC(s) should be on a separate subnet than what your clients will use to access the SMB shares. (i.e. eno1 = 192.168.1.* (SMB client traffic), eno2 = 10.10.10.* (the IPs used when adding the peers to the TSP))
- If you have dedicated NICs that will separate the ctdbd traffic then you will need:
– 3 Static IPs that will be used when adding the peers to the TSP
– 3 Static IPs that will be used as the virtual ip addresses that should be on the same network as what your clients use to access the SMB share.
If you do _NOT_ have dedicated NICs that will separate the ctdbd traffic then you will need:
– 3 Static IPs that will be used as the virtual IP addresses that should be on the same network as what your clients use to access the SMB share. - TrueNAS SCALE systems should all be connected to Microsoft Active Directory so that user/group management is the same between each node on the cluster. LDAP is not supported.
- If Microsoft Active Directory is not available, then you can “cheat” by adding a local user and group on each node in the cluster making sure that the UID AND the GID match on each node. (If you want permissions to work using the local users/group the UID/GID MUST match between nodes)
Creating a clustered SMB share will re-configure SMB services for clustered mode exclusively. This means that any previous local ZFS/SMB shares you’ve created will not be visible to your clients while in Cluster mode.
Please note that this is an experimental feature and you should always keep backups of your data. The feature may change significantly over the course of 22.02 Angelfish so use at your own risk…
## Getting Started
In order to get started, you will need to have your three or more SCALE systems connected to TrueCommand 2.1 or later release. With that in place, we can start by creating our first Cluster Volume through the Clustering UI.
Click “Create” on the Clustered Volumes page.
Give your Volume a name, such as “myvolume” and select three or more systems to join to this cluster, along with a size to be used on each.
Confirm your choices before clicking “Create”.
If successful, you should see this screen. Click OK to go back to the Clustering Page.
Lastly, your cluster volume will now be visible on the UI. We now need to transition to the command prompt to finish the SMB sharing setup. (Note: this will be UI driven in TC 2.2 and later as well)
## Configure clustered SMB IPs
Now on each node, we need to create a new virtual IP that will be unique to that node for SMB shares to access. To do this, we do the following steps on each of the nodes:
Code:
# midclt call ctdb.general.pnn
0
Store that number ‘0’ and then on the same node run, replacing ‘0’ for the pnn number, assigning the virtual IP you wish to set, and replace <network interface> with the network device name, such as “eno2” in my case.:
Code:
# midclt call ctdb.public.ips.create '{"pnn":0, "ip": "<virtual ip for this host>", "netmask": 24, "interface": "<network interface>"}'## Creating the clustered SMB share
First, we need to validate that we are in clustered SMB mode already. To do this, run:
Code:
# midclt call smb.get_smb_ha_mode
(should return CLUSTERED)
If not, run the following:
Code:
# midclt call smb.reset_smb_ha_mode
(should return CLUSTERED)
Now lets create the clustered SMB share, which should only need to be done on ONE node:
Code:
# midclt call sharing.smb.create '{"path": "/clustersmb", "name": "MYSHARE", "purpose": "NO_PRESET", "shadowcopy": false, "cluster_volname": "myvolume"}'Now lets make sure the directory that's being shared via SMB has been created:
Code:
# mkdir /cluster/myvolume/clustersmb
And then change permissions so that your SMB user can write to this share. Replace “testsmb” with your username.
Code:
# chown -R testsmb:testsmb /cluster/myvolume/clustersmb
Lastly on each node, you may need to manually restart the SMB services:
Code:
# midclt call service.restart cifs
Thats it! In a proper enterprise cluster, you would normally have AD setup on all of your SCALE nodes and can now proceed with connecting via SMB to any of your Virtual IPs you specified and begin sharing. If you are testing and do not have AD setup, there is one more step before finishing.
## Local Shared User Hack
To get started, make sure you have the same local user with identical UID/GIDs on each of your nodes.
Then on one of your nodes, run the following command:
Code:
# pdbedit -a testsmb
# midclt call service.restart cifs
Your local user should now be ready for SMB sharing across the cluster.
## Going Back to Single System SMB
If you want to revert back to traditional ZFS/SMB shares, you can undo the cluster setup using the following steps:
On the the first node, you will need to run through the following steps:
(Get SMB share and remove clustered share)
Code:
# midclt call sharing.smb.query (Get the ‘id’ of the share)
# midclt call sharing.smb.delete 2 (replace ‘2’ with the id of share)
# midclt call service.stop cifs
# midclt call gluster.volume.stop '{"name": "myvolume"}'
# midclt call gluster.volume.delete myvolume -job
# midclt call service.stop glusterd
# midclt call service.update glusterd '{"enable": false}'
# midclt call smb.reset_smb_ha_mode
# midclt call service.start cifs
On the remaining nodes, the cleanup can be run using the following commands:
Code:
# midclt call service.stop cifs
# midclt call service.stop glusterd
# midclt call service.update glusterd '{"enable": false}'
# midclt call smb.reset_smb_ha_mode
# midclt call service.start cifs