SOLVED FreeNAS Mini Upgraded to 11.3 No web GUI loading.

Samuel Tai

Never underestimate your own stupidity
Moderator
Joined
Apr 24, 2020
Messages
5,399
We'll need to create a TrueNAS installer using a 16 GB thumb drive, to try to reload the OS and boot block on your boot drive.
 

33.812 -117.919

Dabbler
Joined
Jul 31, 2022
Messages
20
We'll need to create a TrueNAS installer using a 16 GB thumb drive, to try to reload the OS and boot block on your boot drive.
Okay. Question, we want to make sure that none of the data on the hard drives is deleted. Will this process affect any of the data?
 

Samuel Tai

Never underestimate your own stupidity
Moderator
Joined
Apr 24, 2020
Messages
5,399
If done correctly, this won't affect the data. To be on the safe side, you should shut down, pull out all the data drives, and set them aside somewhere where they won't get knocked over. The order of the drives doesn't matter, so no need to track which drive goes to which slot, although that is good practice.

On one of your Macs, download the install ISO image from https://download.freenas.org/11.3/STABLE/U5/x64/FreeNAS-11.3-U5.iso. Insert the thumb drive and find its Unix device using diskutil list from Terminal. It'll look something like /dev/disk2. Copy the ISO to the thumb drive using sudo dd if=/Users/<your username>/Downloads/FreeNAS-11.3-U5.iso of=/dev/disk2 bs=1m in Terminal. Just dragging and dropping from the desktop to the thumb drive won't work. Make sure the paths are correct for your Mac. In particular, make sure to use the device for the thumb drive, and not any of your Mac disks, or you'll end up toasting your Mac.

Let me know when this is done.
 

Samuel Tai

Never underestimate your own stupidity
Moderator
Joined
Apr 24, 2020
Messages
5,399

33.812 -117.919

Dabbler
Joined
Jul 31, 2022
Messages
20
If done correctly, this won't affect the data. To be on the safe side, you should shut down, pull out all the data drives, and set them aside somewhere where they won't get knocked over. The order of the drives doesn't matter, so no need to track which drive goes to which slot, although that is good practice.

On one of your Macs, download the install ISO image from https://download.freenas.org/11.3/STABLE/U5/x64/FreeNAS-11.3-U5.iso. Insert the thumb drive and find its Unix device using diskutil list from Terminal. It'll look something like /dev/disk2. Copy the ISO to the thumb drive using sudo dd if=/Users/<your username>/Downloads/FreeNAS-11.3-U5.iso of=/dev/disk2 bs=1m in Terminal. Just dragging and dropping from the desktop to the thumb drive won't work. Make sure the paths are correct for your Mac. In particular, make sure to use the device for the thumb drive, and not any of your Mac disks, or you'll end up toasting your Mac.

Let me know when this is done.
Sorry, I have never used Terminal successfully. I don't know what a "unix device" means nor have I ever copied or done anything of this nature in the terminal program. I did type in "diskutil list" into terminal just now while the USB drive was inserted, but I don't see anything labeled "Unix device". I'm pasting below what I think is the USB drive since:

/dev/disk6 (external, physical):
#: TYPE NAME SIZE IDENTIFIER
0: GUID_partition_scheme *8.0 GB disk6
1: EFI ⁨EFI⁩ 209.7 MB disk6s1
2: Microsoft Basic Data ⁨UNTITLED⁩ 7.7 GB disk6s2
(free space) 134.7 MB -
 

Samuel Tai

Never underestimate your own stupidity
Moderator
Joined
Apr 24, 2020
Messages
5,399
Yes, you found it. Please use /dev/disk6 for the dd command's of= parameter.
 

Samuel Tai

Never underestimate your own stupidity
Moderator
Joined
Apr 24, 2020
Messages
5,399
Ok, great! Let's shutdown the Mini and plug in the thumb drive to the Mini, and power on. When you see text on the screen, hit F12 to bring up the boot selection menu. Select your thumb drive to launch the installer.

After the installer starts, follow the steps from the Guide: https://www.truenas.com/docs/core/gettingstarted/install/. Make sure not to select any of your data disks for installation but choose your original boot drive.

When the install completes, select option 4 to shut down. Remove the thumb drive. Power back up again, and you should boot to the TrueNAS console setup menu. If you were using DHCP before, you should see the IP address, and you may be able to login to the UI at that point.
 

Samuel Tai

Never underestimate your own stupidity
Moderator
Joined
Apr 24, 2020
Messages
5,399
I have to turn in shortly. When you're back into the UI, remember you have a vanilla server, with no settings other than the root password, if any. Just like when you unboxed the Mini originally. To get your data back online, go to Storage->Pools, and click the blue Add button. Select the option to import an existing pool. See https://www.truenas.com/docs/core/coretutorials/storage/pools/poolimport/. I don't believe your pool was using GELI encryption. This should get your data back online. You'll need to recreate your file shares and user accounts to get your network drives back on your Mac desktops.
 

33.812 -117.919

Dabbler
Joined
Jul 31, 2022
Messages
20
Ok, great! Let's shutdown the Mini and plug in the thumb drive to the Mini, and power on. When you see text on the screen, hit F12 to bring up the boot selection menu. Select your thumb drive to launch the installer.

After the installer starts, follow the steps from the Guide: https://www.truenas.com/docs/core/gettingstarted/install/. Make sure not to select any of your data disks for installation but choose your original boot drive.

When the install completes, select option 4 to shut down. Remove the thumb drive. Power back up again, and you should boot to the TrueNAS console setup menu. If you were using DHCP before, you should see the IP address, and you may be able to login to the UI at that point.

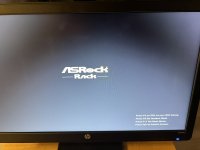
We are hitting F12 but it’s not working. It takes us to this screen and then it goes back to the original screen that displays:
Boot:
 

Attachments

  • B78E96AC-6A6A-4983-90CC-382CCBDDEDD4.jpeg
    B78E96AC-6A6A-4983-90CC-382CCBDDEDD4.jpeg
    230.2 KB · Views: 87

Samuel Tai

Never underestimate your own stupidity
Moderator
Joined
Apr 24, 2020
Messages
5,399
Sorry, try F11 instead of F12.
 

33.812 -117.919

Dabbler
Joined
Jul 31, 2022
Messages
20
We are hitting F12 but it’s not working. It takes us to this screen and then it goes back to the original screen that displays:
Boot:
We selected F11 and
Sorry, try F11 instead of F12.
okay it was able to install, it took a while. We can access the dashboard now on our iPads and Mac so we believe it’s working now.

We still need to Resliver the replacement drive but I think we can figure that out. Thank you for your help in fixing the FreeNas software. Much appreciated!
 

Samuel Tai

Never underestimate your own stupidity
Moderator
Joined
Apr 24, 2020
Messages
5,399
Glad you're back up and running. I wrote this for folks like you, who find themselves in a pickle after an upgrade that went sideways. I hope you take it to heart, and apply its lessons for future upgrades. I do recommend you continue upgrading to 12.0-U8.1 at least, as 11.3-U5 is no longer supported.


Also, check with the documentation for release notes before upgrading. For 12.0-U8.1, see https://www.truenas.com/docs/archive/. Remember to check the release notes for all the preceding releases as well. For 13's release notes, see https://www.truenas.com/docs/core/corereleasenotes/.
 
Last edited:

33.812 -117.919

Dabbler
Joined
Jul 31, 2022
Messages
20
Glad you're back up and running. I wrote this for folks like you, who find themselves in a pickle after an upgrade that went sideways. I hope you take it to heart, and apply its lessons for future upgrades. I do recommend you continue upgrading to 12.0-U8.1 at least, as 11.3-U5 is no longer supported.


Also, check with the documentation for release notes before upgrading. For 12.0-U8.1, see https://www.truenas.com/docs/archive/. Remember to check the release notes for all the preceding releases as well. For 13's release notes, see https://www.truenas.com/docs/core/corereleasenotes/.
I read the document guild “Paths to success for system upgrade” and there are numerous flaws. In addition it is clear from the comments section that many of the users are extremely frustrated with trying to understand the upgrade guides, myself included, and the responses are both condescending and unaccommodating.

First off, stop using acronyms when you are speaking or typing a document for the general public to follow. We don’t all speak in acronyms and as somebody who worked in customer service for over 20 years, it’s condescending. Assuming we all speak the same language is the first major flaw in this document, we don’t speak in acronyms. Because of this, section 2: “Prepare an action plan to mitigate all the gotchas in your specific installation.” is useless without more context. I myself only understood how one of those seven bullet points. There needs to be more explanation of how to actually initiate each one of these steps. I don’t speak in acronyms so I don’t understand what GELI, SSH or ZFS means and I certainly have no idea how to back them up from this guide.

The documents you are presenting, in my opinion, are for advanced users only. This is not a guide nor a plan. The document is written as a suggestion box and presented in a way that only the author can understand. If you intention is to present a helpful document for all to understand, you will need to go back and rewrite what the actual action plan means. Take each critical step and understand Who is your target audience, in this case it should be ever level of user from novice to expert; explain What each step means, Why it’s important, When it needs to happen, Where each step is in the system, & How to specifically execute each critical task. The who, what, where, when, why & how would have saved me days of stress, issues and downtime IF I had a competent guide, which your document is not.

Now that I have gone through this headache of restoring the software after a simple upgrade, I am actually more afraid and have less confidence in the system and it’s ability to secure my data. For this reason, I do not see myself being able to perform another system upgrade without advanced technical support. Furthermore I can safely say I have zero confidence in the freenas software and systems now, and will not be recommending these products ever again to family, friends or clients.
 

Samuel Tai

Never underestimate your own stupidity
Moderator
Joined
Apr 24, 2020
Messages
5,399
TrueNAS requires a certain level of technical knowledge to operate successfully. I’m in fact surprised you got this far without a hiccup in blissful ignorance. Why did you opt for FreeNAS/TrueNAS in the first place?

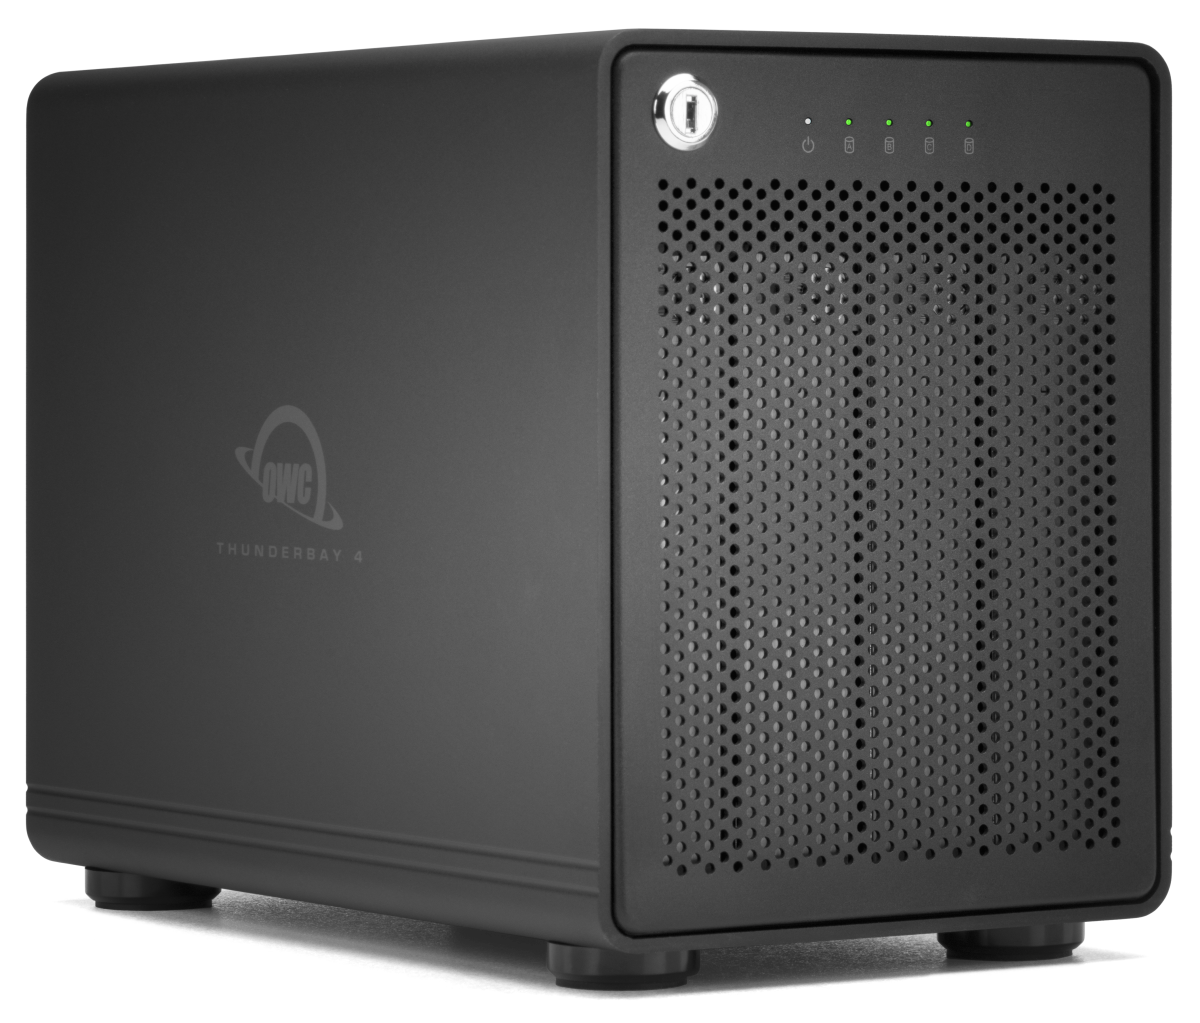
Since you’re not inclined to gather the necessary knowledge and experience to use FreeNAS/TrueNAS going forward, you may want to look at OWC direct-attach array storage.


This will turn your Mac into the server for your iPads.

If you still want to go the server route, you can look into Synology or QNAP.
 

33.812 -117.919

Dabbler
Joined
Jul 31, 2022
Messages
20
TrueNAS requires a certain level of technical knowledge to operate successfully. I’m in fact surprised you got this far without a hiccup in blissful ignorance. Why did you opt for FreeNAS/TrueNAS in the first place?

Since you’re not inclined to gather the necessary knowledge and experience to use FreeNAS/TrueNAS going forward, you may want to look at OWC direct-attach array storage.


This will turn your Mac into the server for your iPads.

If you still want to go the server route, you can look into Synology or QNAP.

Why didn’t opt for Freenas/TrueNas, we went with the NasMini storage because we needed lots of space for things we share across our home network. It was working fine for the last 8 years until we had a failed drive and the system told us to upgrade. We also went with the NasMini because we knew we could upgrade the drives to larger capacity down the road. We didn’t know how sensitive and flawed the software would be when we ran into technical issues with upgrading. As a Mac user, I have never encountered issues with upgrading or backups, the system just works for us.
 

Patrick M. Hausen

Hall of Famer
Joined
Nov 25, 2013
Messages
7,776
You should at least read the ZFS primer to get on board with the basic terminology and concepts that TrueNAS uses to protect your data. Ignorance can be dangerous. That's why there are introductory documents.


BTW, you claim not to know what even "ZFS" means, yet you use terms like "resilver" ... I doubt you never heard any of these acronyms.
 

33.812 -117.919

Dabbler
Joined
Jul 31, 2022
Messages
20
You should at least read the ZFS primer to get on board with the basic terminology and concepts that TrueNAS uses to protect your data. Ignorance can be dangerous. That's why there are introductory documents.


BTW, you claim not to know what even "ZFS" means, yet you use terms like "resilver" ... I doubt you never heard any of these acronyms.
We didn't setup this system, we ordered it on amazon and it came pre-configured from iXsystems. And before I had this issue with the software upgrading, I still don't know what ZFS means, and I only just learned the term "resilver" when one of my drives failed this past week. If I had known how complicated it was to restore the software, I would have opted for something different and more user friendly.
 
Top