Hello,
So i had the same issue as you. I was trying the create the bridge but since the IP is already used in the Apps > Settings > Advanced settings tab, I was not capable to remove the alias (assigned IP address) of my eth0 interface.
I'm running Truenas scale Cobia (23.10.1.3).
Here is what i found to be working in my case:
Step0: Stop all apps and VMs
also it might be better to have a monitor on your server just in case...
Step1: Create a dummy vlan
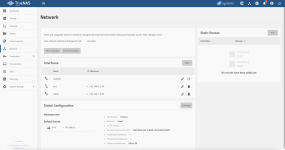
In Truenas GUI, Network > Interfaces > Add
- Type: VLAN
- Name: vlan0 (or whatever number you have available)
- i did have DHCP and Autoconfigure IPv6 unchecked
- Parent interface: use your main ethernet interface, enp3s0: eth0 in my case
- VLAN Tag: I put 1
- Add an alias: Use an IP address with a different subnet than your parent interface (in my case i used 192.168.110.110, since my main interface is 192.168.100.110)
- Save!
Then test + save your changes in the Network tab.
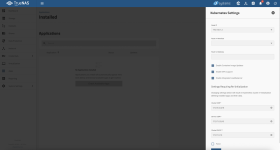
Step2: Assign this created dummy subnet to your Apps Node IP
In Apps > Settings > Advanced settings (top right corner)
- Select the new dummy IP of the VLAN as Node IP (192.168.110.110 in my case)
- Save the changes
Step3: Follow the Guide
Provides instructions on how to create a bridge interface for the VM and provides Linux and Windows examples.

www.truenas.com
Since the IP address of your physical interface is not assigned anymore as the Apps Node IP, you will be capable to remove it from your physical interface aliases list, and you should be capable to create the bridge as described.
Step4: Reassign the Apps node IP to the bridge IP
Basically revert Step2. Note that i did not assign any Route v4 interface in my case.
Step5: Remove the dummy VLAN created step1
in my case the VLAN interface was just created to trick the system, so i removed it, and normally you could too. Test + save changes
Step6: Restart apps and VMs
Myself, after properly assigning the bridge to my VM NIC, i am capable to ping my NAS from the VM.
I hope this helps someone some day!