Pheran
Patron
- Joined
- Jul 14, 2015
- Messages
- 280
This is the build that resulted from the questions I posted in this thread. Thanks to all who contributed! The objective was to build a "bulletproof" FreeNAS server with 8x4TB drives that is fully compliant will all FreeNAS hardware recommendations. I'll use this thread to photoblog the resulting build. For anyone else thinking of building a FreeNAS box, I highly recommend the following resources:
FreeNAS Intro Slideshow
Hardware Recommendations Thread
Here is the parts list with the prices I paid in the US. Parts were mainly sourced from Newegg but a few things came from Amazon or Ebay.
Fractal Design Define R5 Case: $90
Fractal Design Dynamic GP-14 140mm Fan: $16
SeaSonic S12G-450 450W PSU: $64
Supermicro X10SL7-F Motherboard: $252
Intel Xeon E3-1220V3 CPU: $180
2x Crucial CT2KIT102472BD160B 16GB (2x8GB) ECC RAM: $286
2x Sandisk Ultra Fit 32GB USB Flash Drive: $23
8x HGST 4TB NAS Hard Drive: $1208
Server Total (no storage): $911
32TB Storage Drives: $1208
Total Cost: $2119
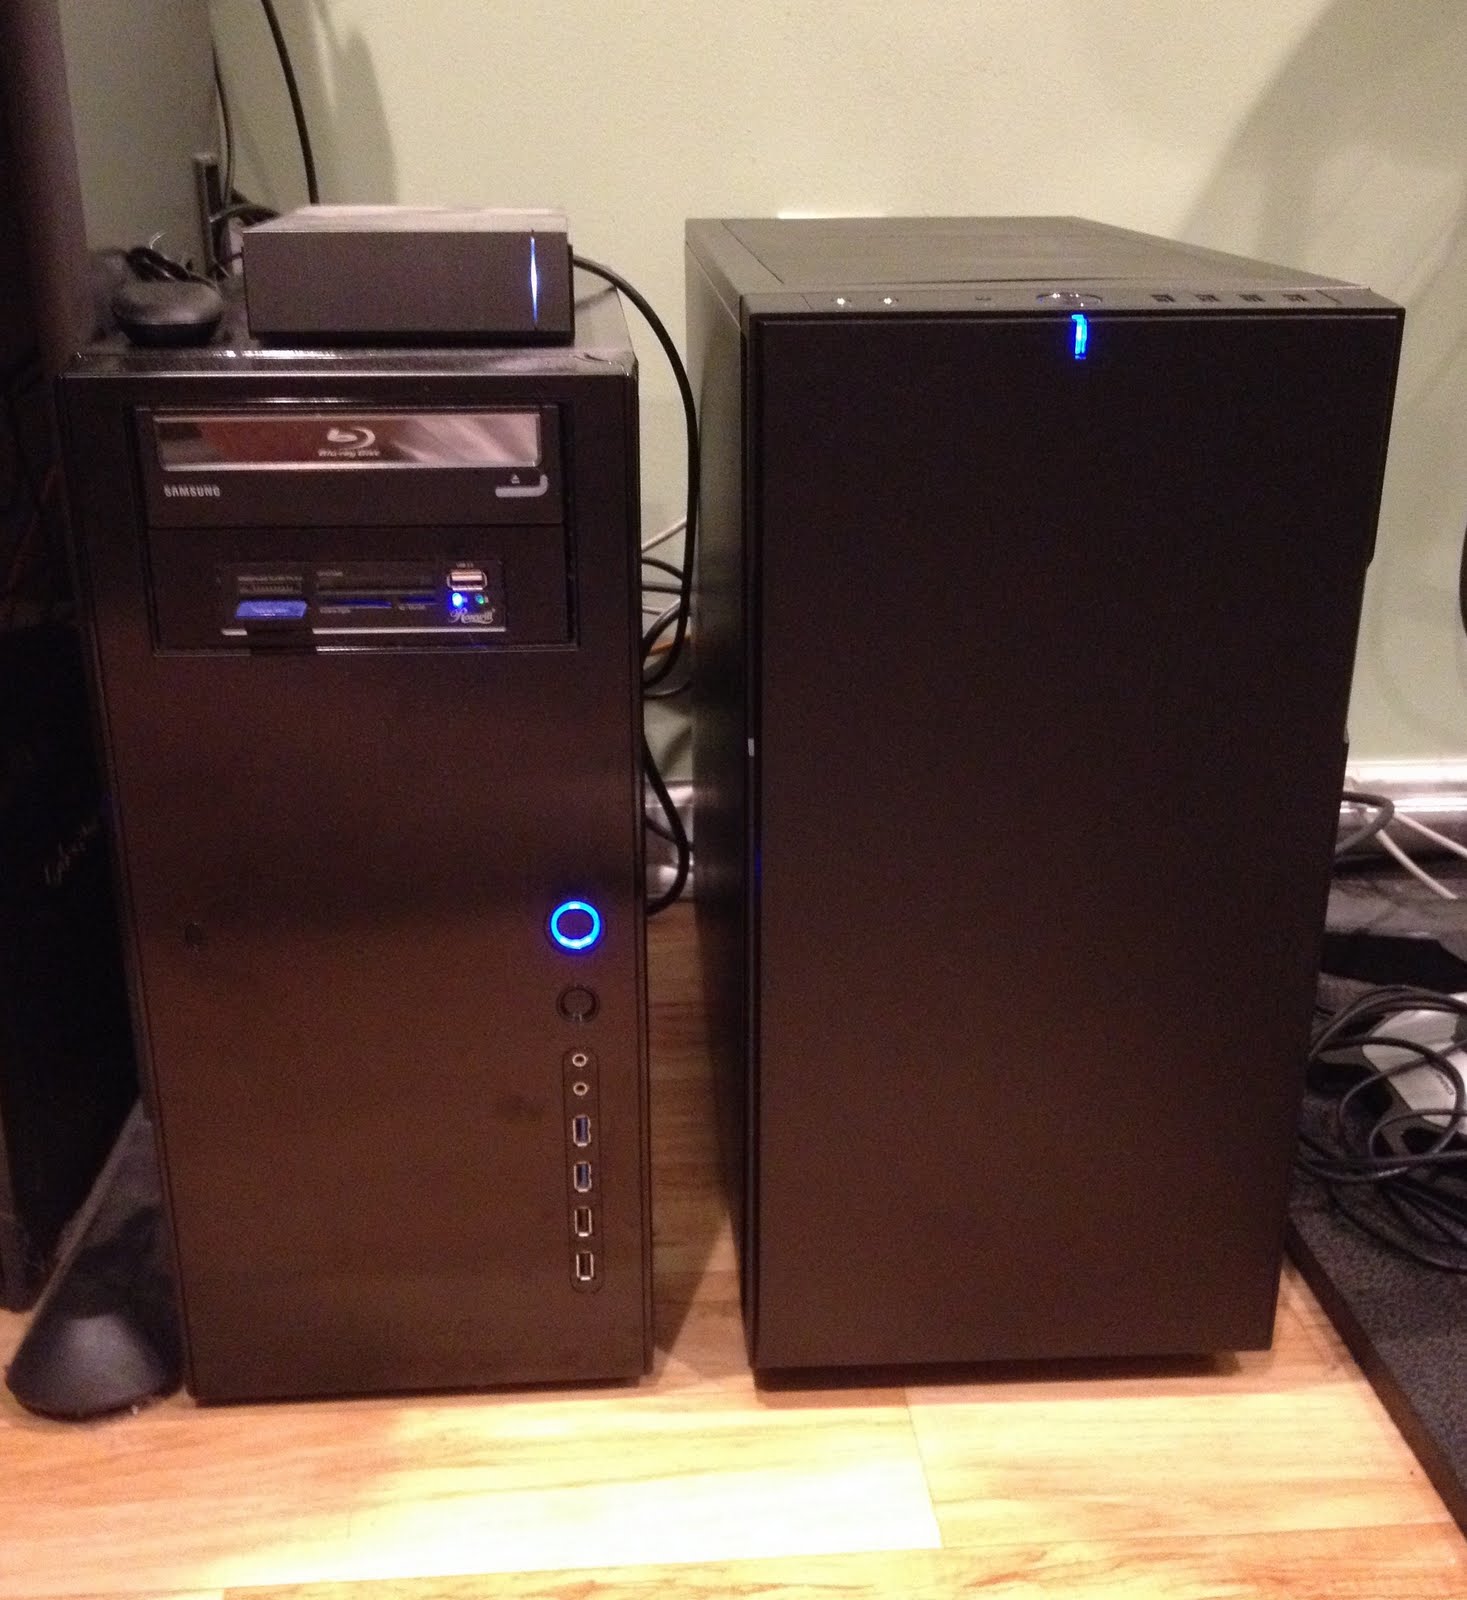
I'd like to point out that the total for the bare server is slightly less than the cost of the Synology DS1815+ I was originally thinking of getting, but is massively more powerful. Admittedly, it will consume more power than the Synology, but it will have more features and the ability to do things like Plex transcoding and Virtualbox without breaking a sweat. I think that's a better than fair tradeoff.
All items have arrived! In case you are wondering why there are only 6 NAS drives, I have two additional drives running in a server that will be replaced by this build. I purchased them very recently because of a drive failure in the old server, so they are exactly the same HGST model as the rest.

Here's a view of the interior of the Define R5 case. This case looks fantastic and there's plenty of room inside for the build. You can see the 8 3.5" bays on the right. You could even squeeze 10 3.5" drives in here if you put adapters in the two 5.25" bays at the top, but the cooling for the last two drives might be suboptimal. There's a box of case accessories in the bottom bay that I hadn't removed yet.

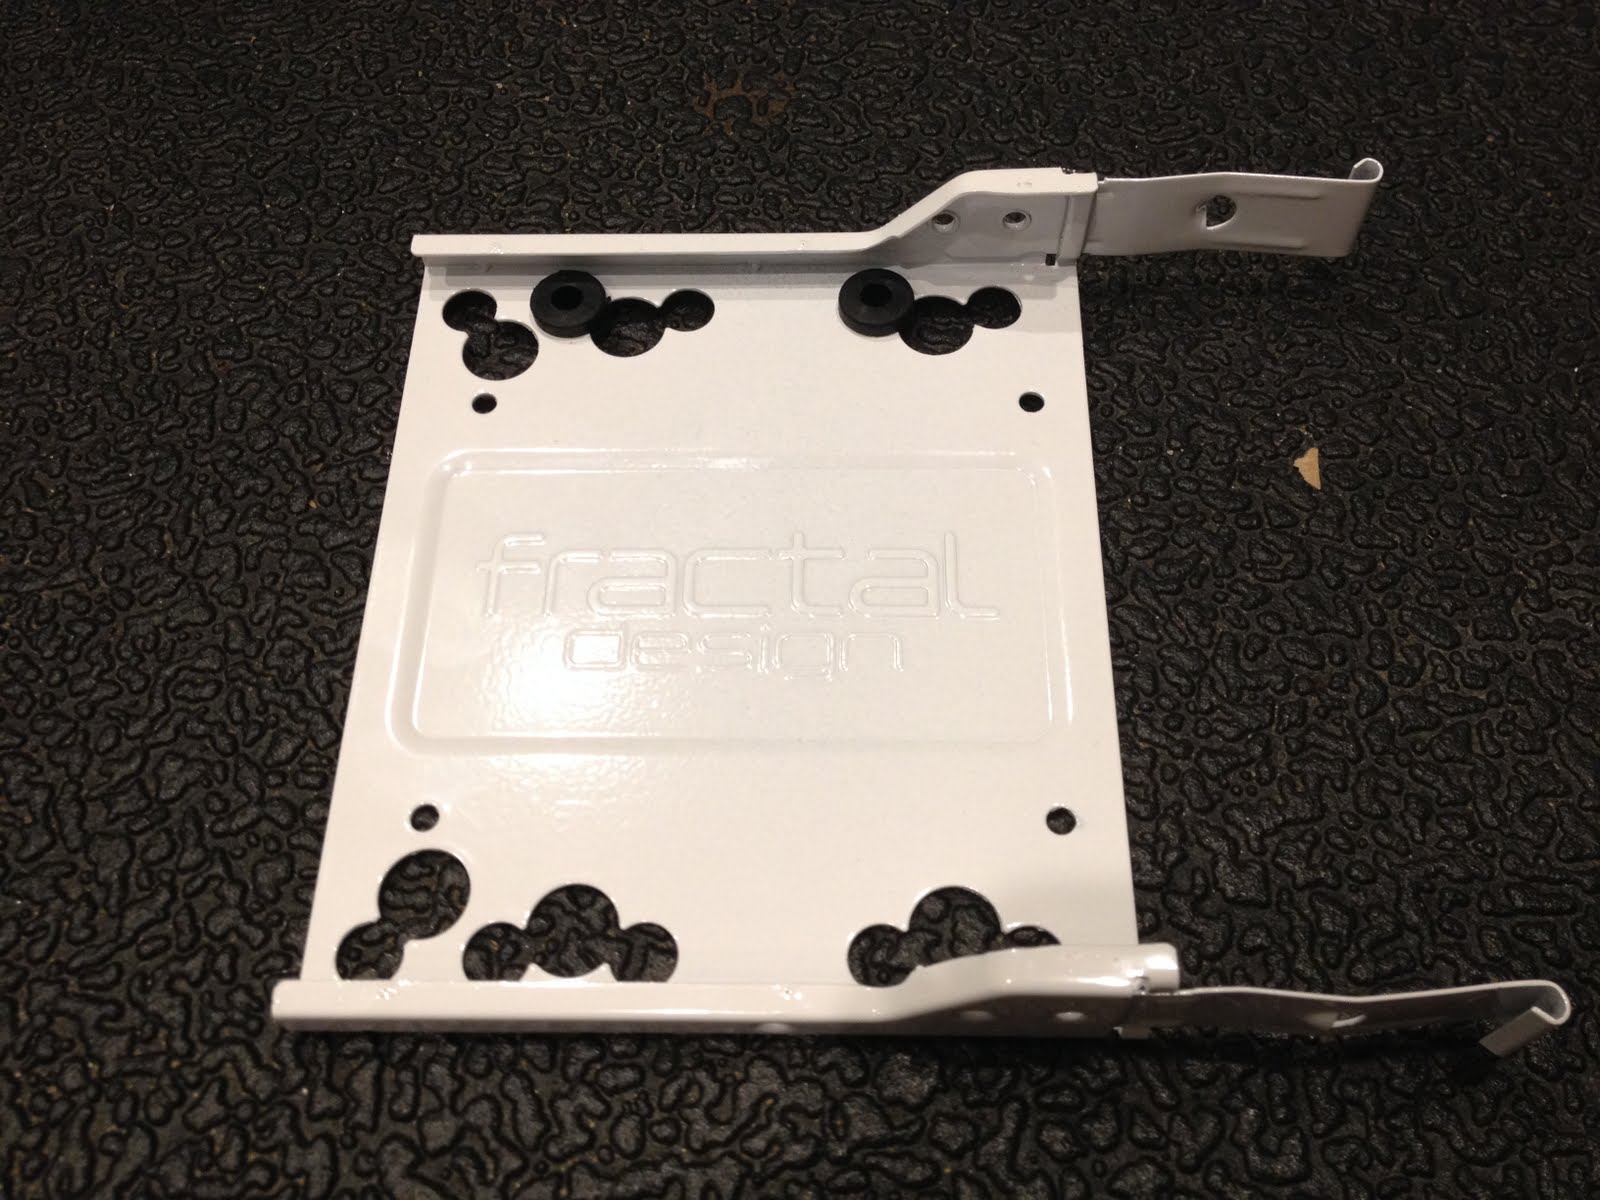
This isn't a hotswap case, but the drives will all be mounted in these white metal sleds, which should make taking out any drive relatively easy.

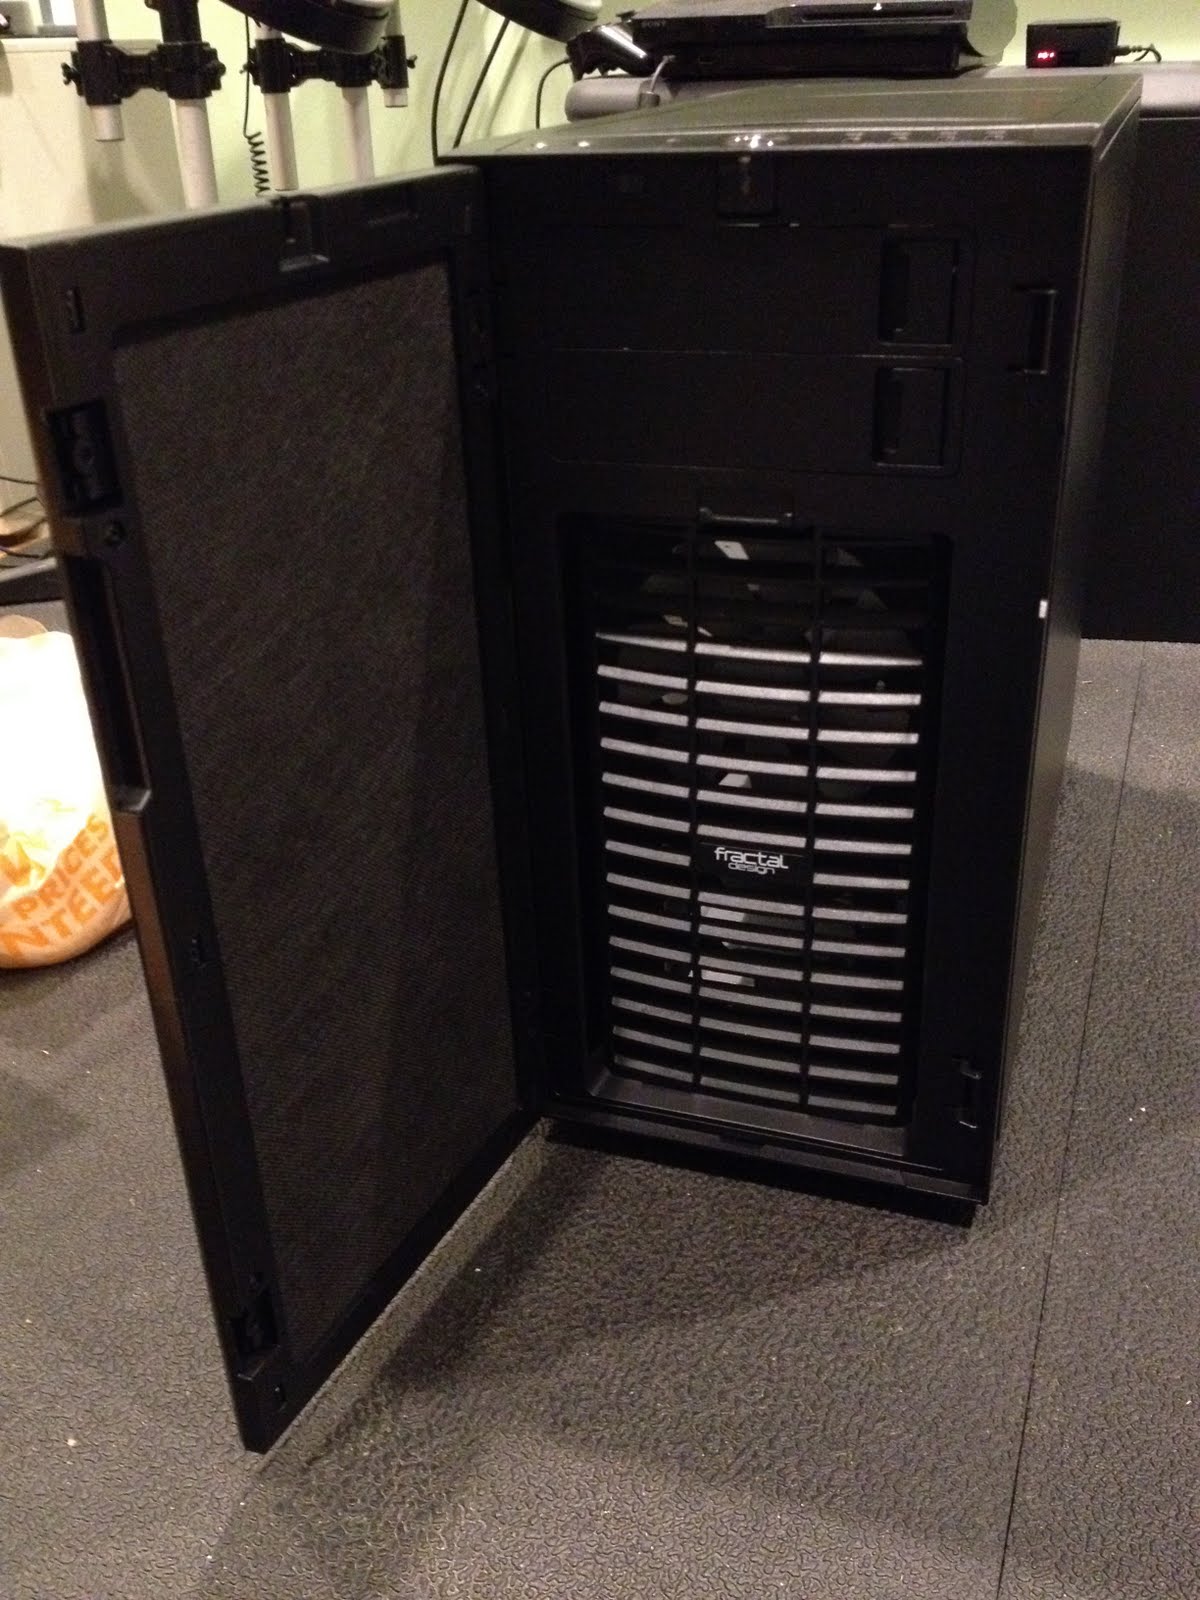
Here's the front of the case with the door open - the lower part is the front fan filter. You can see the interior of the door is padded with some sound-dampening material. Sorry some of these are a bit dark - the hazards of photographing objects that are mostly black!
With the fan filter removed, you can see the exposed 140mm front fan that is included. The way this fan is positioned, it will basically cool the upper four 3.5" bays. This is why I'm installing a second front fan, which should ensure that the lower four drives also get airflow.
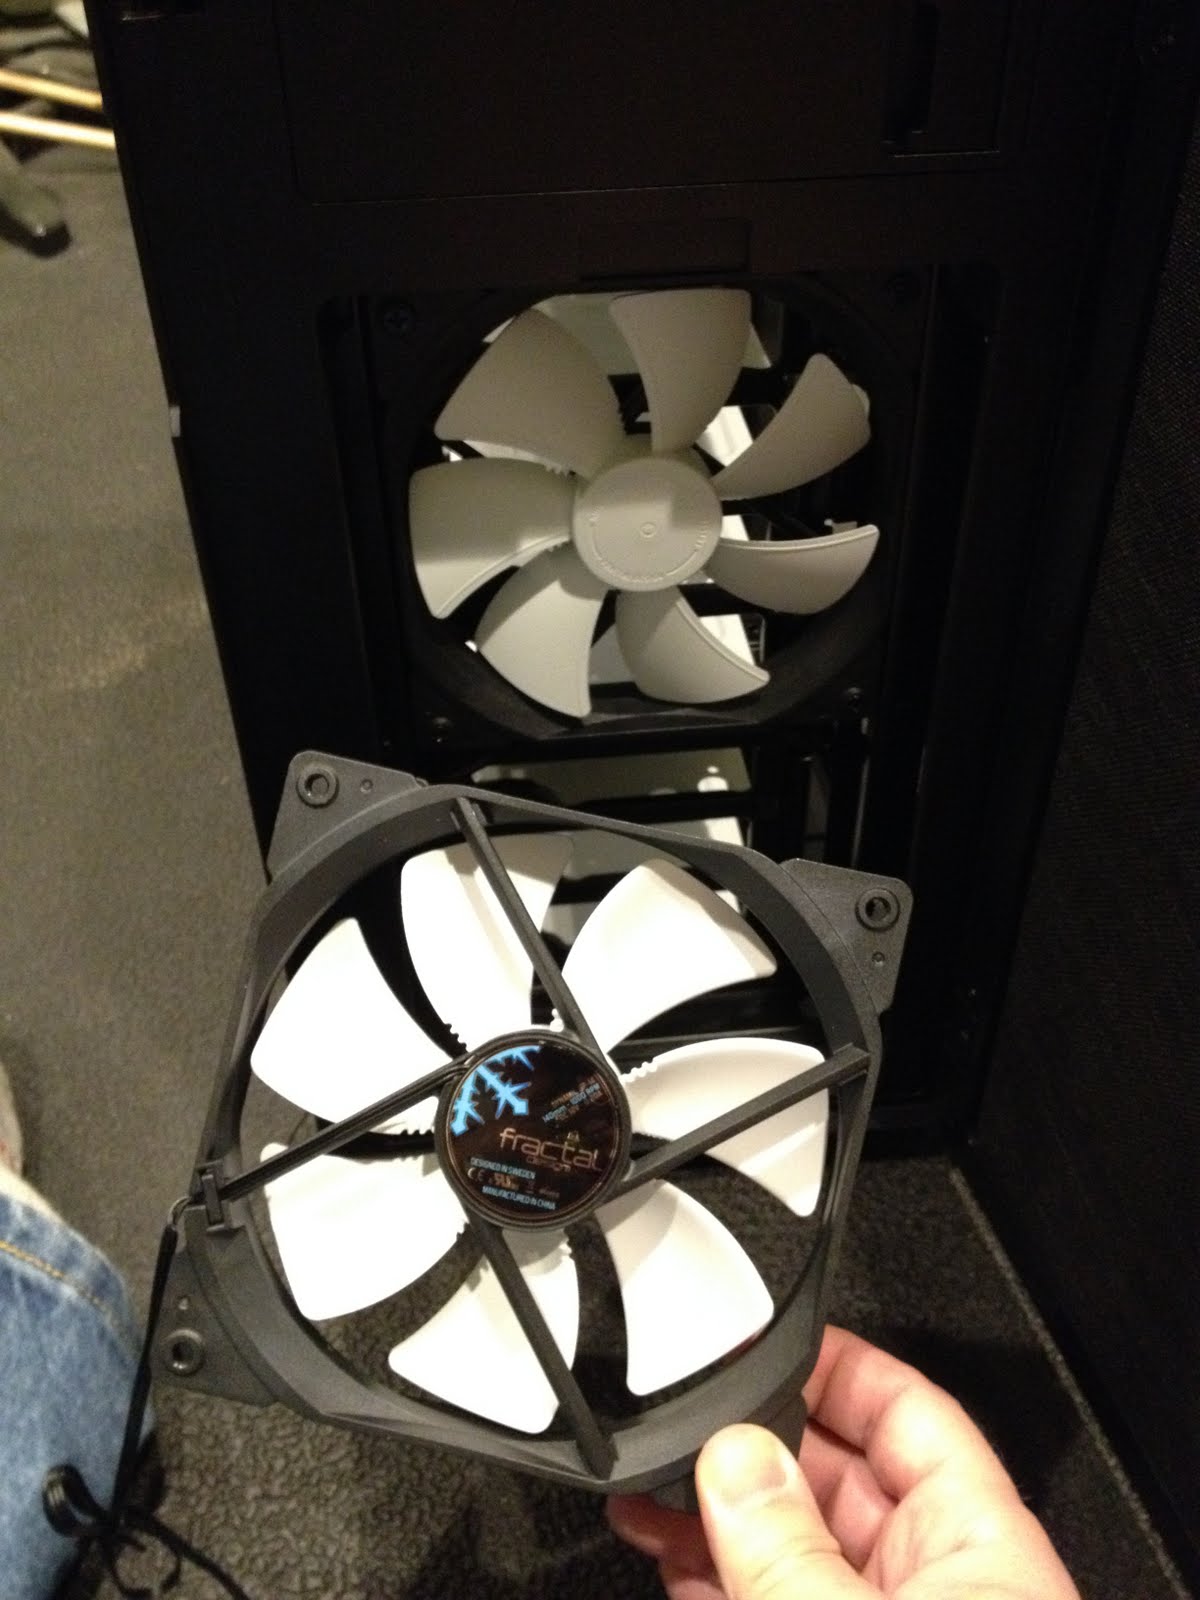
The Fractal GP-14 is the perfect match for the other fans in this case, I just have to flip it over so that it's an intake fan. The screws that come with the fan aren't useful for this mount, but thankfully the case accessory box includes 4 long screws for the additional front fan mount. It looks great, and eagle-eyed readers may notice that I flipped the front door to open on the other side - yes, you can do that.

Speaking of the case accessory box, here's everything you get.

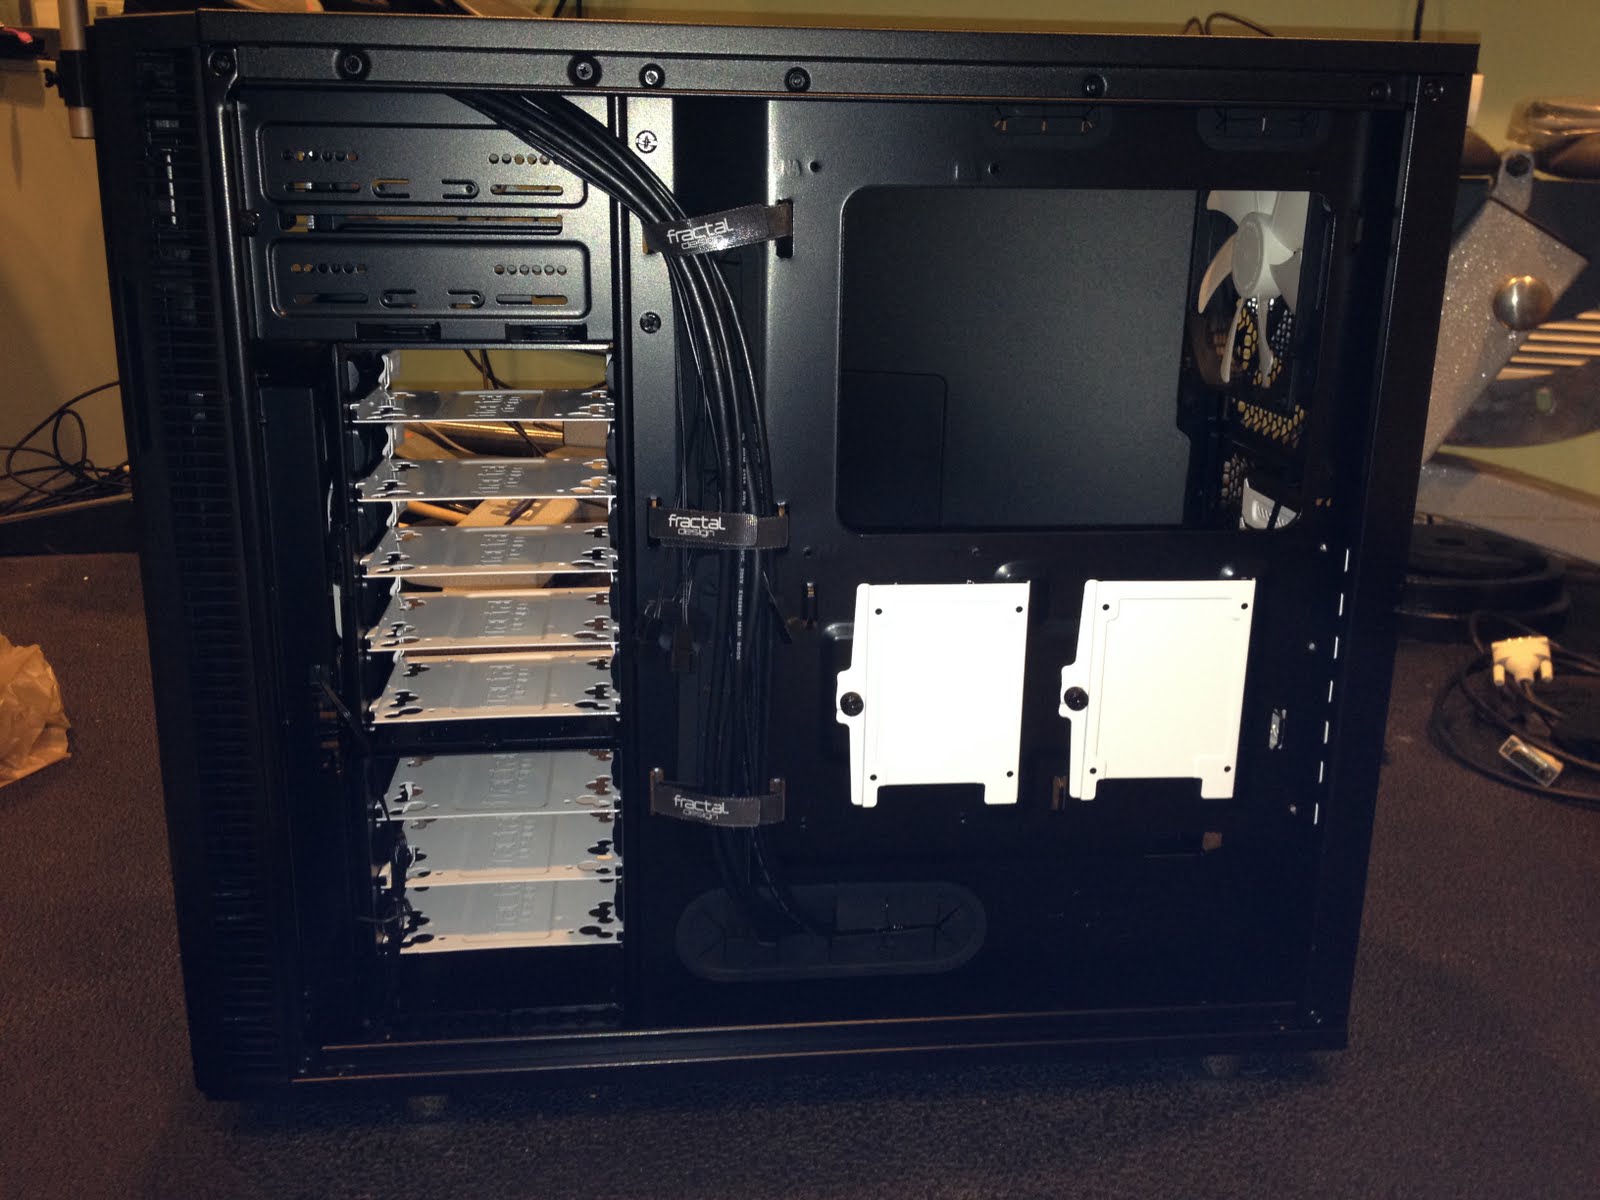
Let's take a look at the right side of the case. Here you can see the rear of the drive bays and a bunch of cable-routing features. There are rubber grommets all around the motherboard tray that allow for easy cable routing back and forth through the case. There are even some you can't see because they are underneath the front panel cables that are routed through those built-in velcro ties. The two white panels are the right are 2.5" drive mounts, so you can mount a couple of SSDs underneath the motherboard. I might use these in the future for jail or VirtualBox storage.
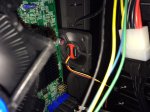
I did get one surprise back here - some of those cables are for the built-in fan controller in this case. It is able to control three fans and there's a switch on the front that you can set for low/medium/high fan speed. This could work out perfectly since I have three case fans, but the surprise was that the input power for the fan controller is a SATA power connector. This is mildly annoying since all eight of my SATA power connectors are already claimed by hard drives, but it's not a big deal - I can just use a molex to SATA adapter to for the fan controller.
Time to mount the power supply. Here we see the bottom rear of the case. There are a couple of nice features here, one is the filtered vent on the bottom of the case for the PSU fan intake. There are also four rubber feet at the bottom that the PSU can rest on. By allowing the PSU to intake air directly from underneath the case and then exhaust it out the rear, it removes the PSU from the cooling equation for the rest of the case.

Here you see the SeaSonic mounted in the case; the fit of this PSU happened to be perfect because the length of it comes right to the end of the rubber feet.

Here's the Supermicro X10SL7-F motherboard. This is one of the most popular motherboards for FreeNAS because of the built-in LSI RAID controller, which can be flashed to IT (Initiator Target) firmware so that FreeNAS gets direct access to the drives instead of being exposed to a hardware RAID volume. The LSI controller supports 8 SAS/SATA drives, these are the blue connectors on the lower right of the board. The additional six SATA connectors at the bottom of the board on the right are the Intel chipset ports. The two white ports are SATA3 6 Gbps ports and the four black ports are SATA2 3 Gbps. I'll be using the 8 LSI ports for my drives.

Here are two sticks of the Crucial ECC memory. The only reason I posted this photo is to highlight the Micron part number MT18KSF1G72AZ-1G6E1 on the Crucial CT2KIT102472BD160B DIMMs, which is exactly the part number that appears on the Supermicro compatibility list for this board (well, there's an extra ZE at the end on the DIMM, but I don't think that matters!).

Here's the board after installing the 32GB ECC RAM and the Xeon CPU with fan. One minor annoyance on this board is that there are no fan connectors right next to the CPU, but it's a MicroATX board so it's not like anything is that far either. I plugged the CPU into FAN-A but I admit I'm unclear if you have to use a specific fan connector for the CPU. EDIT: Based on additional research, it seems preferable to use FAN-1 for the CPU, not FAN-A.

Here's the motherboard mounted in the case and hooked up. The power cable routing isn't as clean as I'd like because unfortunately those cables aren't long enough to go underneath the board and come back out at the top (which the case would allow just fine). So that's a minor fault with this power supply, but not really a big deal. As of right now the server has been running Memtest86+ overnight and everything looks great so far! More to come in the next parts after I've finished qualifying the memory.

FreeNAS Intro Slideshow
Hardware Recommendations Thread
Here is the parts list with the prices I paid in the US. Parts were mainly sourced from Newegg but a few things came from Amazon or Ebay.
Fractal Design Define R5 Case: $90
Fractal Design Dynamic GP-14 140mm Fan: $16
SeaSonic S12G-450 450W PSU: $64
Supermicro X10SL7-F Motherboard: $252
Intel Xeon E3-1220V3 CPU: $180
2x Crucial CT2KIT102472BD160B 16GB (2x8GB) ECC RAM: $286
2x Sandisk Ultra Fit 32GB USB Flash Drive: $23
8x HGST 4TB NAS Hard Drive: $1208
Server Total (no storage): $911
32TB Storage Drives: $1208
Total Cost: $2119
I'd like to point out that the total for the bare server is slightly less than the cost of the Synology DS1815+ I was originally thinking of getting, but is massively more powerful. Admittedly, it will consume more power than the Synology, but it will have more features and the ability to do things like Plex transcoding and Virtualbox without breaking a sweat. I think that's a better than fair tradeoff.
All items have arrived! In case you are wondering why there are only 6 NAS drives, I have two additional drives running in a server that will be replaced by this build. I purchased them very recently because of a drive failure in the old server, so they are exactly the same HGST model as the rest.
Here's a view of the interior of the Define R5 case. This case looks fantastic and there's plenty of room inside for the build. You can see the 8 3.5" bays on the right. You could even squeeze 10 3.5" drives in here if you put adapters in the two 5.25" bays at the top, but the cooling for the last two drives might be suboptimal. There's a box of case accessories in the bottom bay that I hadn't removed yet.
This isn't a hotswap case, but the drives will all be mounted in these white metal sleds, which should make taking out any drive relatively easy.
Here's the front of the case with the door open - the lower part is the front fan filter. You can see the interior of the door is padded with some sound-dampening material. Sorry some of these are a bit dark - the hazards of photographing objects that are mostly black!
With the fan filter removed, you can see the exposed 140mm front fan that is included. The way this fan is positioned, it will basically cool the upper four 3.5" bays. This is why I'm installing a second front fan, which should ensure that the lower four drives also get airflow.
The Fractal GP-14 is the perfect match for the other fans in this case, I just have to flip it over so that it's an intake fan. The screws that come with the fan aren't useful for this mount, but thankfully the case accessory box includes 4 long screws for the additional front fan mount. It looks great, and eagle-eyed readers may notice that I flipped the front door to open on the other side - yes, you can do that.
Speaking of the case accessory box, here's everything you get.
Let's take a look at the right side of the case. Here you can see the rear of the drive bays and a bunch of cable-routing features. There are rubber grommets all around the motherboard tray that allow for easy cable routing back and forth through the case. There are even some you can't see because they are underneath the front panel cables that are routed through those built-in velcro ties. The two white panels are the right are 2.5" drive mounts, so you can mount a couple of SSDs underneath the motherboard. I might use these in the future for jail or VirtualBox storage.
I did get one surprise back here - some of those cables are for the built-in fan controller in this case. It is able to control three fans and there's a switch on the front that you can set for low/medium/high fan speed. This could work out perfectly since I have three case fans, but the surprise was that the input power for the fan controller is a SATA power connector. This is mildly annoying since all eight of my SATA power connectors are already claimed by hard drives, but it's not a big deal - I can just use a molex to SATA adapter to for the fan controller.
Time to mount the power supply. Here we see the bottom rear of the case. There are a couple of nice features here, one is the filtered vent on the bottom of the case for the PSU fan intake. There are also four rubber feet at the bottom that the PSU can rest on. By allowing the PSU to intake air directly from underneath the case and then exhaust it out the rear, it removes the PSU from the cooling equation for the rest of the case.
Here you see the SeaSonic mounted in the case; the fit of this PSU happened to be perfect because the length of it comes right to the end of the rubber feet.
Here's the Supermicro X10SL7-F motherboard. This is one of the most popular motherboards for FreeNAS because of the built-in LSI RAID controller, which can be flashed to IT (Initiator Target) firmware so that FreeNAS gets direct access to the drives instead of being exposed to a hardware RAID volume. The LSI controller supports 8 SAS/SATA drives, these are the blue connectors on the lower right of the board. The additional six SATA connectors at the bottom of the board on the right are the Intel chipset ports. The two white ports are SATA3 6 Gbps ports and the four black ports are SATA2 3 Gbps. I'll be using the 8 LSI ports for my drives.
Here are two sticks of the Crucial ECC memory. The only reason I posted this photo is to highlight the Micron part number MT18KSF1G72AZ-1G6E1 on the Crucial CT2KIT102472BD160B DIMMs, which is exactly the part number that appears on the Supermicro compatibility list for this board (well, there's an extra ZE at the end on the DIMM, but I don't think that matters!).
Here's the board after installing the 32GB ECC RAM and the Xeon CPU with fan. One minor annoyance on this board is that there are no fan connectors right next to the CPU, but it's a MicroATX board so it's not like anything is that far either. I plugged the CPU into FAN-A but I admit I'm unclear if you have to use a specific fan connector for the CPU. EDIT: Based on additional research, it seems preferable to use FAN-1 for the CPU, not FAN-A.
Here's the motherboard mounted in the case and hooked up. The power cable routing isn't as clean as I'd like because unfortunately those cables aren't long enough to go underneath the board and come back out at the top (which the case would allow just fine). So that's a minor fault with this power supply, but not really a big deal. As of right now the server has been running Memtest86+ overnight and everything looks great so far! More to come in the next parts after I've finished qualifying the memory.
Last edited:


 (keep an eye on your temps). The idle temps were perfect, mid/low 30s so I'm fairly confident the heat sink is mounted correctly. I am pretty sure the cpu fan rpm never fluctuated, it stayed at 1000rpm no matter what the cpu temp was while in FAN1. Right now I have the CPU fan in header FANA and for the first time the cpu fan is above 1000rpm, hovering around 1900rpm. Still working on more testing. Based on the majority of what I've read, it would seem FAN1 is the correct header for the cpu fan, and does make some sense to me as I've read its also tied to the PWM of FAN1-4. If I picture a rack mount server, with a row of fans across the case, presumably plugged into FAN1-4, a cpu with a passive cooler (no direct fan on heatsink), then when the cpu needed more cooling, it would make sense to spool up all those fans to move air across the entire motherboard/cpu.