TrueNAS Apps: Tutorials
Application maintenance is independent from TrueNAS version release cycles.
App versions, features, options, and installation behavior at time of access might vary from documented tutorials and UI reference.
Syncthing (Stable)
9 minute read.
Before launching the app installation wizard, do the following:
Create the required dataset, config and an optional data1.
Syncthing stores configuration information in the config dataset. You can use the data1 dataset to store application data.
Create the two datasets before beginning the app installation process. You can organize these under a parent dataset to keep the Syncthing storage datasets separated from datasets for other potential applications. For example, create a parent dataset syncthing with the two child datasets nested under it.
If not already assigned, set a pool for applications to use.
(Optional) Create a new TrueNAS user to serve as the administrator for the app
Either use the default user and group IDs or create a new user with Create New Primary Group selected. Make note of the UID/GID for the new user.
This basic procedure covers the required Syncthing stable app settings. For optional settings, see Understanding Syncthing Wizard Settings.
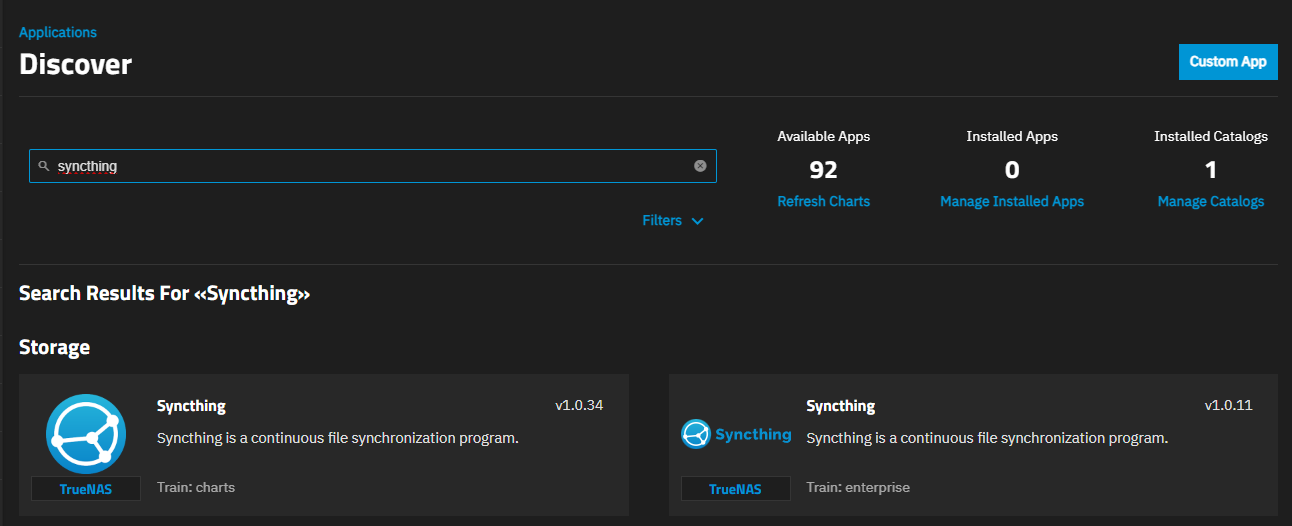
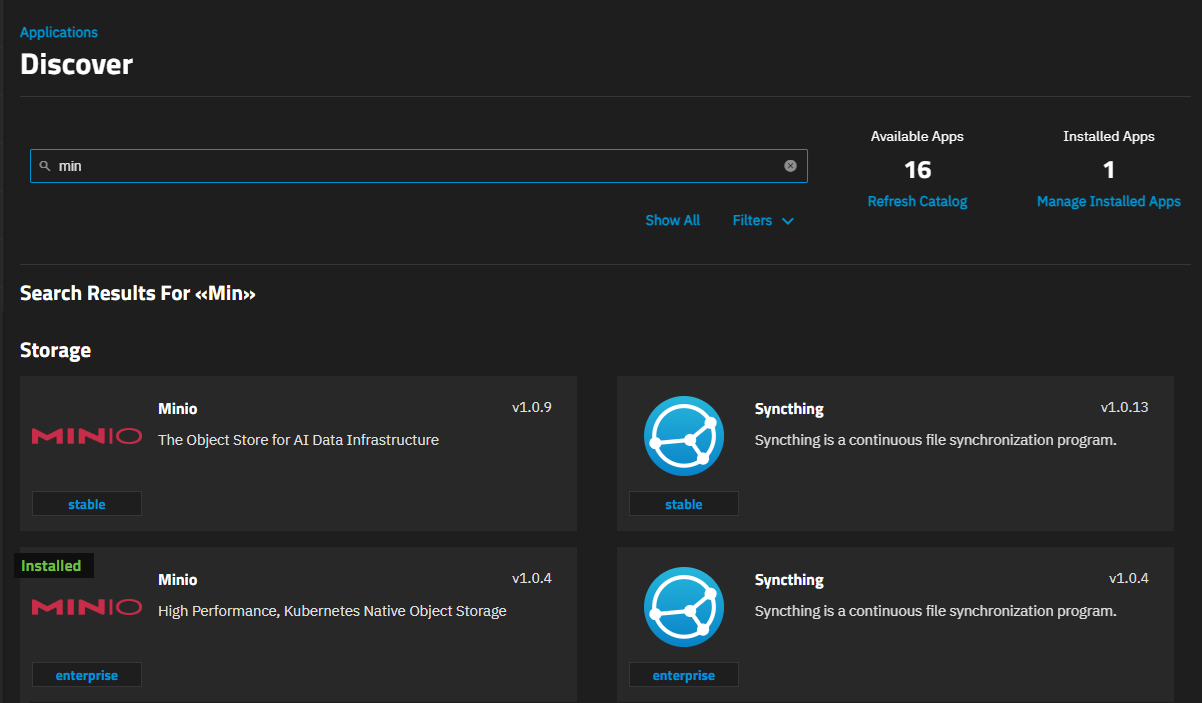
Go to Apps, click on Discover Apps, and locate the app widget by either scrolling down to it or begin typing the name into the search field. For example, to locate the MinIO app widget, begin typing minIO into the search field to show app widgets matching the search input.
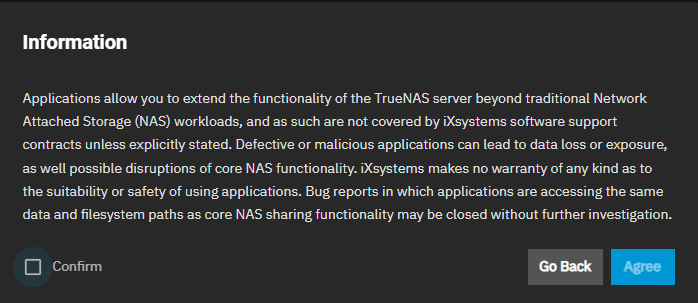
If this is the first application installed, TrueNAS displays a dialog about configuring apps.
If not the first time installing apps the dialog does not show, click on the widget to open the app information screen.
Click Install to open the app installation wizard.
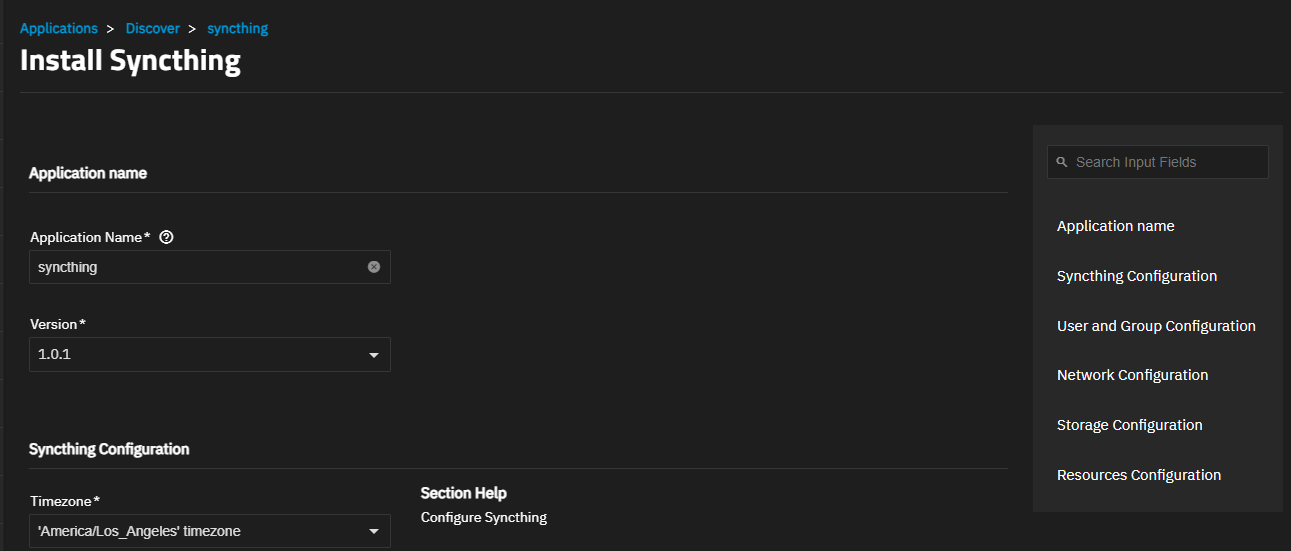
Application configuration settings are grouped into several sections, each explained below in Understanding App Installation Wizard Settings. To find specific fields begin typing in the Search Input Fields search field to show the section or field, scroll down to a particular section, or click on the section heading in the list of sections on the upper-right of the wizard screen.
Accept the default value or enter a name in Application Name field. In most cases use the default name, but if adding a second deployment of the application you must change this name.
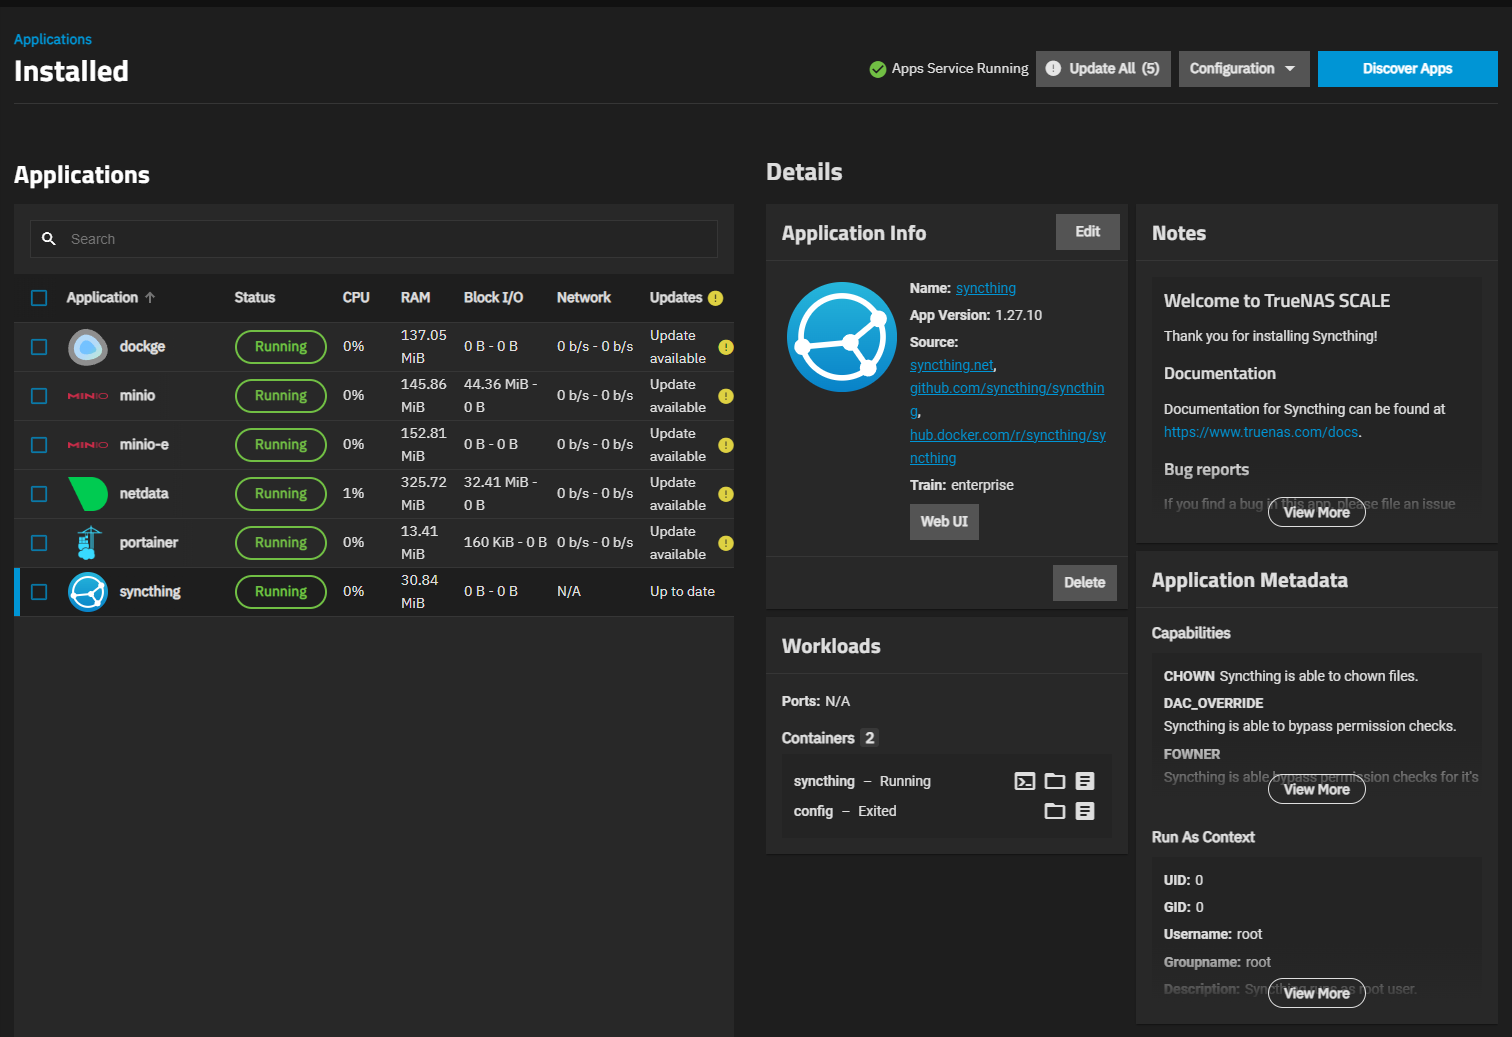
Accept the default version number in Version. When a new version becomes available, the application shows an update badge and the Application Info widget on the Installed applications screen shows the Update button.
You can have multiple deployments of the same app (for example, two or more from the stable or enterprise trains, or a combination of the stable and enterprise trains).
Accept the default user and group ID settings (568). If you created a user for this app, change these settings to the UID/GID for that new user.
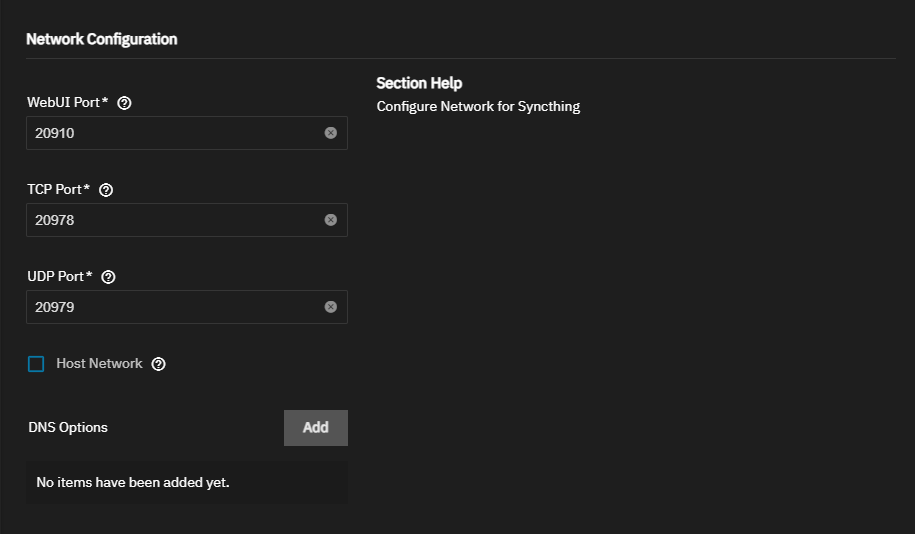
Accept the default port numbers in Networking, and leave the Host Network cleared. See Network Settings below for more information on network settings.
Configure the storage settings. Syncthing uses one dataset and mount paths, but you can add as many as you want. Set the first to /config with the host path set to the config dataset. Another optional mount point can be /data1 with the host path set to a data1 dataset. The Syncthing stable train app config stores app configuration data. An additional storage volumes such as a data or data1 dataset can store data but this is not required.
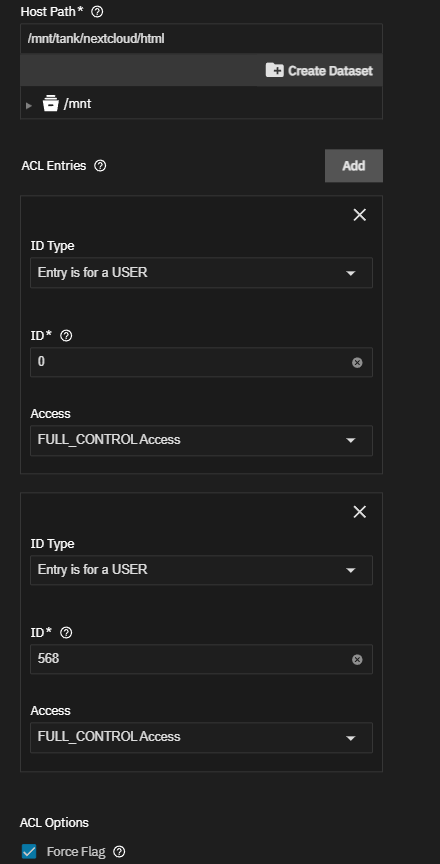
Select Enable ACL to show the ACL and ACE Entries options.
Select Force Flag to apply the ACL even if the path has existing data. This allows you to update the app when an update is available.
See Storage Settings below for more information.
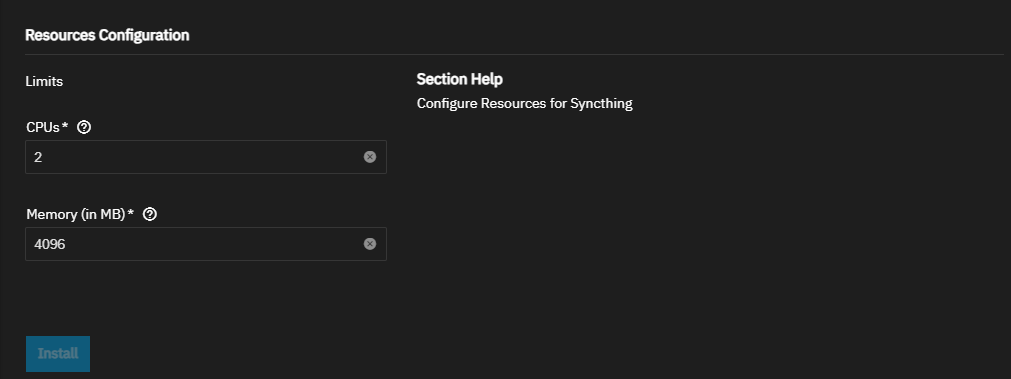
Accept the default values in Resources Configuration.
Click Install.
The Installed applications screen opens showing the application in the Deploying state before it changes to Running when the application is ready to use.
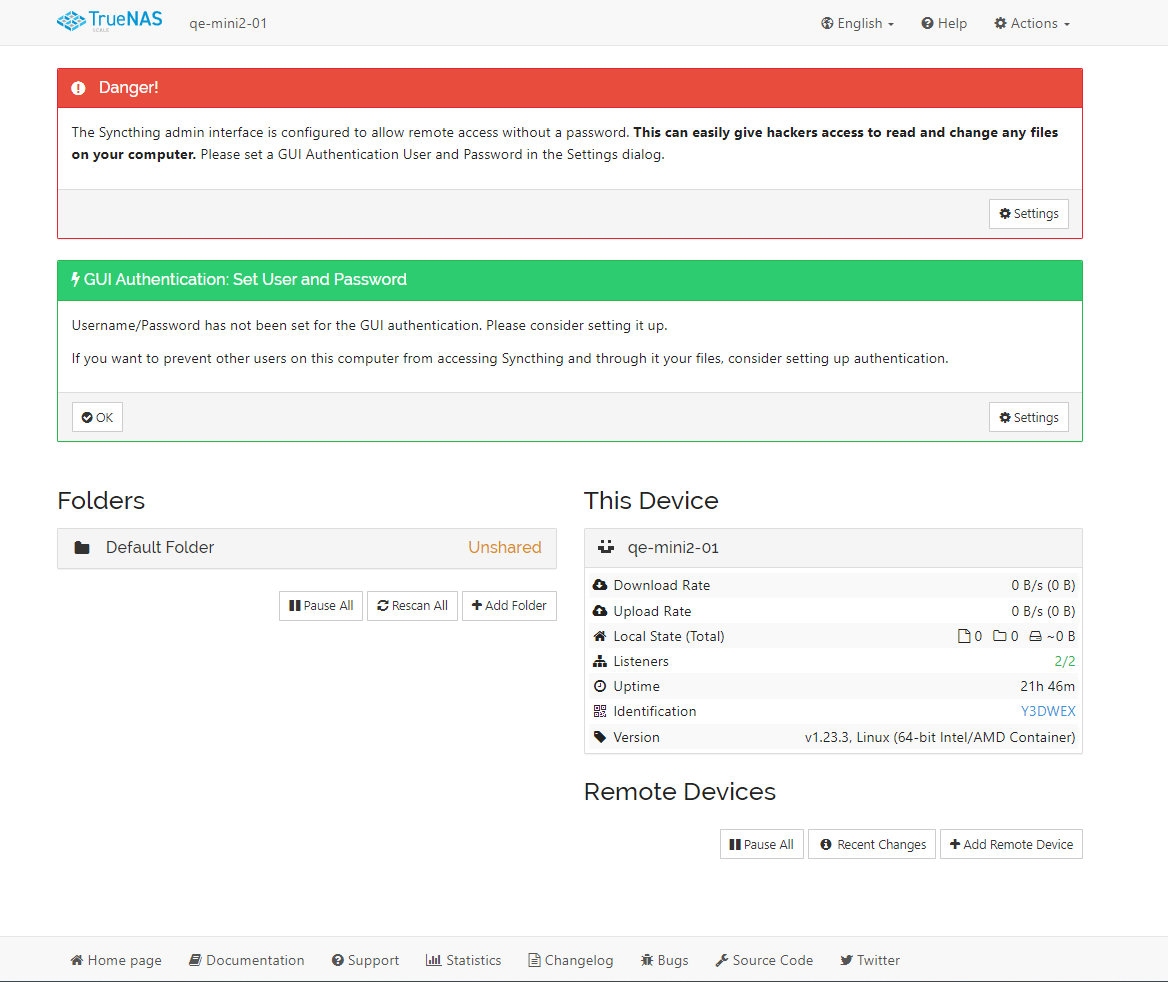
Click Web Portal to open the Syncthing admin interface.
After installing and starting the Syncthing application, launch the Syncthing web UI. Go to Actions > Settings and set a user password for the web UI.
The following sections provide more detail explanations of the settings found in each section of the Install Syncthing screen.
Accept the default value or enter a name in Application Name field. In most cases use the default name, but if adding a second deployment of the application you must change this name.
Accept the default version number in Version. When a new version becomes available, the application shows an update badge and the Application Info widget on the Installed applications screen shows the Update button.
The Syncthing app wizard is configured with all settings required to deploy the container, but you can add additional settings if you want to further customize the app in TrueNAS.
Accept the user and group defaults settings in User and Group Configuration, or enter new user and group IDs for the user created to administer this app. The default value for User Id and Group ID is 568.
Accept the default port numbers in Web Port for Syncthing, TCP Port for Syncthing, and UDP Port for Syncthing. The TrueNAS Syncthing stable app listens on port 20910. The default TCP port is 20978 and the default UDP port is 20979.
Clearing the Host Network checkbox shows the TCP and UDP port numbers, and the web UI listens on port 22000.
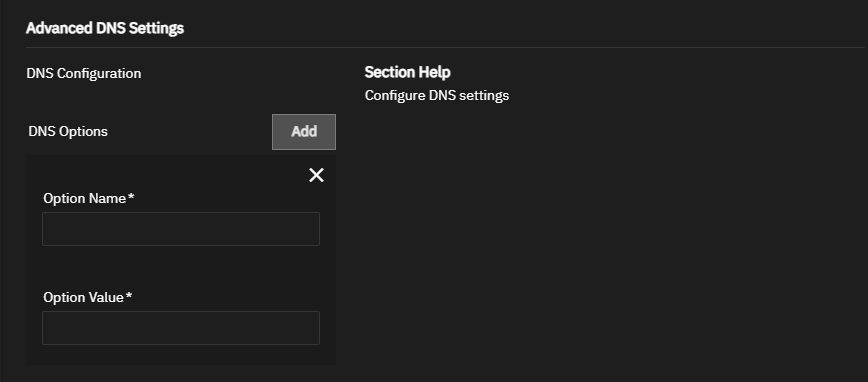
The app does not require configuring advanced DNS options. Accept the default settings or click Add to the right of DNS Options to enter the option name and value.
The Syncthing stable train app requires one storage volume/dataset to store configuration data and you can use a second dataset for app data storage. Create one named config and the other dataset named data1.
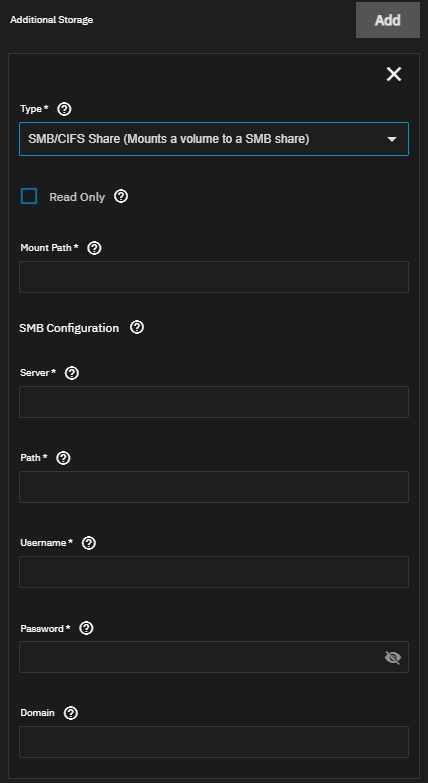
The TrueNAS Syncthing app includes the option to mount an SMB share inside the container pod.
Set Type an SMB/CIFS Share (Mounts a volume to a SMB share) to add an SMB share storage volume.
Select Read Only to make the storage volume read only.
Enter the path inside the container to mount the storage for the share volume in Mount Path.
Enter the server address for the SMB share in Server, the path to mount the SMB share in Path, and the share authentication user credentials in User and Password. (Optional) enter the share domain name in domain.
Permissions are currently limited to the permissions of the user that mounted the share.
Use the SMB option for data synchronization between a share and the app if the option shows on the screen. A present, only the Syncthing app includes this option.


