TrueNAS Apps: Tutorials
Application maintenance is independent from TrueNAS version release cycles.
App versions, features, options, and installation behavior at time of access might vary from documented tutorials and UI reference.
Collabora
2 minute read.
This Community App article provides installation instructions using the legacy TrueNAS Applications screen. TrueNAS 23.10 (Cobia) introduces new Installed and Discover screens for applications. See Apps and Applications Screens to learn how to install applications using these screens.
The TrueNAS Apps catalogue now includes Collabora from the developers of Nextcloud.
With Collabora, you can host your online office suite at home.
To integrate Collabora correctly, you must have a Nextcloud account with Collabora added.
We welcome community contributions to keep this documentation current! Click Edit Page in the top right corner to propose changes to this article. See Updating Content for more information.
Click on the Collabora app Install button in the Available Applications list.
Name your app and click Next. In this example, the name is collabora1.
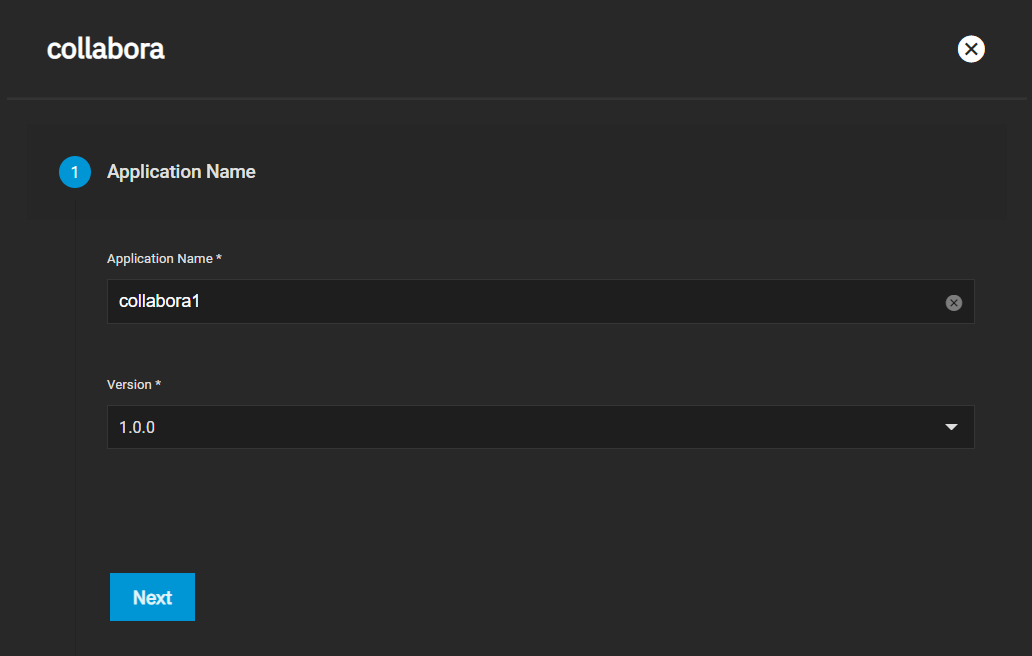
Select a Timezone and, if you wish, enter a custom Username and Password.
You can also add extra parameters to your container as you see fit. See The LibreOffice GitHub Parameters page for more.
After you select your container settings, choose a Certificate and click Next.
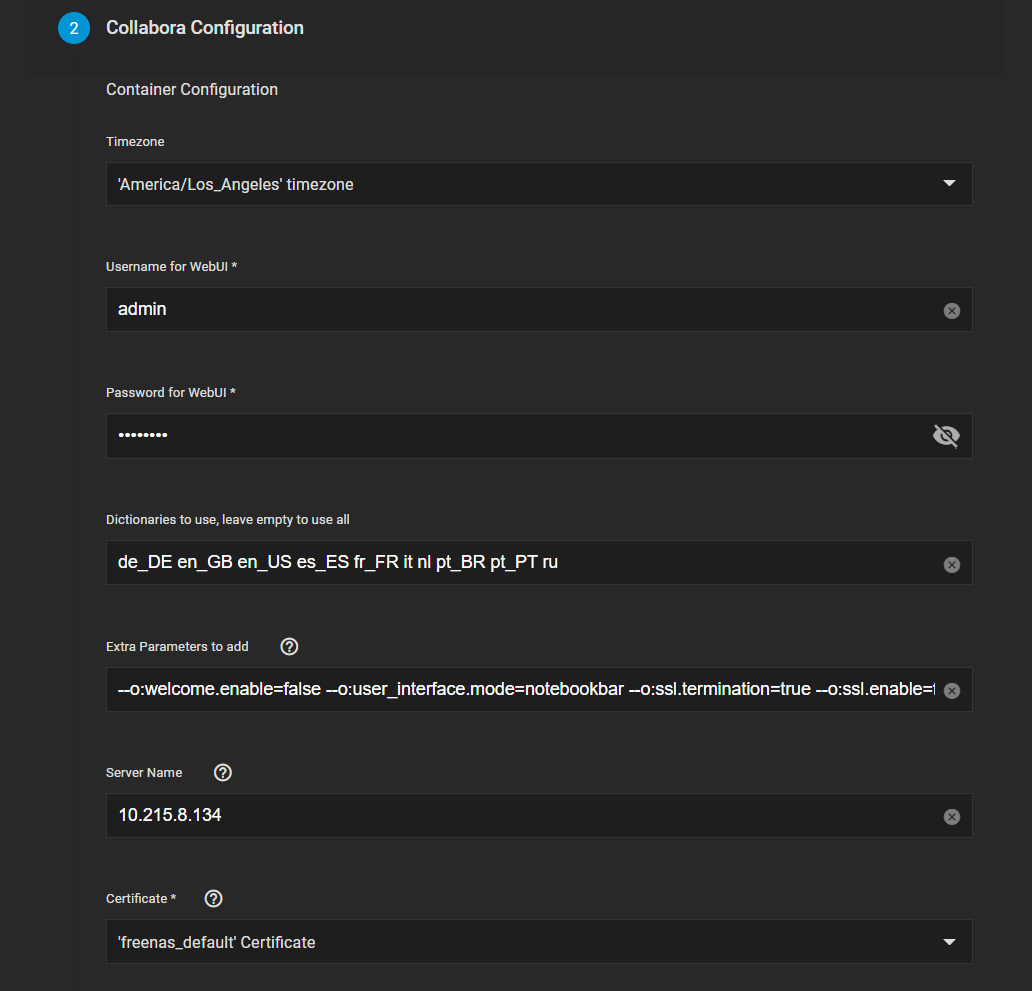
Enter Environmental Variables as needed, then click Next.
Choose a node port to use for Collabora (we recommend the default), then click Next.

Configure extra host path volumes for Collabora as you see fit, then click Next.
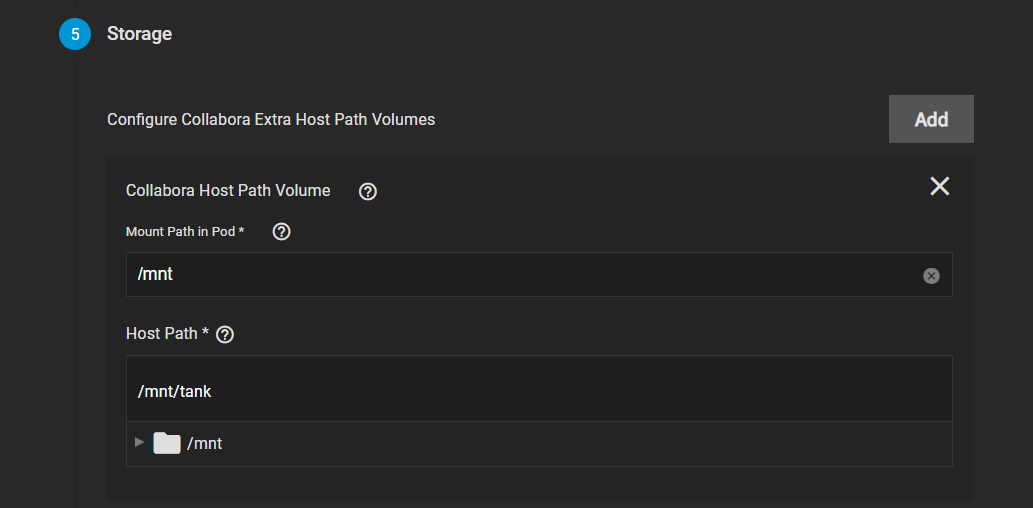
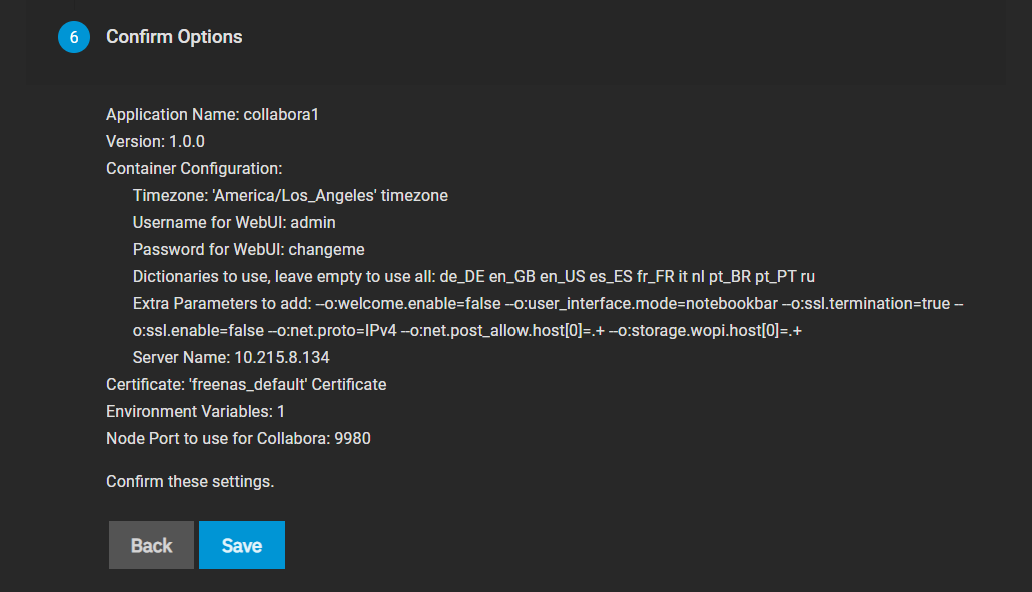
Confirm your Collabora container options and click Save to complete setup.
After a few minutes, the Collabora container displays as ACTIVE.

After it does, you can click Web Portal to access the admin console.


