SNMP

SNMP (Simple Network Management Protocol) monitors network-attached devices for conditions that warrant administrative attention. TrueNAS uses Net-SNMP to provide SNMP. To configure SNMP, go to System Settings > Services page, find SNMP, and click the edit. See SNMP Service Screen for setting information. Port UDP 161 listens for SNMP requests when starting the SNMP service. Management Information Bases (MIBs) Click to view or download a static copy of the SCALE 24.
Read full post gdoc_arrow_right_alt

SNMP Service Screen

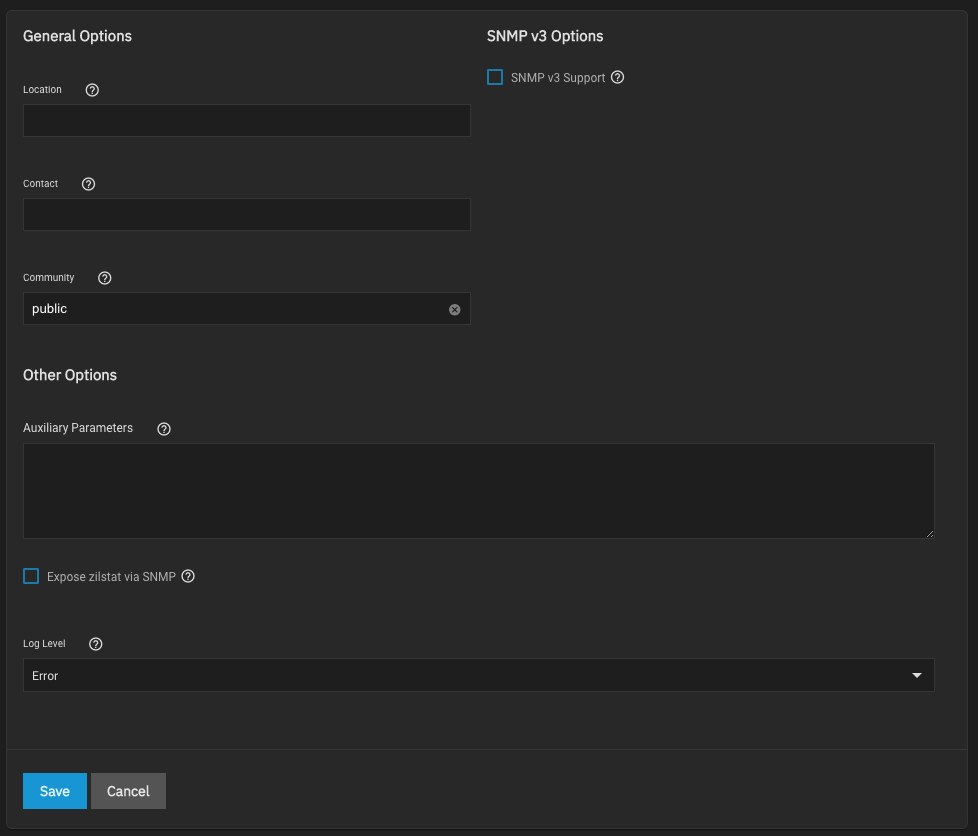
The Service > SNMP screen settings configure SNMP (Simple Network Management Protocol) that monitors network-attached devices for conditions that warrant administrative attention. Click the edit to open the Services > SNMP configuration screen. General Options SNMP v3 Options Setting Description Location Enter the location of the system. Contact Enter the email address to receive SNMP service messages. Community Enter a community other than the default public to increase system security. Value can only contain alphanumeric characters, underscores (_), dashes (-), periods (.
Read full post gdoc_arrow_right_alt

Configuring SNMP

SNMP (Simple Network Management Protocol) monitors network-attached devices for conditions that warrant administrative attention. TrueNAS uses Net-SNMP to provide SNMP. To configure SNMP, go to the Services page, find the SNMP entry, and click the edit. See SNMP screen for information on settings. After starting the SNMP service, port UDP 161 listens for SNMP requests. Checking the Management Information Bases (MIBs) Directory Locate available Management Information Bases (MIBs). Go to /usr/local/share/snmp/mibs.
Read full post gdoc_arrow_right_alt

SNMP Screen

Simple Network Management Protocol (SNMP) is an Internet Standard protocol. SNMP gathers and sorts data about managed devices on IP networks, such as LANs and WANs. Use the SNMP screen to configure SNMP service on your TrueNAS. After selecting SNMP v3 Support more configuration fields display. After filling in all required fields with appropriate values, the SAVE button activates. Click SAVE to save settings. Click CANCEL to exit without saving and display the Services screen.
Read full post gdoc_arrow_right_alt