Entra Domain Services (Azure DS)
3 minute read.
Organizations can use Microsoft Entra Domain Services (formerly Azure Active Directory Domain Services) to manage users and groups by connecting TrueNAS to an Azure domain and joining the managed directory.
Recommended best practice for increased security and flexible administration is to synchronize Entra ID with an on-premises active directory domain. However, some organizations prefer to use cloud-only domain services. This tutorial outlines how to join TrueNAS to an Entra ID without an on-premises domain.
Integrating third-party software or services means data can go to a third-party commercial vendor not directly affiliated with TrueNAS. Third-party services are configured and maintained by the end user and not supported by TrueNAS. Consult third-party vendor documentation, support, and/or bug reporting procedures for any functionality issues in third-party software.
To join TrueNAS to Entra ID domain services, you need an active Azure account with Entra ID and Entra Domain Services enabled and configured as described in Microsoft documentation.
After initial configuration of the domain:
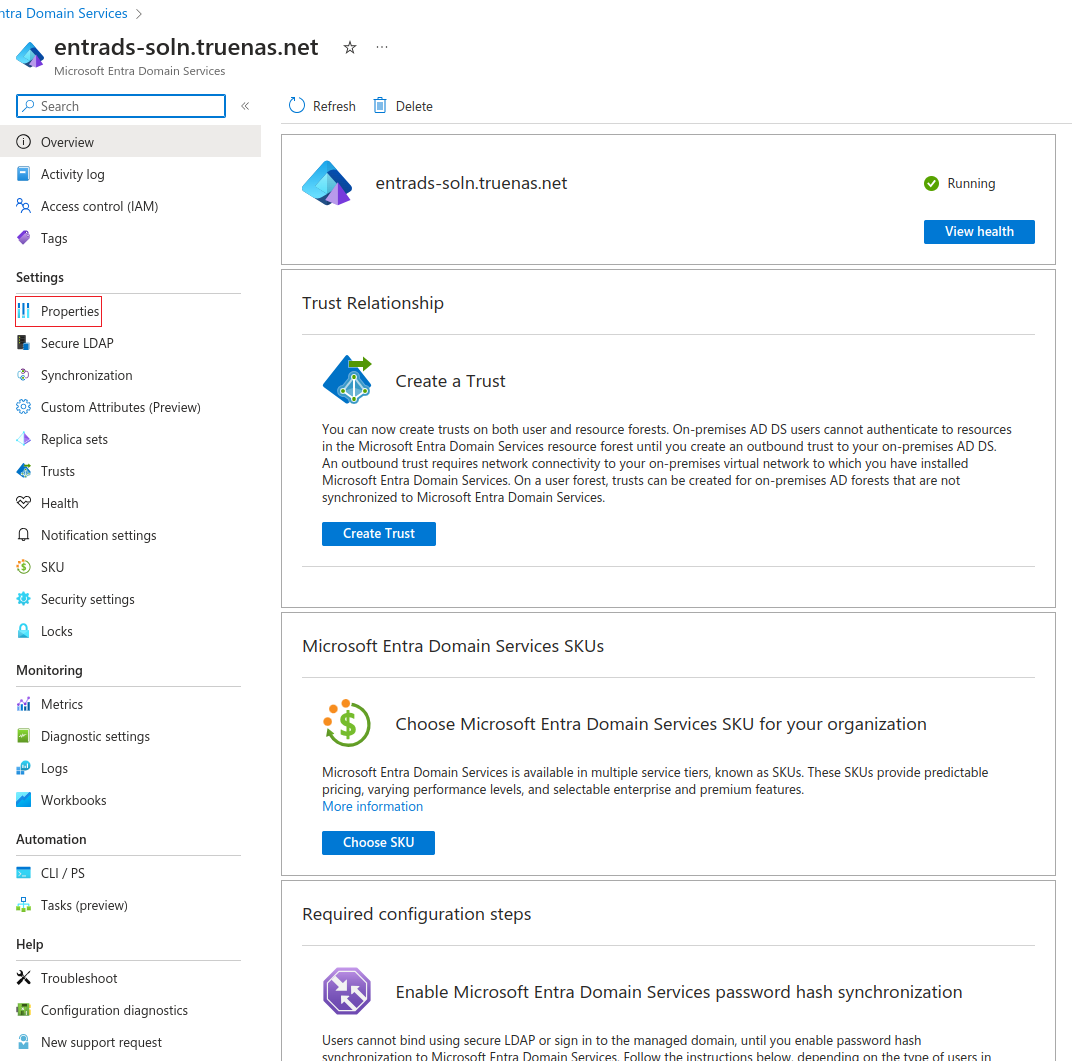
In the Entra admin center, go to the Microsoft Entra Domain Services Overview tab for your managed domain.
Record the domain name. Click Properties under Settings and record the IP Address on virtual network addresses. Save these for later.
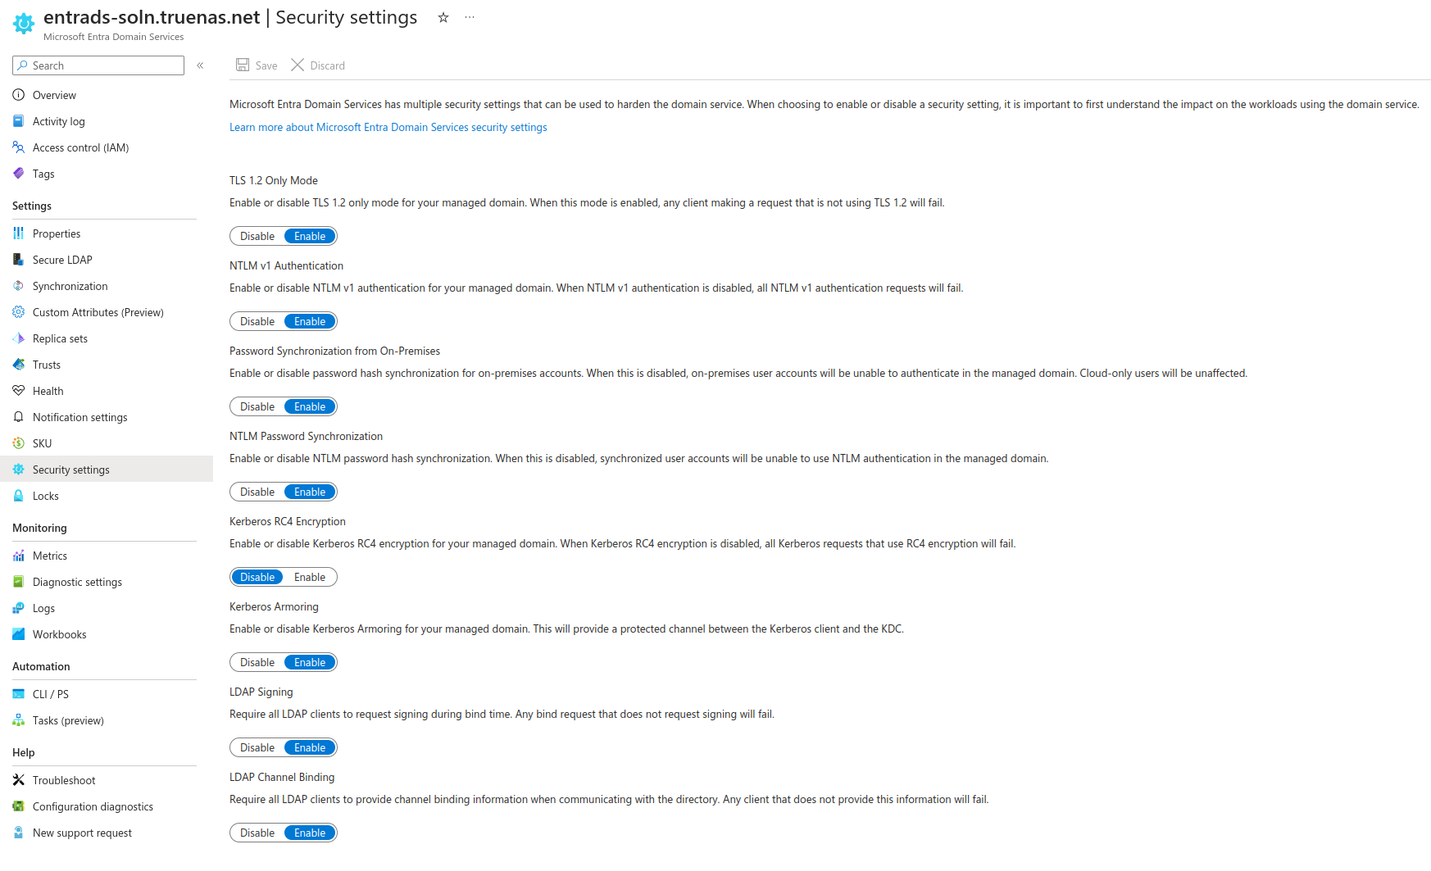
Go to Security Settings and configure as shown.
Create a site-to-site VPN gateway.
Entra ID domain services uses hard-coded network addresses and a bundled DNS server, so a VPN is needed to ensure proper DNS resolution. There are numerous possible solutions for this purpose. The TrueNAS team does not suggest or support a specific third-party VPN service. For one option, see Tutorial: Create a site-to-site VPN connection in the Azure portal from Microsoft.
Edit network configuration to enable TrueNAS to reach the Entra ID domain services instance and then join the domain.
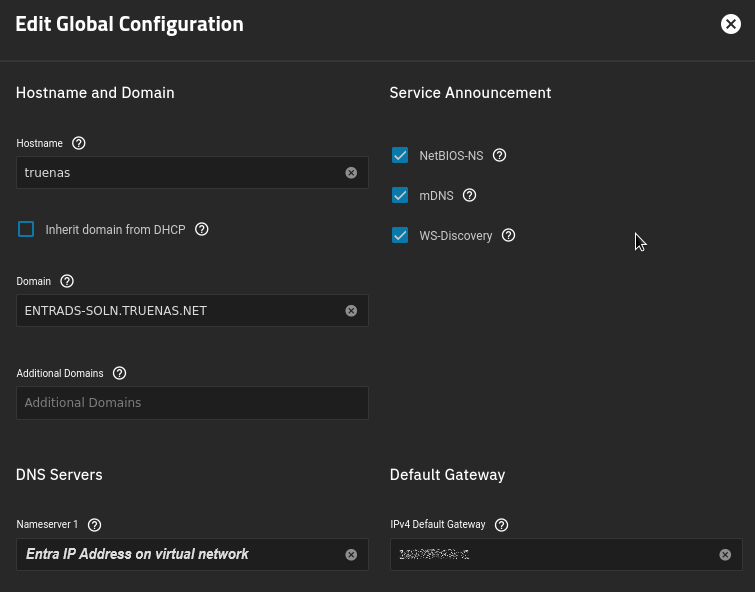
Configure network connections. Go to Network and click Settings on the Global Configuration widget to open the Edit Global Configuration screen.
Enter the domain name from Entra ID domain services in Domain.
Enter the Entra IP Address on virtual network, recorded above, as a nameserver to route connections to the Entra domain services DNS server.
Confirm connectivity. Connect to a local TrueNAS shell or SSH session and enter the
ping EntraDomaincommand, where EntraDomain is the domain name entered above. Verify the ping is successful.Join the domain.
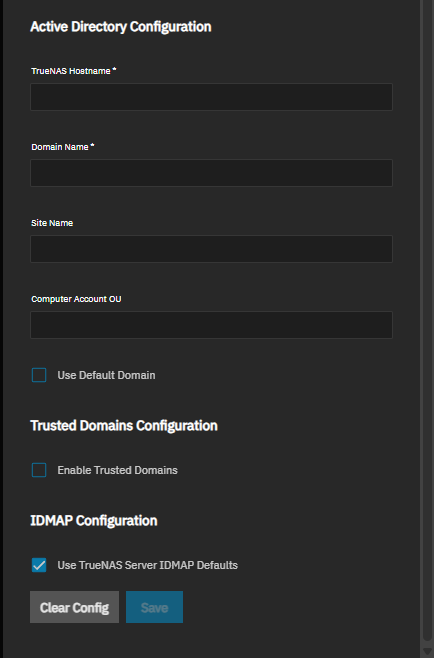
a. Go to Credentials > Directory Services and click Configure Active Directory to open the Active Directory screen.
b. Enter the Entra domain name in Domain Name and the administrator account credentials in Domain Account Name and Domain Account Password.
c. Select Enable to attempt to join the domain immediately after saving the configuration.
d. Click Save.
TrueNAS can take a few minutes to populate directory information after configuration. To check the join progress, open the assignment Task Manager in the upper-right corner. TrueNAS displays any errors during the join process in the Task Manager.
Verify domain users and groups are available.
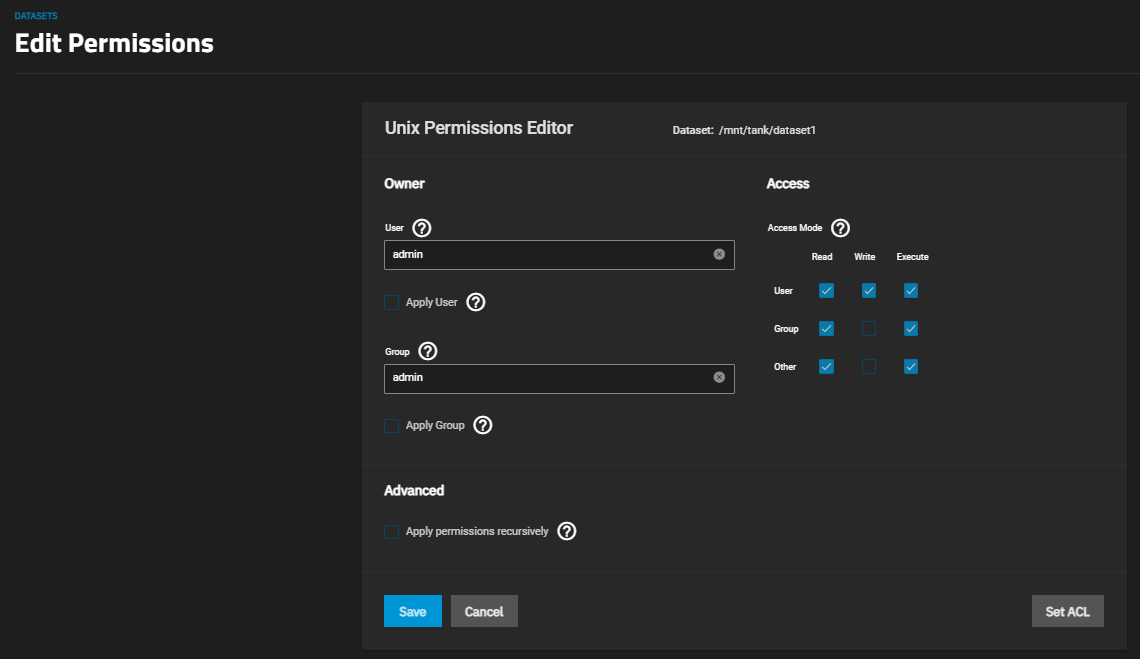
Go to Datasets and select any existing non-root dataset from the dataset tree table. Click Edit on the Permissions widget to open the permissions edit screen for the dataset.
Use the User and Group dropdown menus to ensure domain accounts are present.


