View Enclosure Screen (TrueNAS Systems Only)
4 minute read.
The View Enclosure screen only displays on compatible TrueNAS hardware. The UI options to select System > Enclosure is not present on incompatible systems.
Those interested in purchasing compatible TrueNAS appliances can click here to compare options or get a request a quote from a product specialist.
The System Information widget on the main Dashboard displays an image of the host TrueNAS system. Hover the mouse over the image to see the View Enclosure label. Click anywhere on the system image to open the View Enclosure screen.
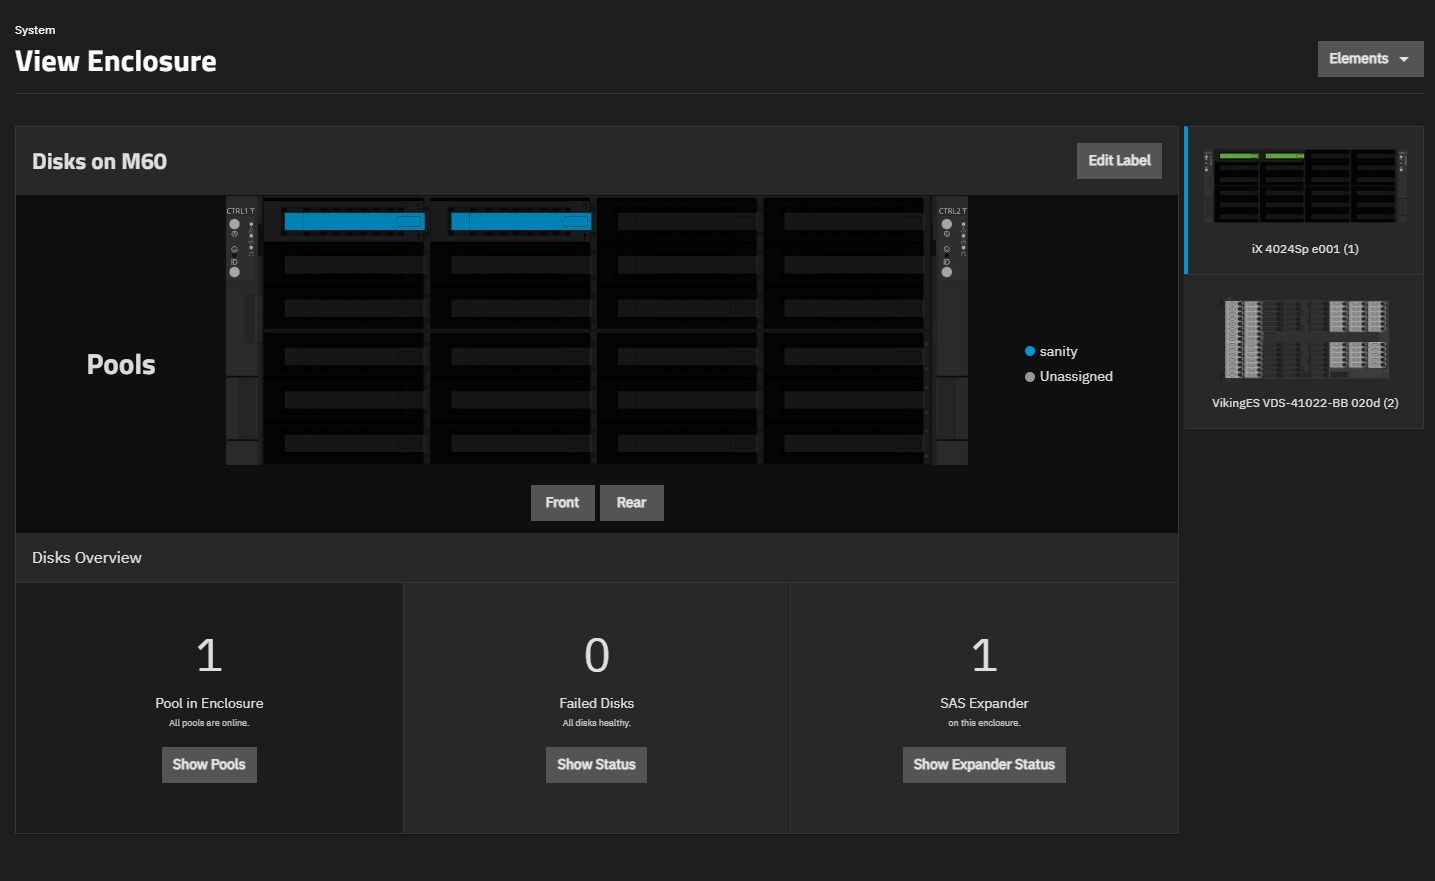
The View Enclosure screen displays an image of the TrueNAS platform. Additional information about storage pools, drives, and other hardware components is available through a variety of elements and buttons.
The Elements button at the top right of the View Enclosure screen displays a dropdown list of options to view information about the system or expansion shelf. The options vary by TrueNAS platform, if the system is connected to expansion shelves, and if you have an expansion shelf image selected instead of the main system. All TrueNAS systems include the Disks option. TrueNAS systems with expansion shelves include the Temperature, Power Supply, and Voltage options. The expansion shelf includes the Disks, Cooling, Services, Power Supply, SAS, Temperature, and Voltage options. Each option displays a table with readings from the system’s internal components taken over a period of time.
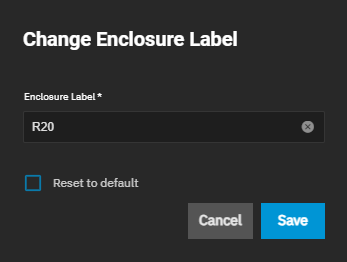
Edit Label displays for the main system (except TrueNAS Minis) and expansion shelves. Edit Label opens the Change Enclosure Label window.
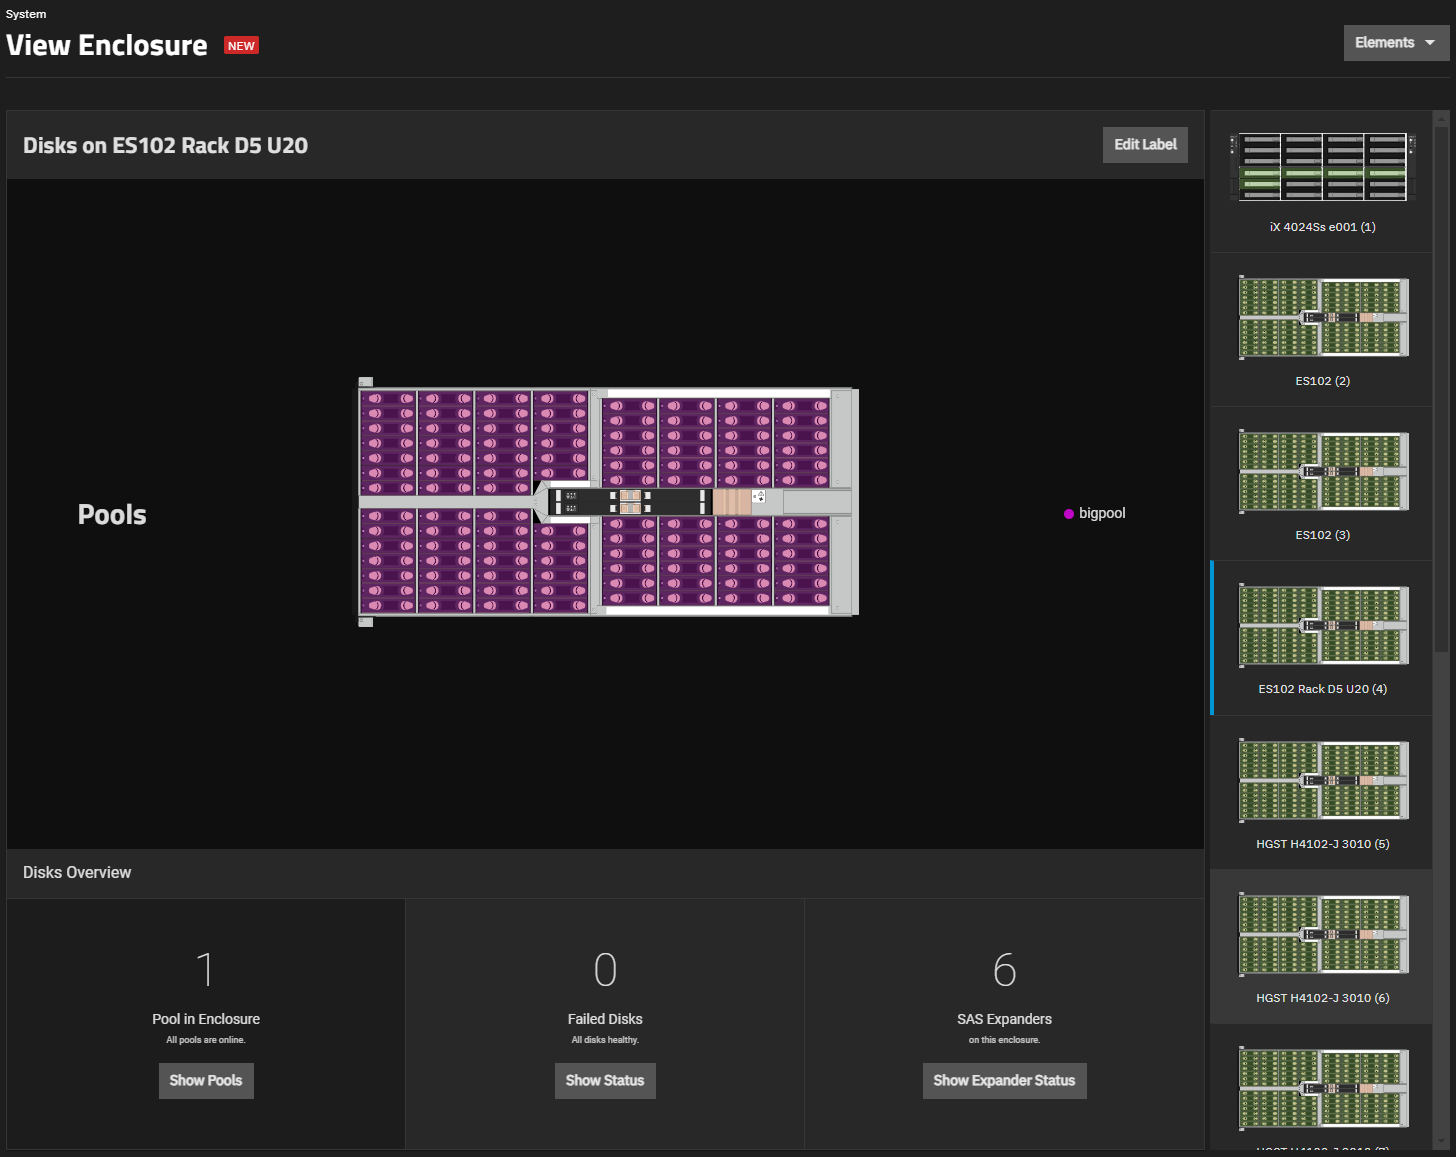
Type a name or description for the system and click Save to apply the label. To simplify system maintenance, use labels that help identify the physical location of the system, such as ES102 Rack D5 U20. Reset to Default restores the default name for the system.
System images display the front view of the system by default.
System image screens include options to change the information on the screen:
- Show Pools shows disks highlighted in pools on the system image.
- Show Status shows healthy or failed disks in the system and a status indicator color legend.
- Show Expander Status shows a SAS expander status indicator for systems with one or more expander.
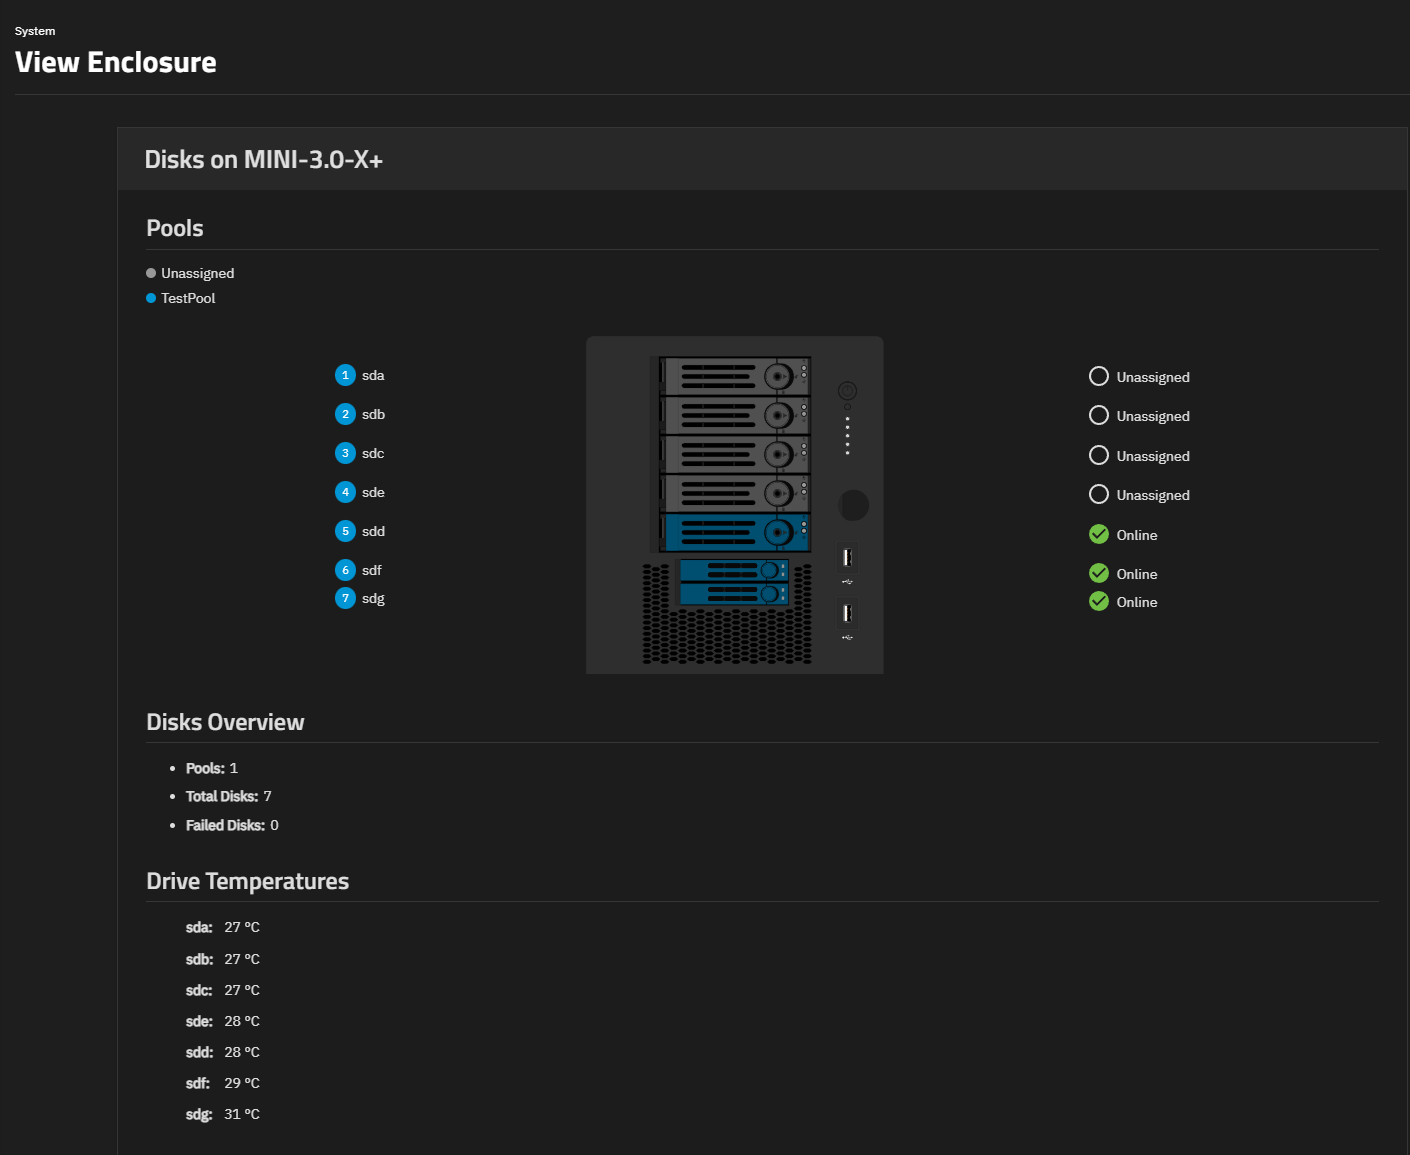
TrueNAS Mini systems display the front view of the system chassis.
Pool information displays at the top of the screen. The drive bay number and disk label displays to the left of the image and the status to the right of the image. The Disk Overview section provides general details about the system drive hardware and capacity. Drive Temperatures displays current readings for each drive in the system.
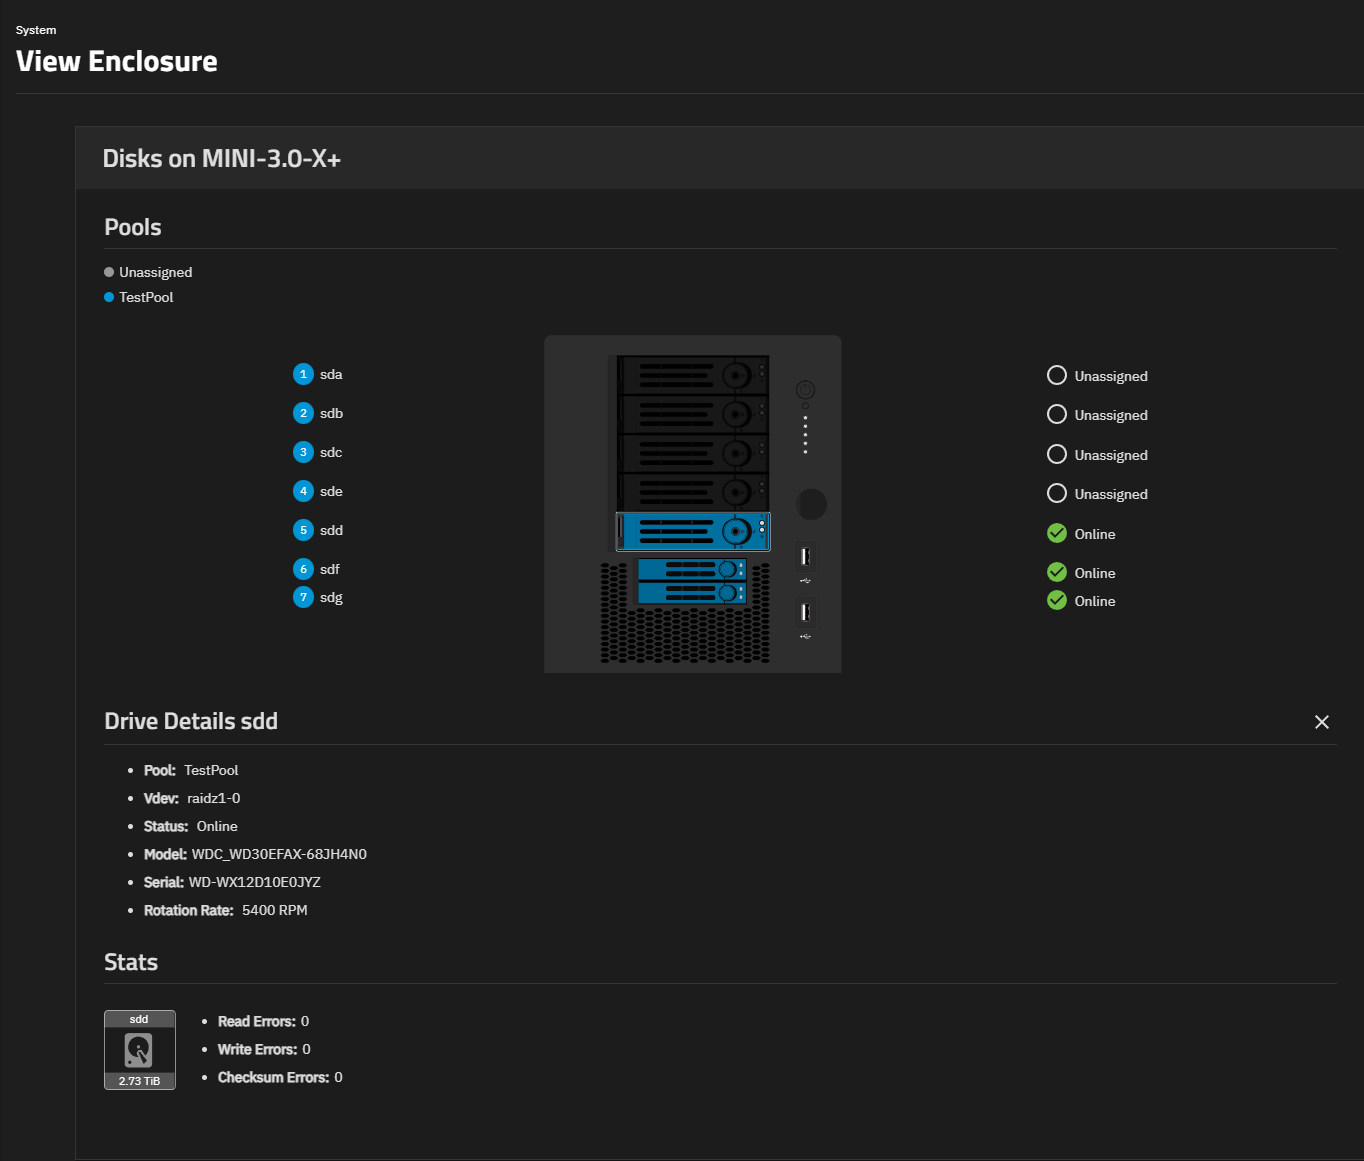
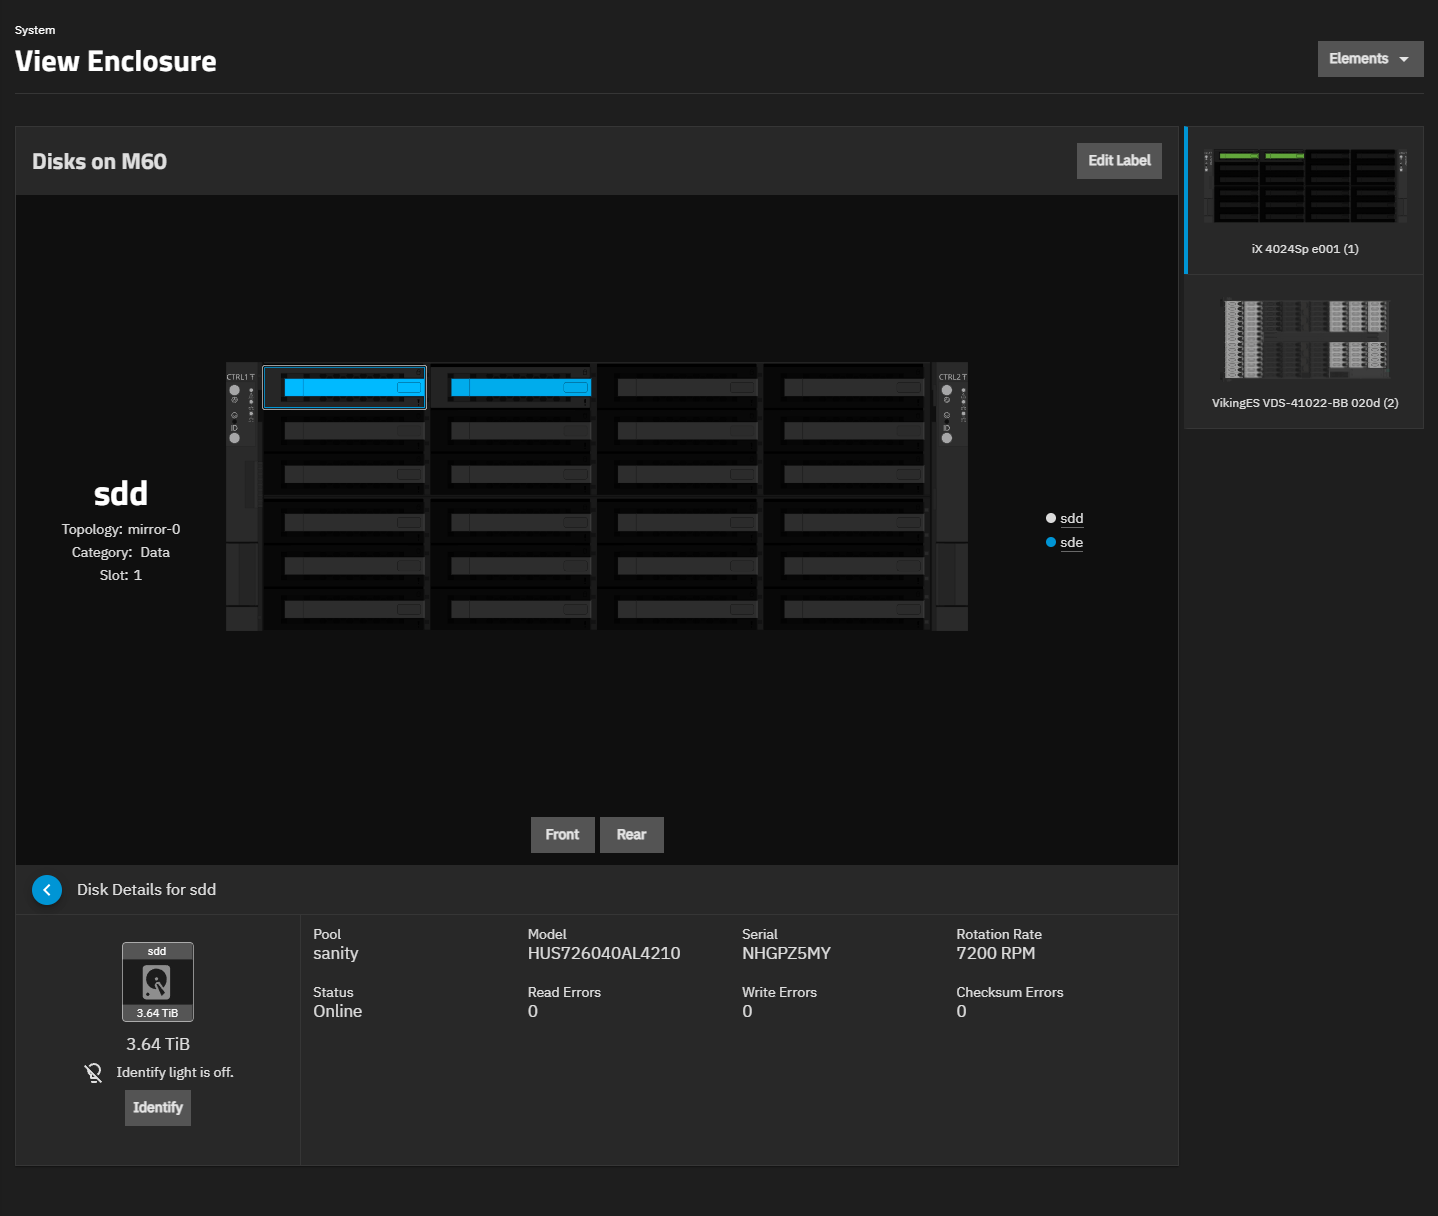
Click on a disk to show drive details and stats.
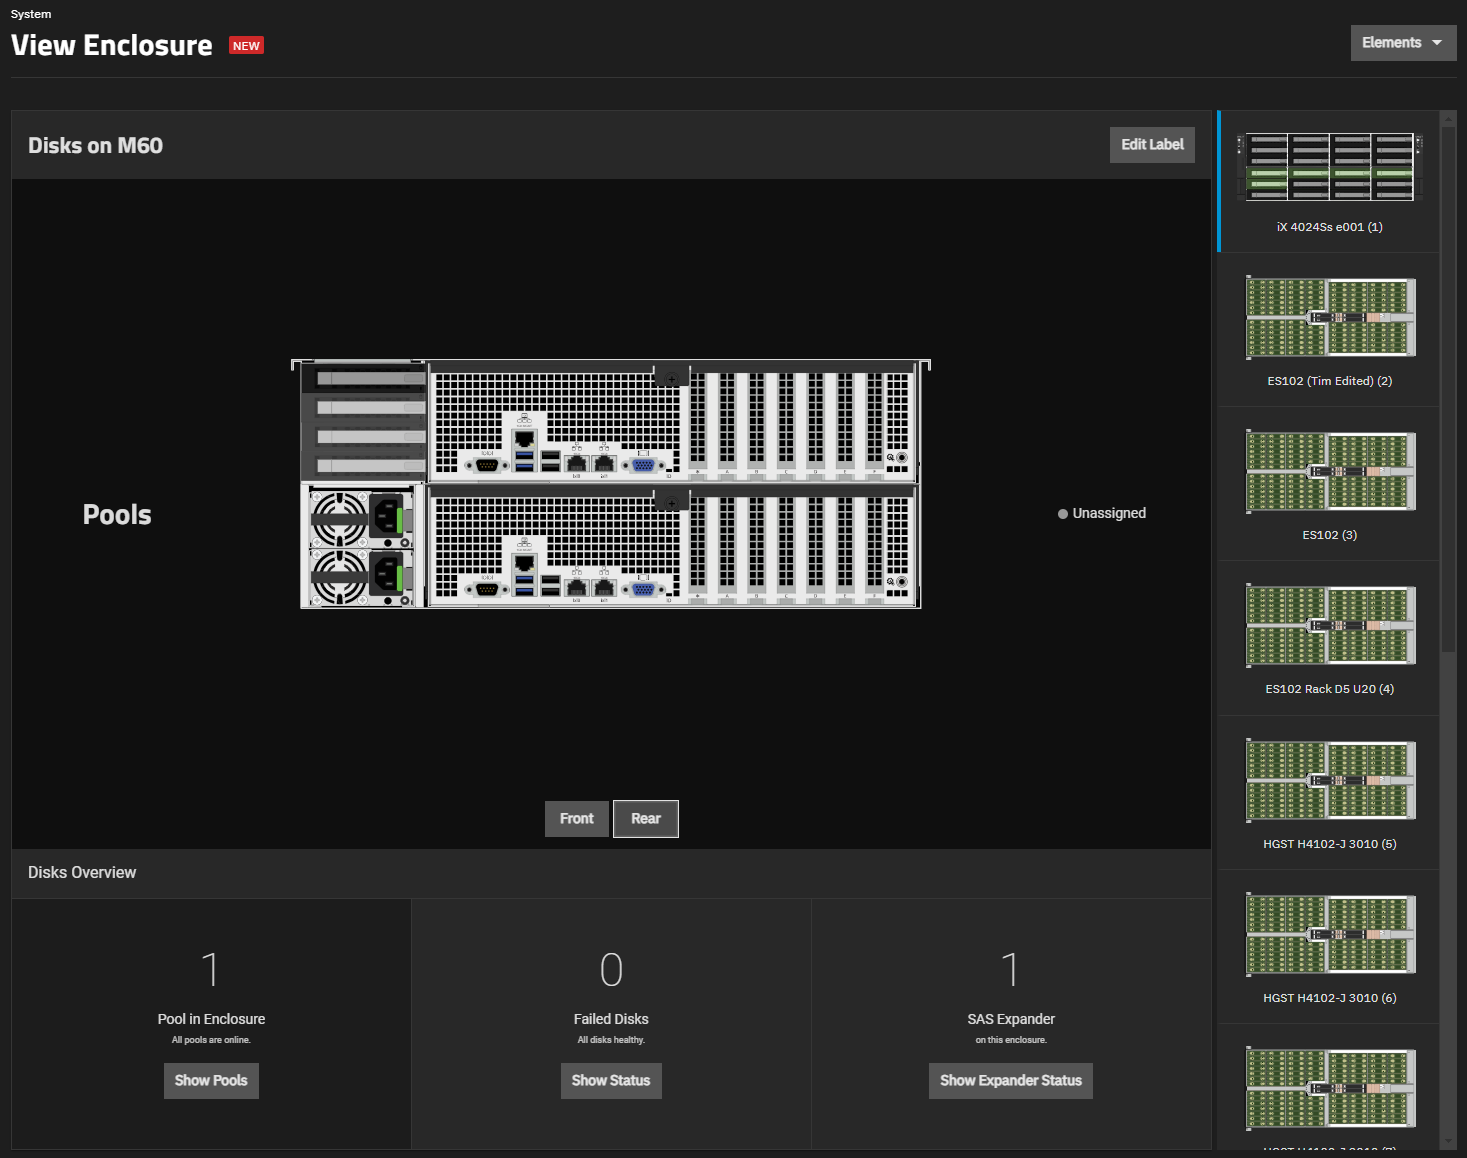
Larger TrueNAS Enterprise system images include a front and rear view of the chassis. The screen opens showing the front view by default.
Rear changes the image to the rear view of the system chassis. Front switches to the front view.
The right side of the screen includes smaller thumbnail images of both the main system and any expansion shelves connected to the system. A blue vertical line to the left of the thumbnail image indicates the selected enclosure.
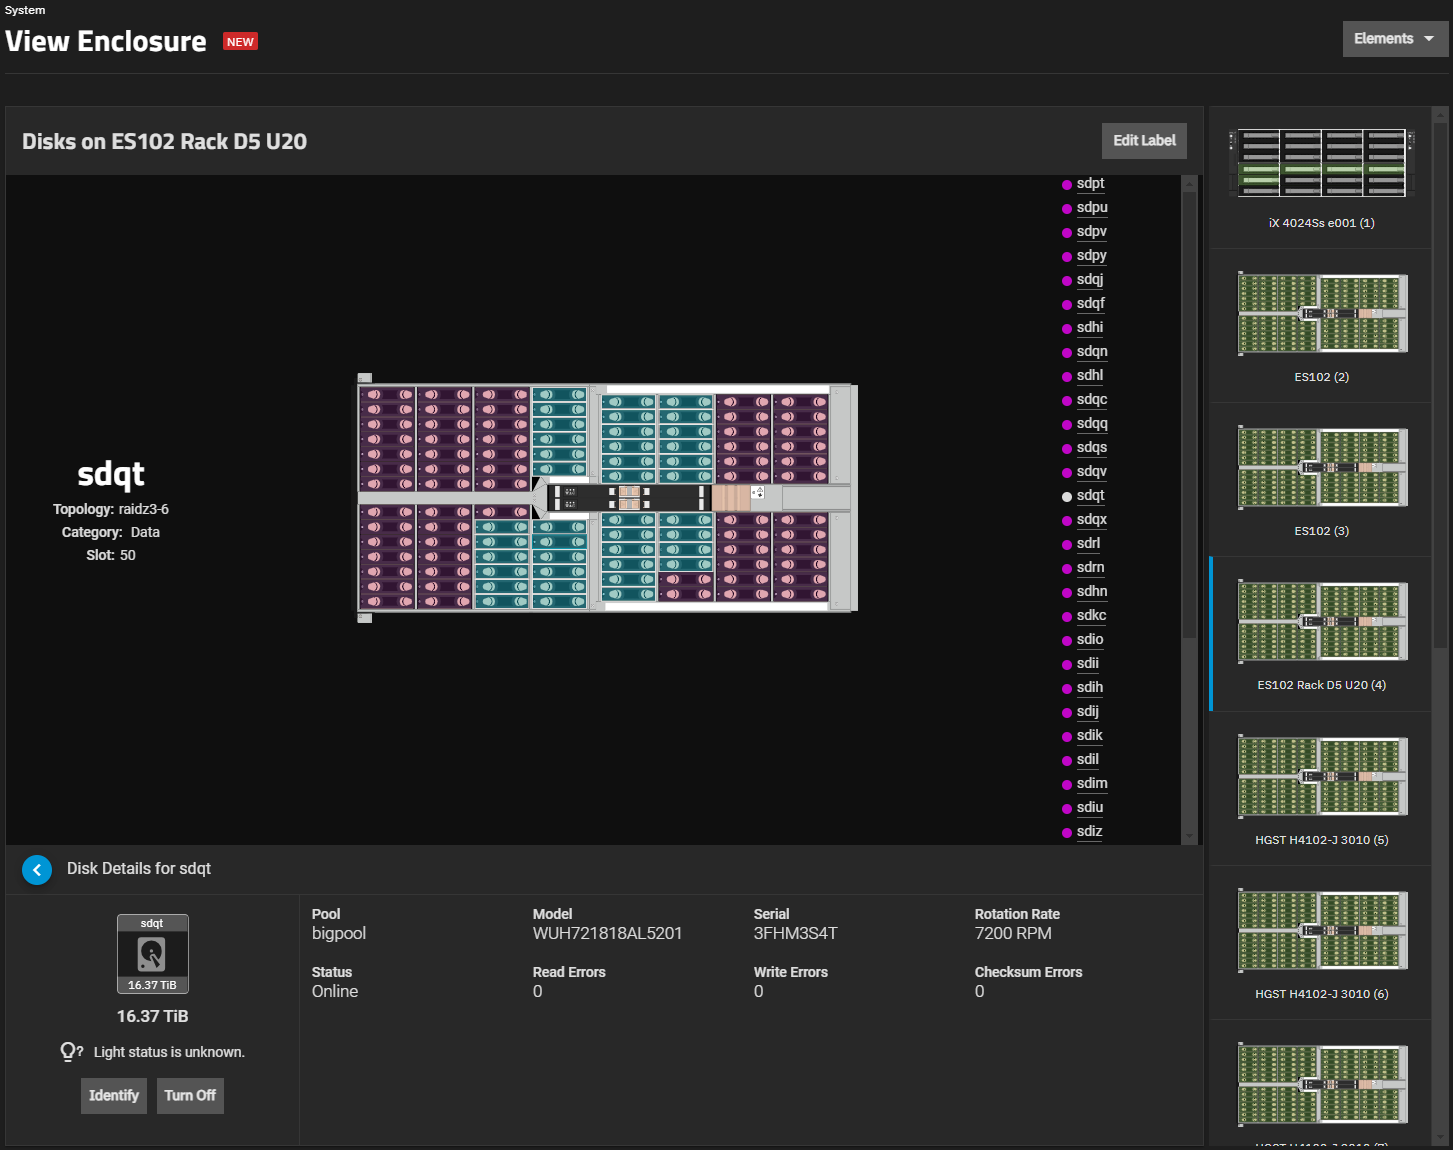
Both the system and expansion shelf images show installed disk locations. Click on a drive image in the system or expansion shelf to display a drive information screen for that drive. Disk drive information includes the system pool, disk status, hardware details, and stats for the drive.
Identify on disk detail screens turns on the LED indicator located on a physical drive bay in the system server. This helps to identify the physical drive bay that corresponds to the TrueNAS identification number for that drive. Select the drive on the image and then click Identify. Go to the location of the system server to locate the drive bay with the LED indication turned on, then check the drive location on the View Enclosure screen.
TrueNAS Mini and R30 systems do not include the IDENTIFY function.
The expansion shelf image varies based on the type of expansion shelf installed. The disk information displayed is the same as for disks in the main system chassis.


