VDEVs
4 minute read.
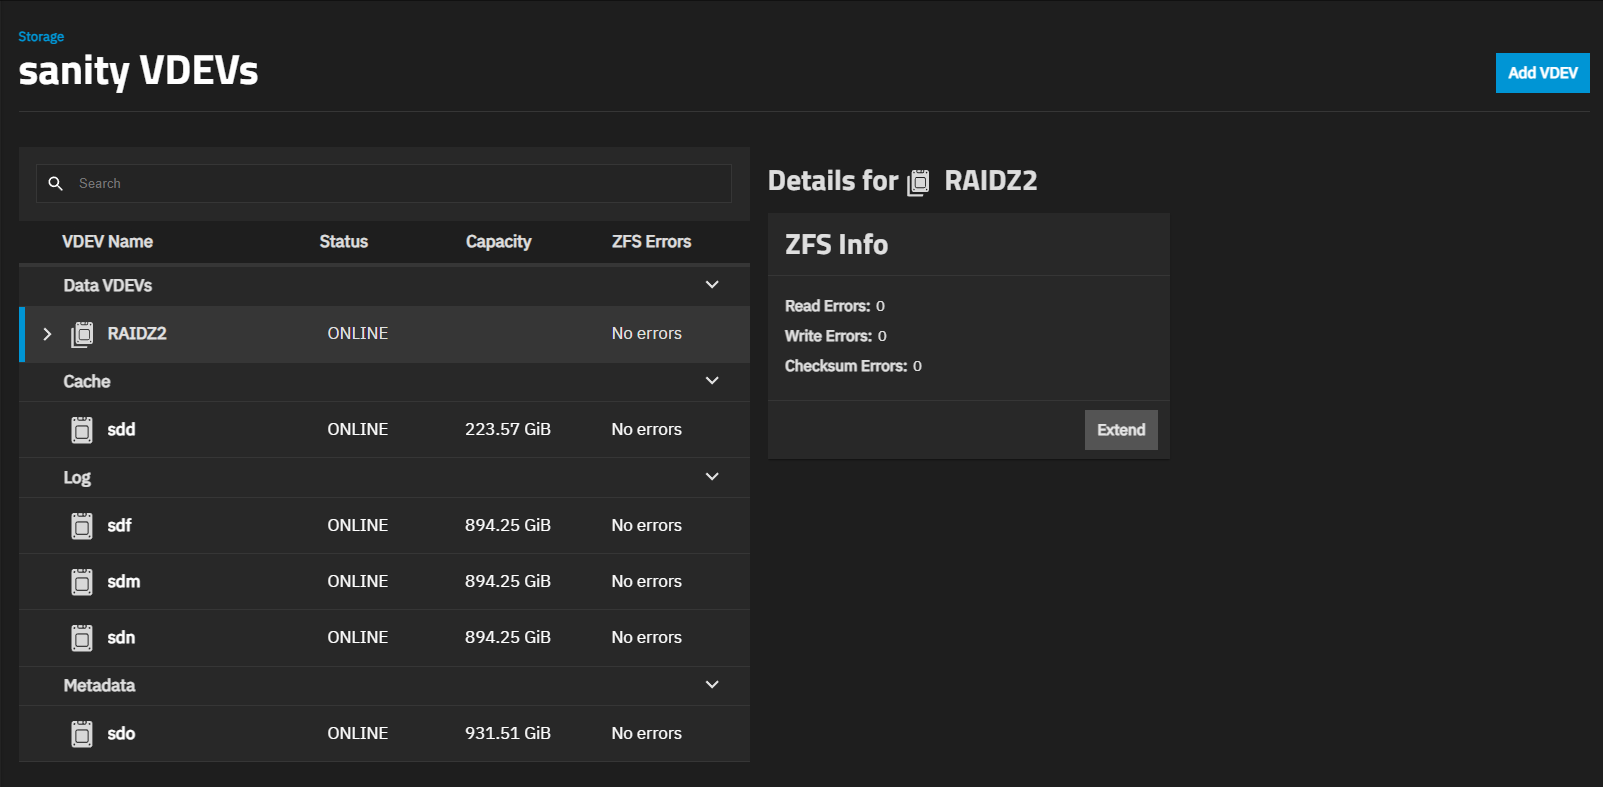
The VDEVs screen lists VDEVS and disks configured for the selected pool. Go to Storage and click on View VDEVs on the VDEVs widget to view the VDEVs screen.
Click anywhere on the VDEV to see the drives in it and the ZFS Info widget for that VDEV.
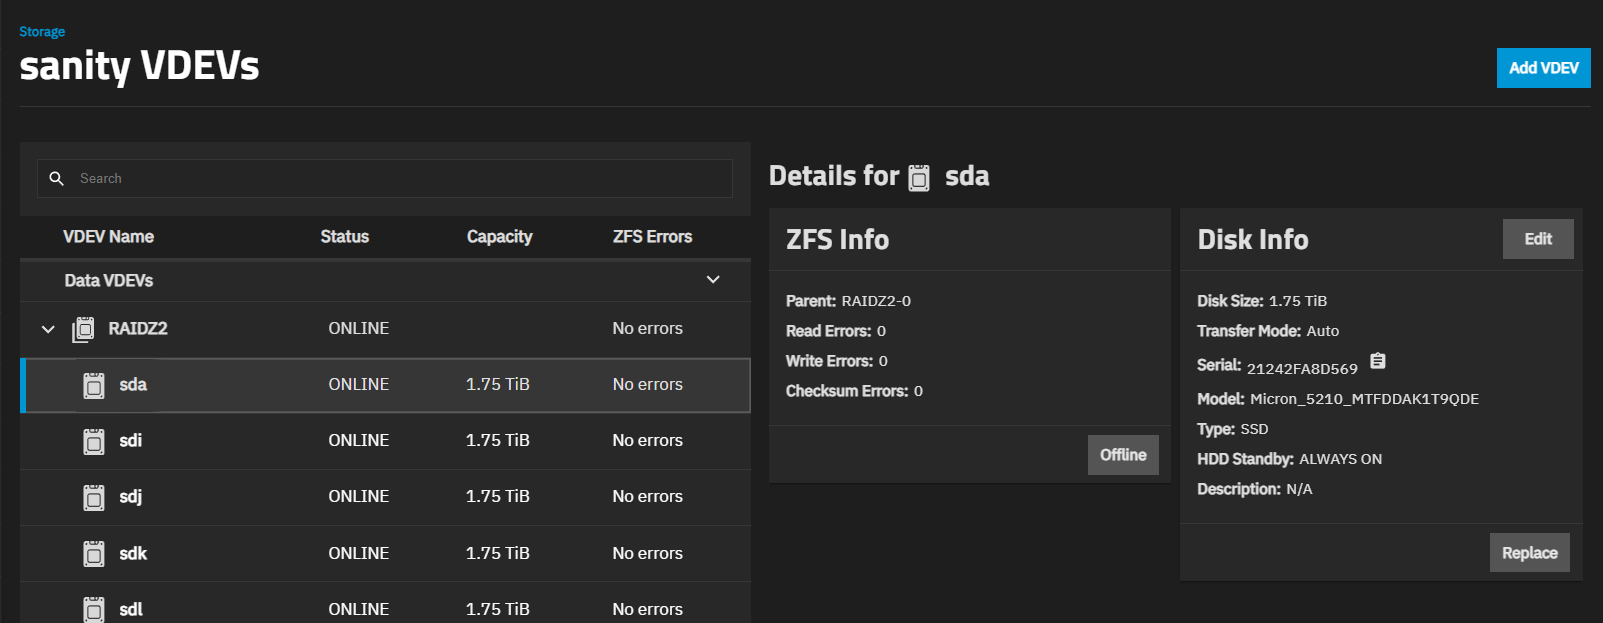
Click anywhere on a drive to see the drive widgets.
Add VDEV opens the Add a VDEVs to Pool screen with the Pool Creation Wizard for the selected pool. For example, find the VDEVS widget for a pool and click View VDEVs. This opens the Pool Creation Wizard with tank prepopulated but not editable.
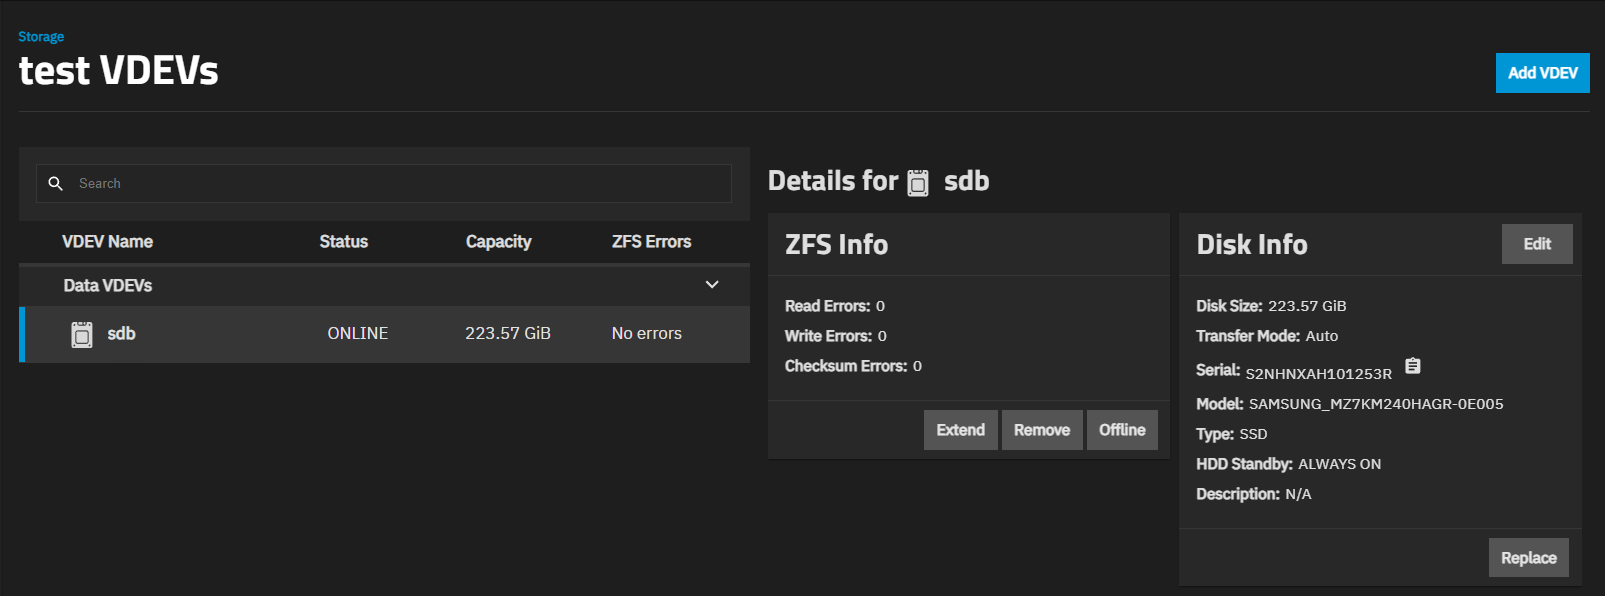
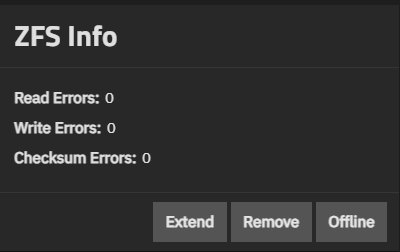
The ZFS Info widget for the VDEV shows a count of read, write, and checksum errors for that VDEV. It can show the Remove or Offline buttons, and the Extend and Remove options.
Extend opens the Extend VDEV dialog, where you select a disk from the New Disk dropdown to add a new disk to the VDEV.
Remove opens the Remove device dialog, where you confirm you want to remove the selected VDEV. To remove a drive from the VDEV, select the drive, then select Detach on the ZFS Info widget to remove the drive from the VDEV (pool).
Each disk in a VDEV has two widgets that show information for that disk: ZFS Info and Disk Info. After selecting a disk, the widgets show on the right side of the screen in the Details for diskname area of the screen.
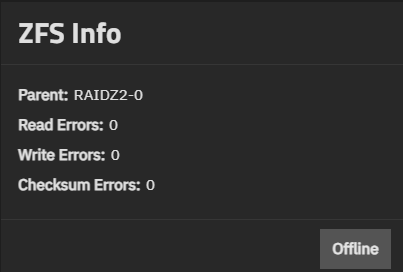
The ZFS Info widget for each device (disk drive) in the VDEV shows the name of the VDEV (Parent), the read, write, and checksum errors for that drive, and the Detach and Offline options.
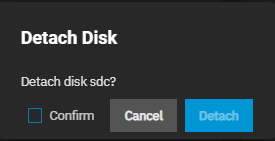
Detach opens a confirmation dialog and removes the selected drive from the parent VDEV.
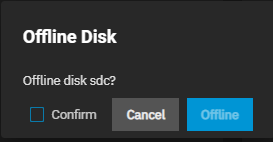
Offline opens a confirmation dialog and takes the selected drive to an offline state before taking a disk offline to replace it. Toggles to Online so you can bring a replacement disk online. After taking a drive offline, you can remove or replace the physical drive.
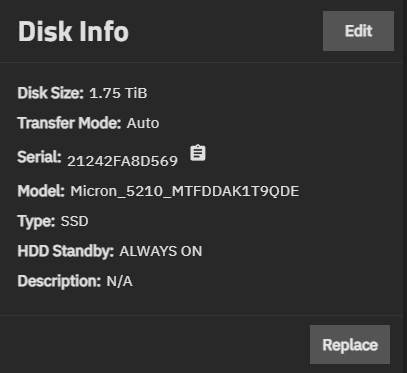
The Disk Info widget shows the disk size, transfer mode, the serial and model numbers for the drive, type of drive, HDD standby setting, and a description associated with the selected drive.
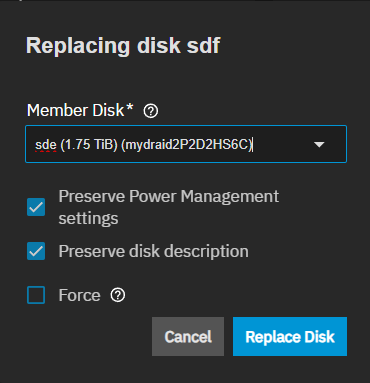
Replace opens the Replacing disk diskname dialog, where diskname is the name of the selected disk.
TrueNAS Enterprise
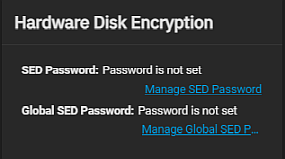
The Hardware Disk Encryption widget only shows on Enterprise-licensed systems.
The Hardware Disk Encryption widget shows drive information, like whether the SED password is set or not. It might show on non-enterprise systems with self-encrypting drives, but not all configuration options show in the UI. Community users should use the SED utilities to manage these drives.
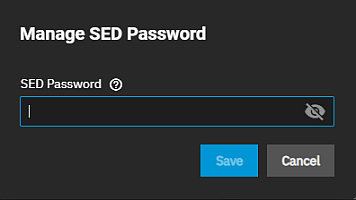
The Manage SED Password link opens a Manage SED Password dialog, where you can enter a disk SED password to set the disk encryption password.
Global SED Password shows the status as set or not set. The Manage Global SED Password link opens the System Settings > Advanced screen, where you can change the global SED password that overrides the disk passwords.
The *Replacing disk diskname dialog allows replacing the selected disk with a new disk selected from the Member Disk dropdown list.
Member Disk lists selectable disks to add a new disk to the pool. The system prevents losing existing data by stopping an add operation for the new disk if it is already in use or has partitions present.
Force overrides the safety check and adds the disk to the pool. Selecting this option erases any data stored on the disk!
Preserve disk description maintains any descriptions associated with the original disk. Selected by default. Disable it before changing the replacement disk descriptors attached to the original disk.
Replace Disk adds the new disk to the pool.


