Dashboard
11 minute read.
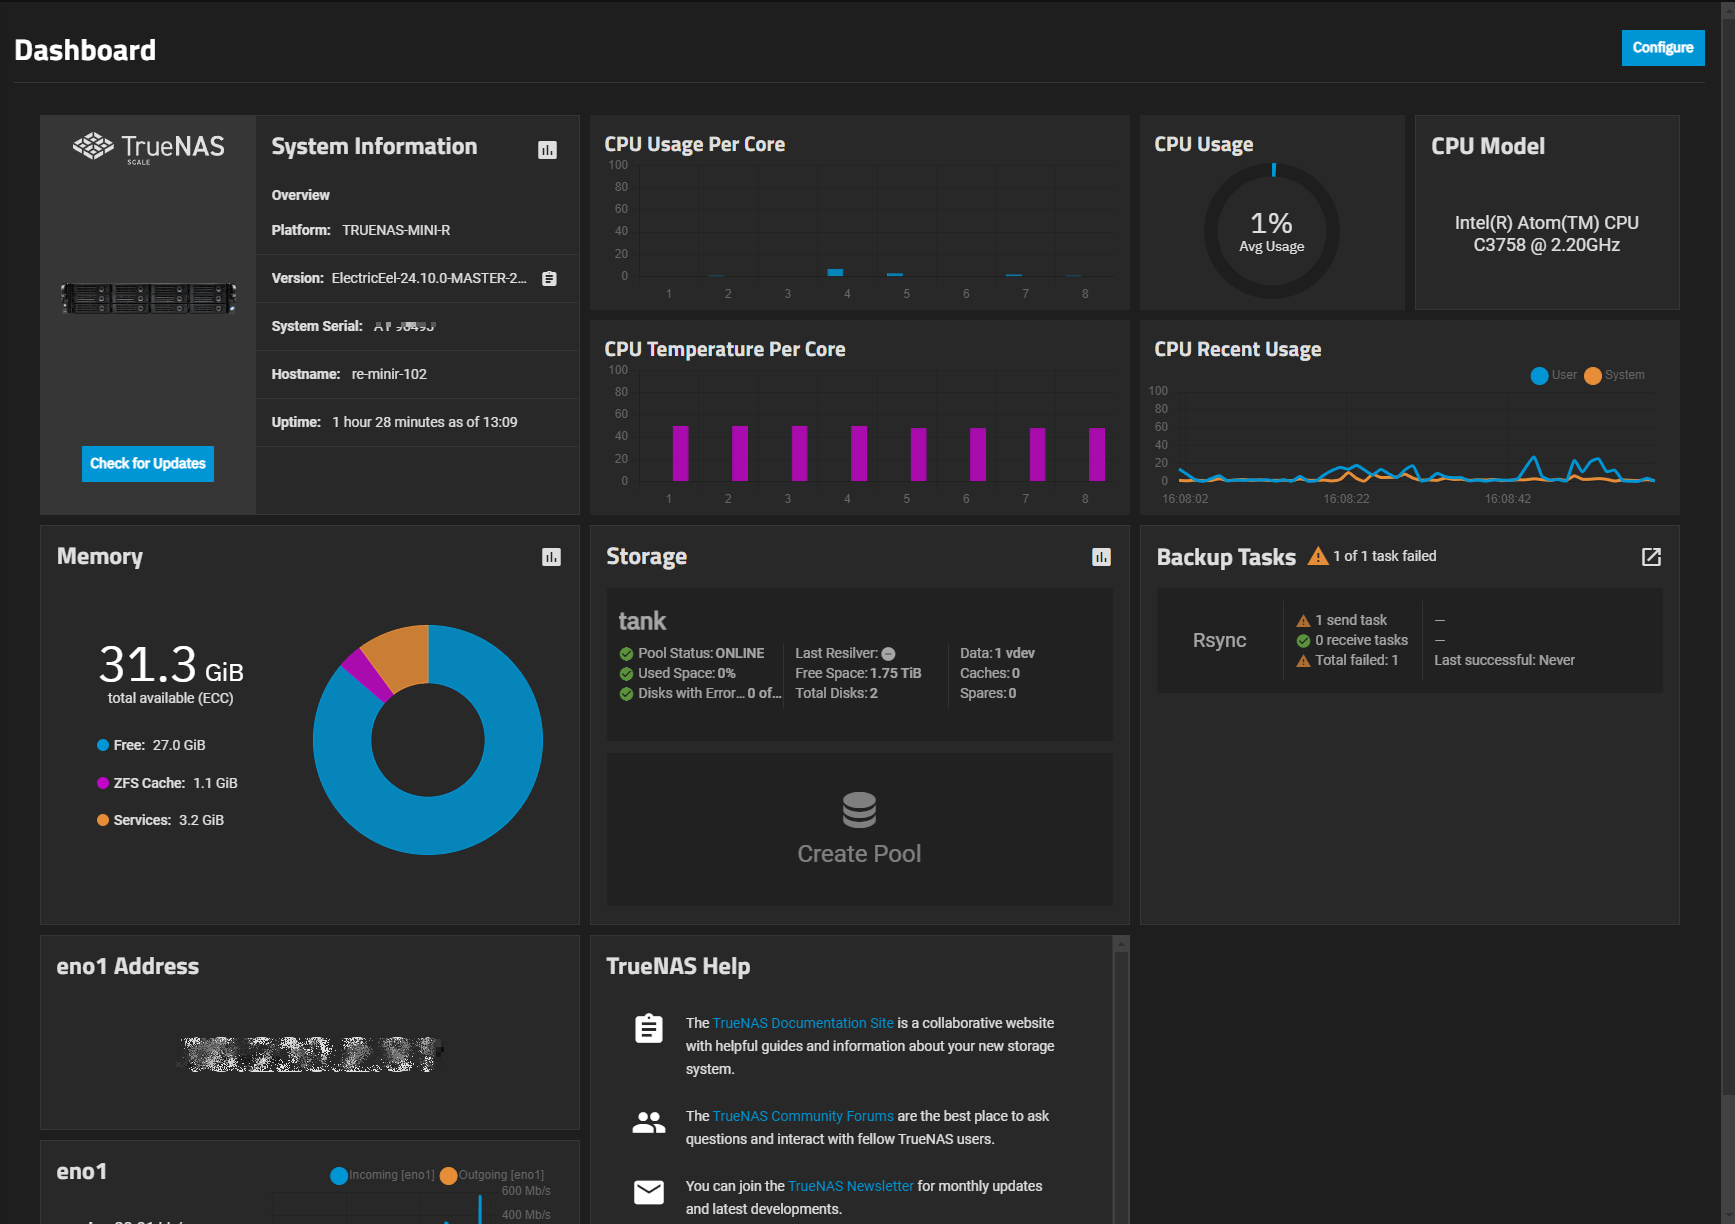
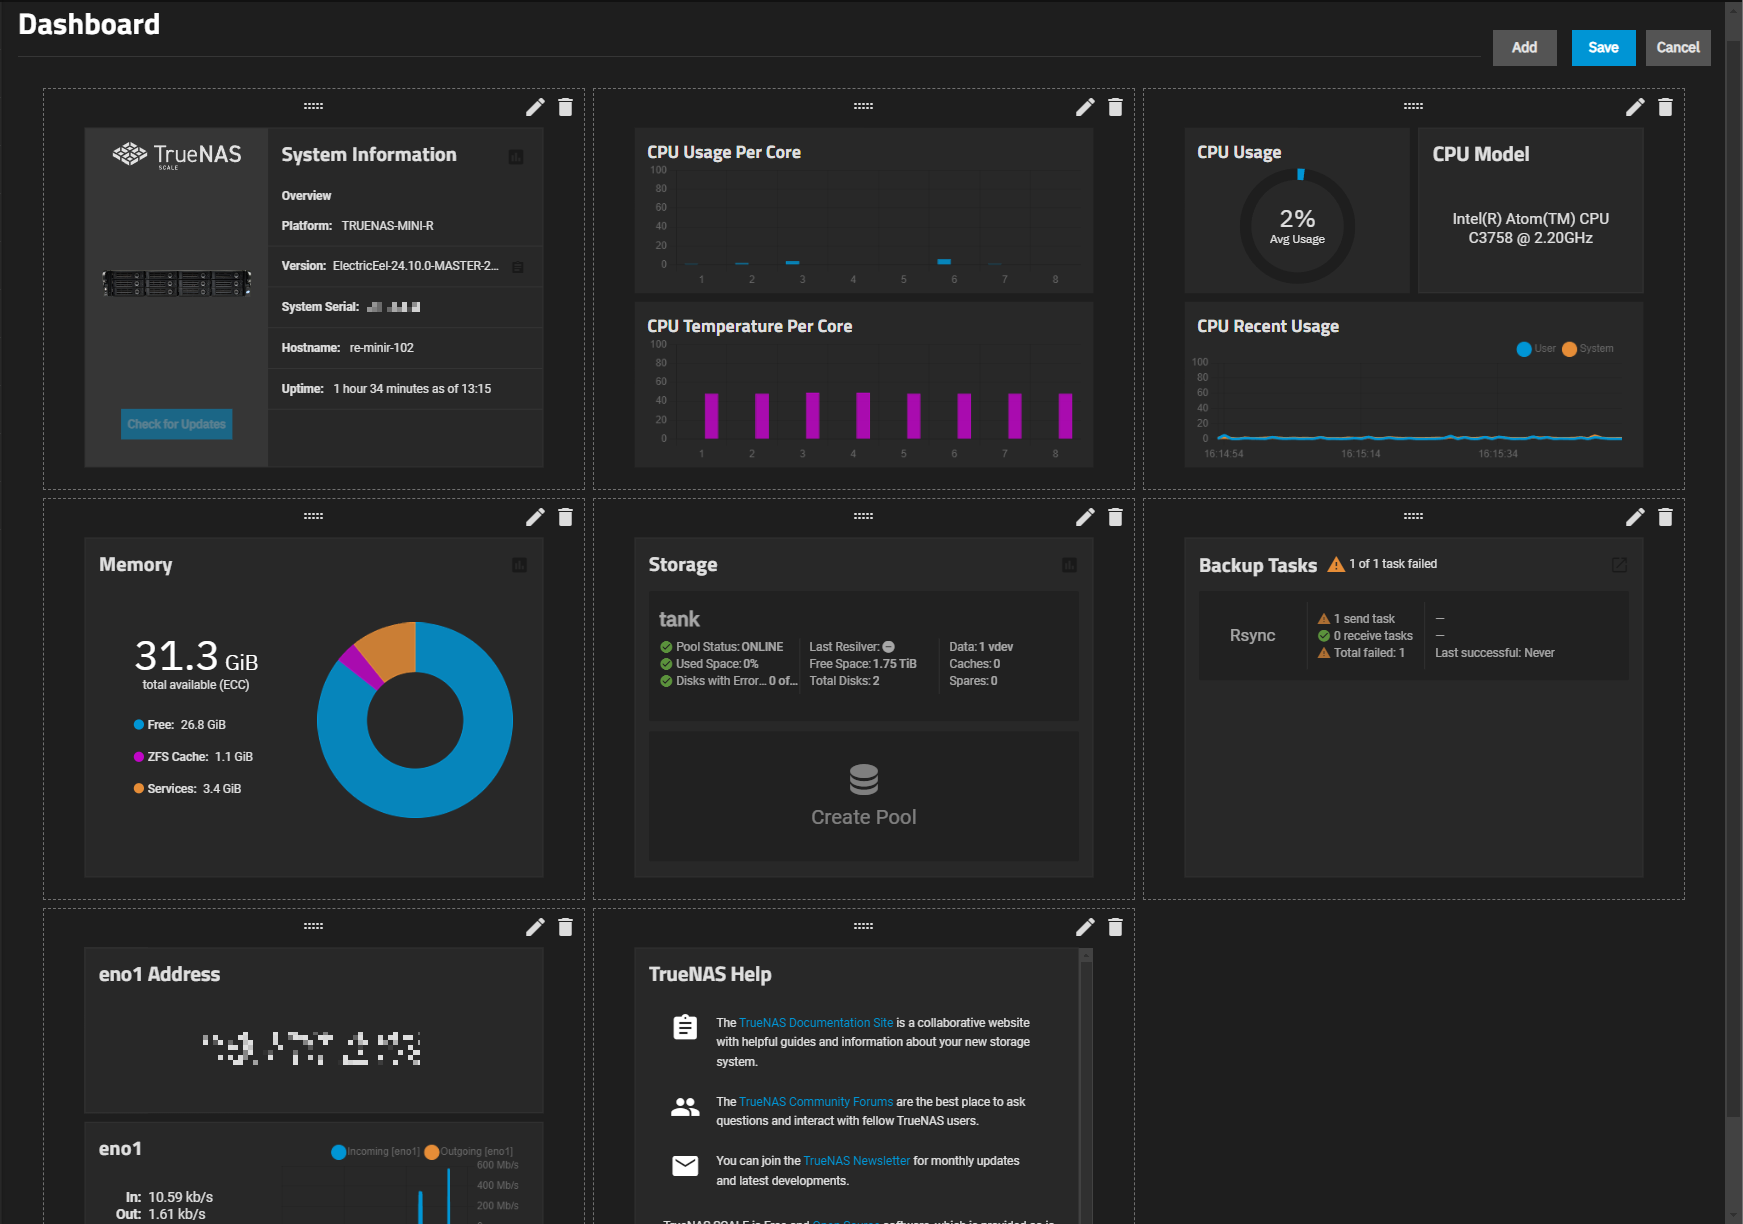
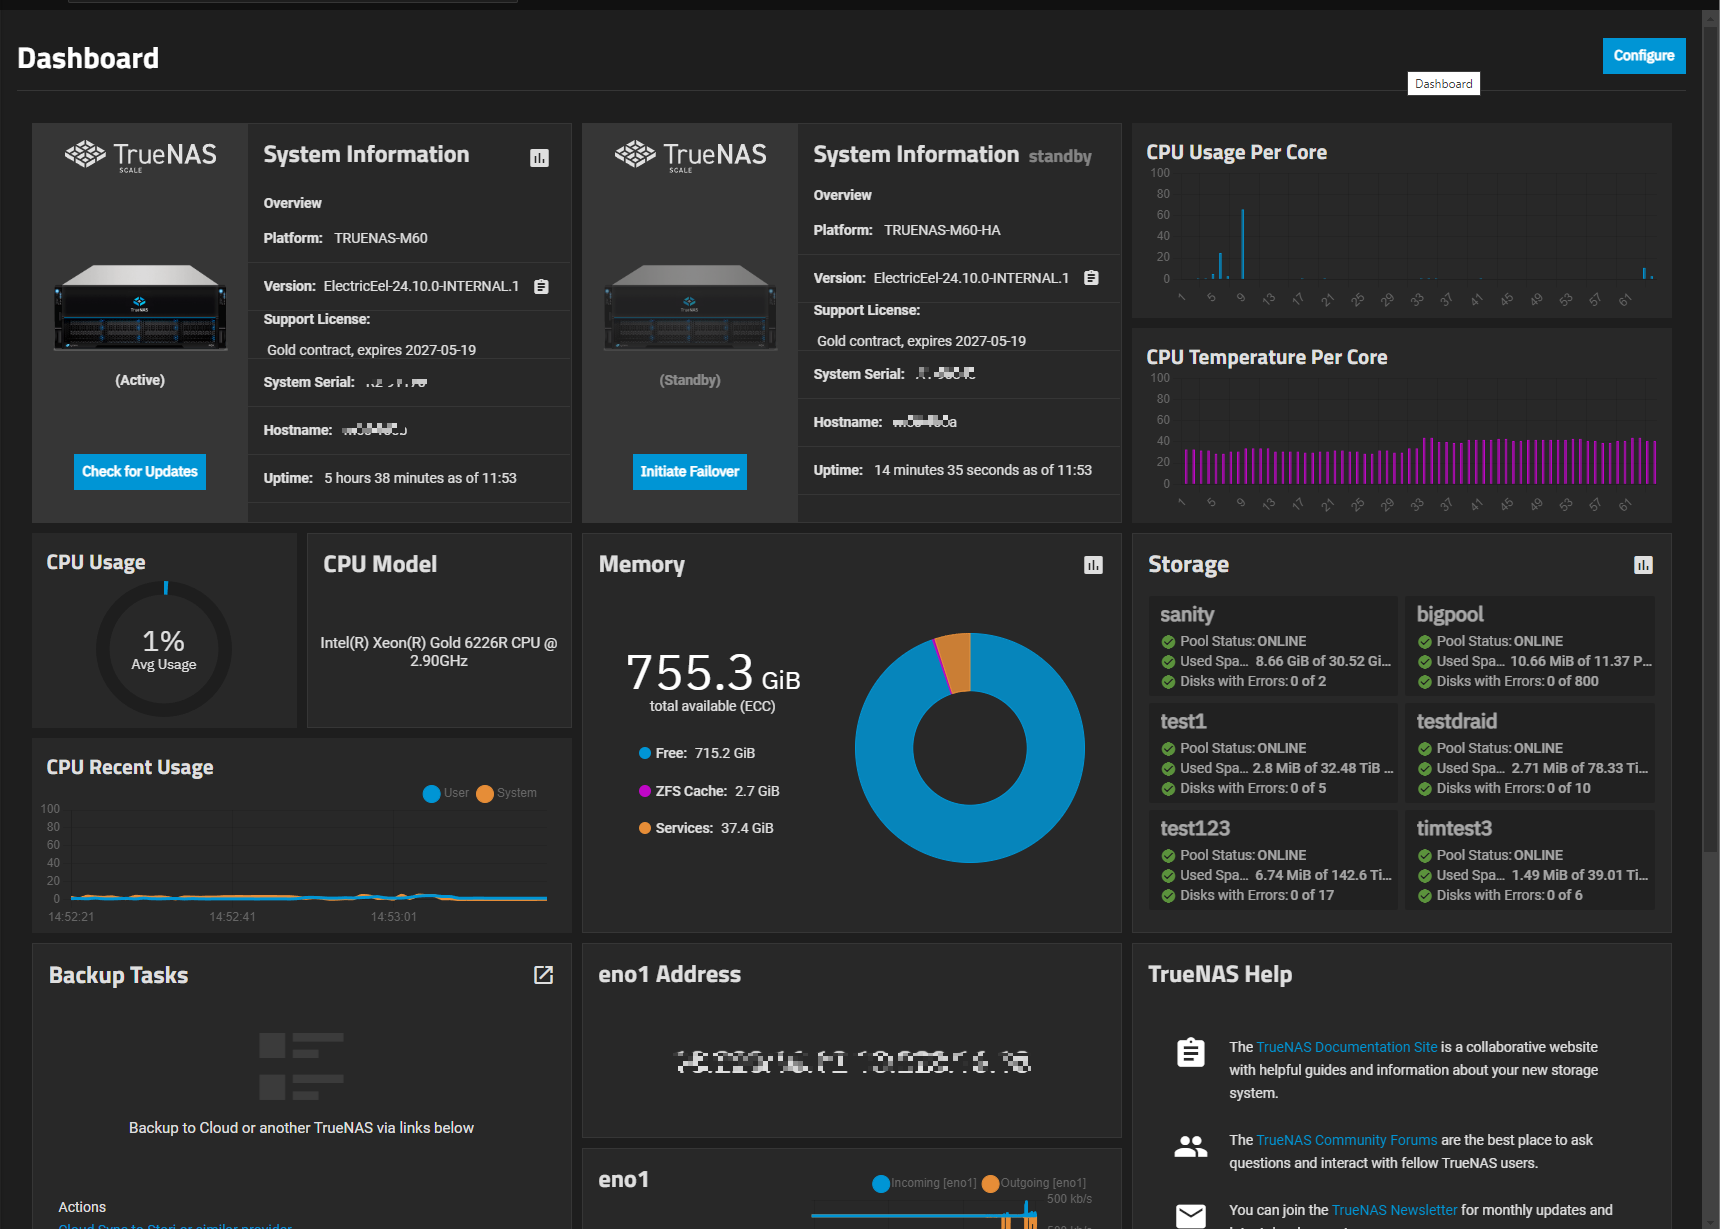
The Dashboard is the first screen you see after logging into the web interface after installing TrueNAS. It displays a set of default widgets with system, help, storage, and network information, but you can customize the display to suit your needs and preferences. Dashboard on the left side navigation panel returns to the main dashboard from any other screen in the UI.
The Configure button at the top right of the Dashboard changes the screen to configuration mode and allows you to turn widget displays on or off.
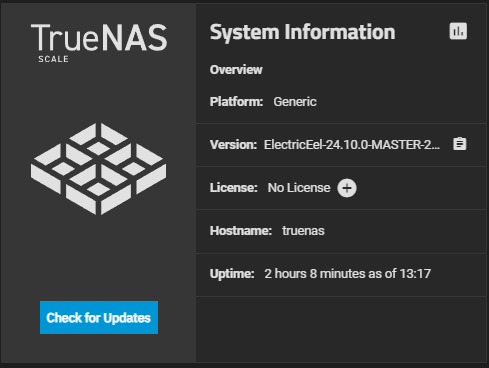
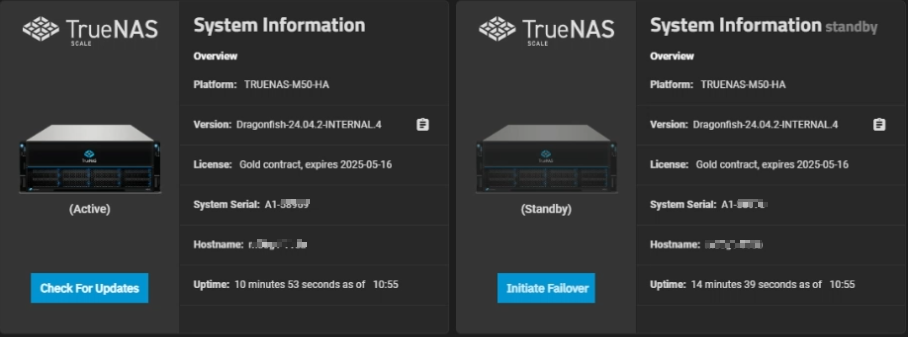
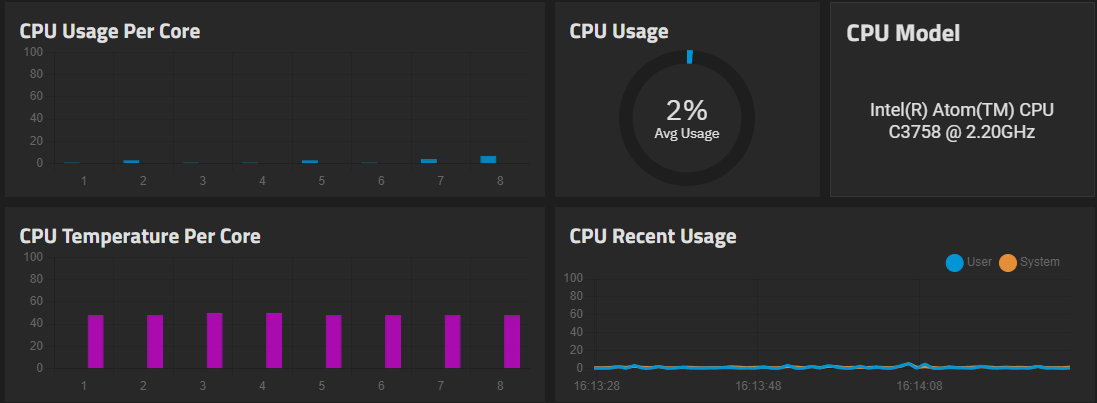
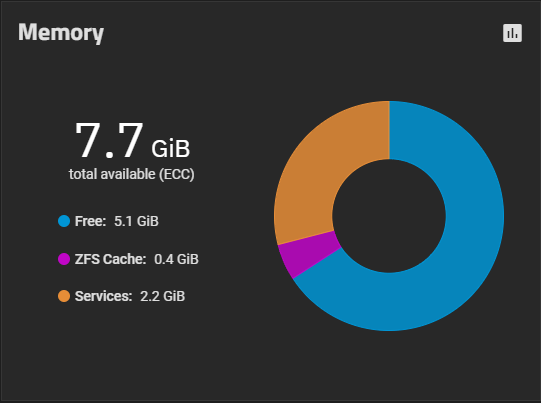
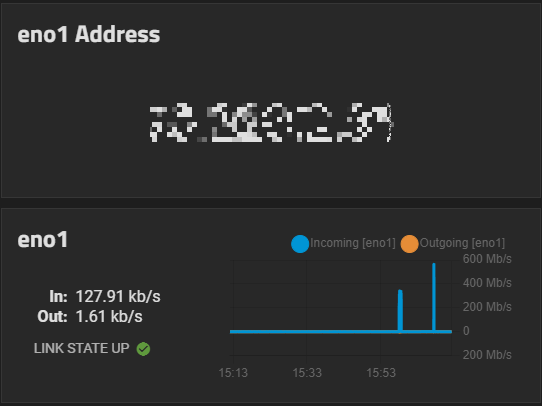
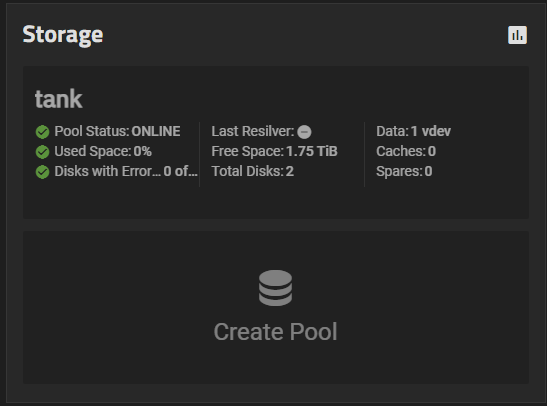
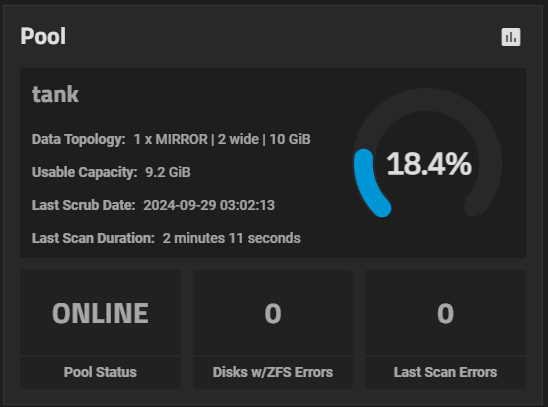
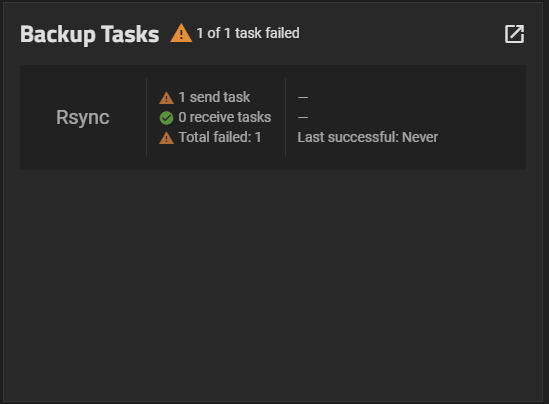
The Dashboard widgets show information about the TrueNAS system basic settings, CPU and memory usage, network traffic and link status, storage, and backup tasks. Dashboard widgets are customizable. Options include changing widget layouts and the location on the screen and adding custom or application widgets.
Pool and network interface widgets vary based on system storage and network configurations.
Click on the Reports icon to display the data report screen that corresponds to the widget category. For example, clicking the assessment icon on the CPU widget opens the Reporting > CPU screen.
In configuration mode, dashboard widgets are enclosed in dotted-line boxes to show the grouping area for each widget.
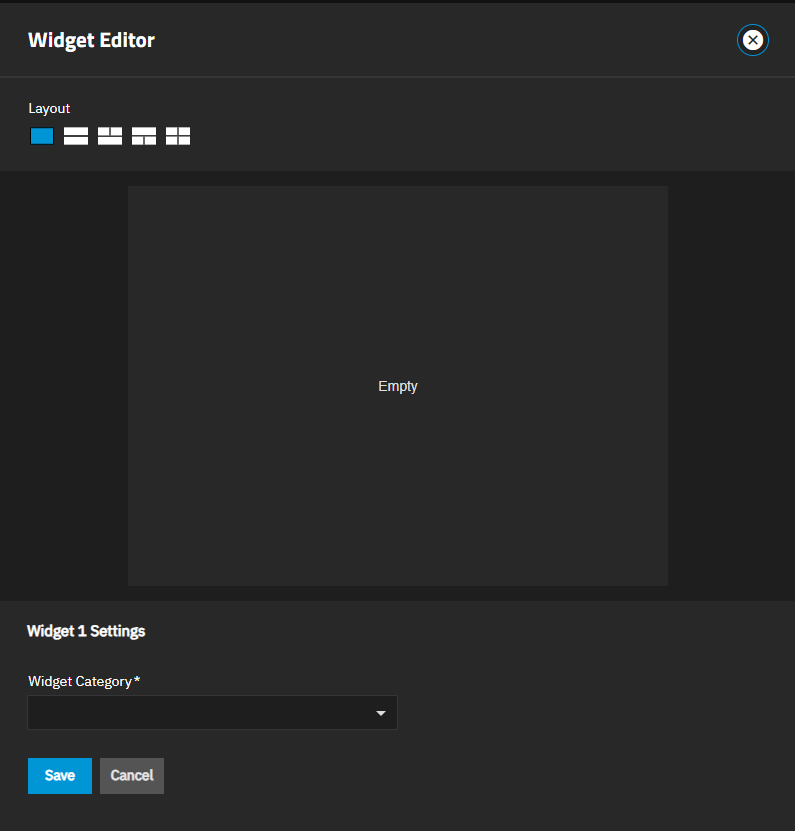
Add opens a blank Widget Editor screen.
Save saves all changes made to the dashboard.
Cancel closes configuration mode without saving any changes. Changes made and saved on the Widget Editor screen are discarded if you click Cancel.
Add opens a blank Widget Editor.
Save saves any changes and exits configuration mode. Cancel exits configuration mode without saving changes.
Pressing Esc (escape) also exits configuration mode and discards any changes made to widget group area configurations or placements.
Widget groups (areas) can use one of five layouts that consist of other widgets of different sizes and configurations. Layout options show on the Widget Editor screen.
Each grouping area shows three function icons:
Drag handle that allows you to grab and move the widget to a new location on the screen. Dragging a widget to a new location shifts the other widgets one position to the left or right depending on where the dragged widget is placed.
Edit opens the Widget Editor populated with the settings for the existing widget.
Delete removes the widget from the Dashboard.
Pressing Tab allows selecting the next button or function icon on the screen and across all widget groups.
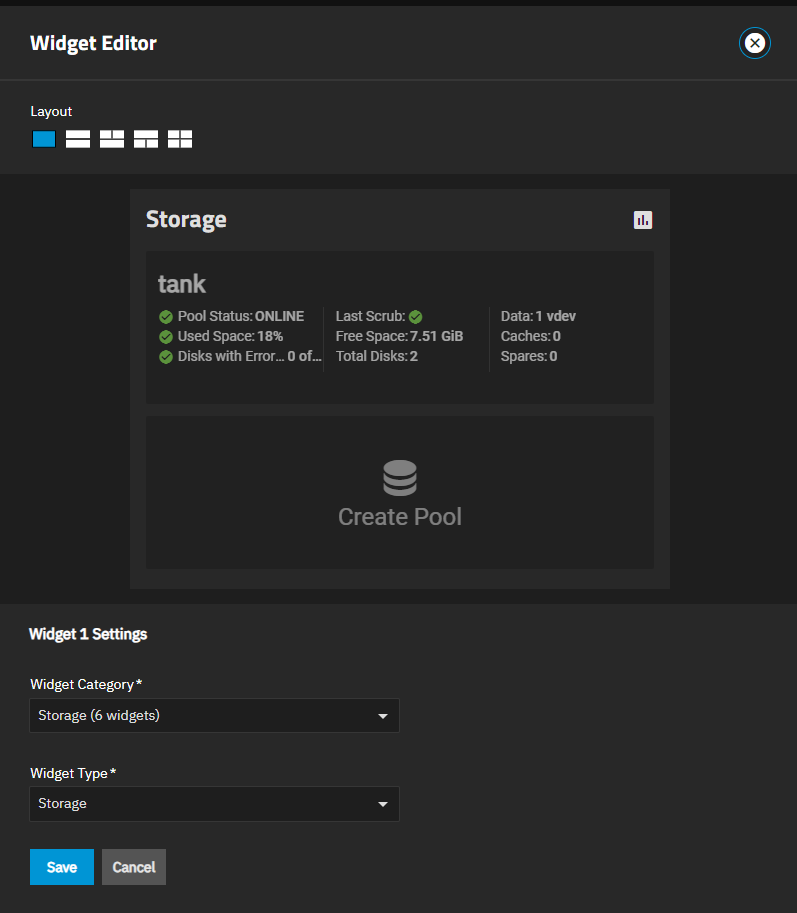
Access to the Widget Editor screen is available when the Dashboard screen is in configuration mode. The edit icon for any widget group opens the Widget Editor populated with the current settings for that widget group. Add opens the Widget Editor with no settings.
Select an individual widget in a layout with multiple widgets to change the category and type and customize the display of the widget group.
| Setting | Description |
|---|---|
| Layouts | Click on the layout image to add one to four widgets in the group. Not all widget categories support all layouts. |
| Widget Category | Select the information category from the dropdown list of options: |
| Widget Type | Select the type of information to show in the selected widget. Options change based on the selected Widget Category. See Widget Type Options by Category for information on the options by the category and type selected. |


