Configuring Static Routes
2 minute read.
TrueNAS does not pre-define static routes by default, but TrueNAS administrators can manually add static routes if they want or need to enter routes to a router to send packets to a destination network.
Static routes are not aliases, they are fixed IP addresses assigned as alternative routes for network traffic sent to a specific destination (server, device) in the network.
You can use the Console Setup menu during installation or any time after the initial system configuration to add a static route through an SSH session or by connecting a monitor and keyboard to the system, but we recommend using the web UI to make changes to the network configuration.
We recommend using the TrueNAS web UI to make network changes because it includes safeguards that prevent breaking access to the UI or connections to TrueNAS that can result from incorrectly configured network settings.
If you need a static route to reach portions of the network:
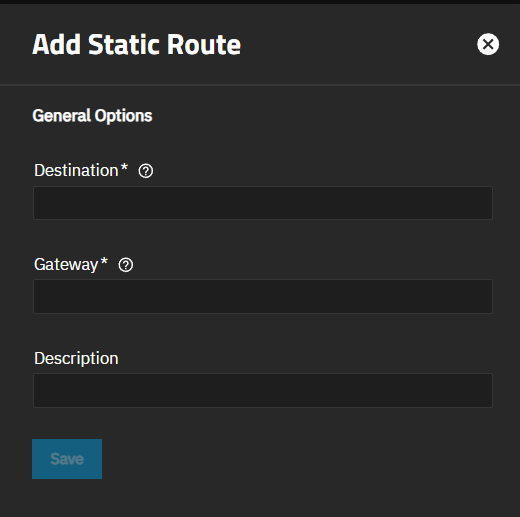
Go to System > Network and click Add on the Static Routes widget.
Enter an IP address and netmask (CIDR) for the destination in the format A.B.C.D/E where E is the CIDR mask in Destination.
Enter the default gateway IP address for the destination address in Gateway.
(Optional) Enter a brief description for this static route, such as the part of the network it reaches.
Click Save.


