Configuring KMIP
2 minute read.
TrueNAS Enterprise
KMIP is only available for TrueNAS Enterprise licensed systems. Contact the iXsystems Sales Team to inquire about purchasing TrueNAS Enterprise licenses.
The Key Management Interoperability Protocol (KMIP) is an extensible client/server communication protocol for storing and maintaining keys, certificates, and secret objects. KMIP on TrueNAS Enterprise integrates the system within an existing centralized key management infrastructure and uses a single trusted source for creating, using, and destroying SED passwords and ZFS encryption keys.
With KMIP, keys created on a single server are then retrieved by TrueNAS. KMIP supports keys wrapped within keys, symmetric, and asymmetric keys. KMIP enables clients to ask a server to encrypt or decrypt data without the client ever having direct access to a key. You can also use KMIP to sign certificates.
To connect TrueNAS to a KMIP server, import a Certificate from the KMIP server, then configure the KMIP options.
For security reasons, we strongly recommend protecting the certificate values.
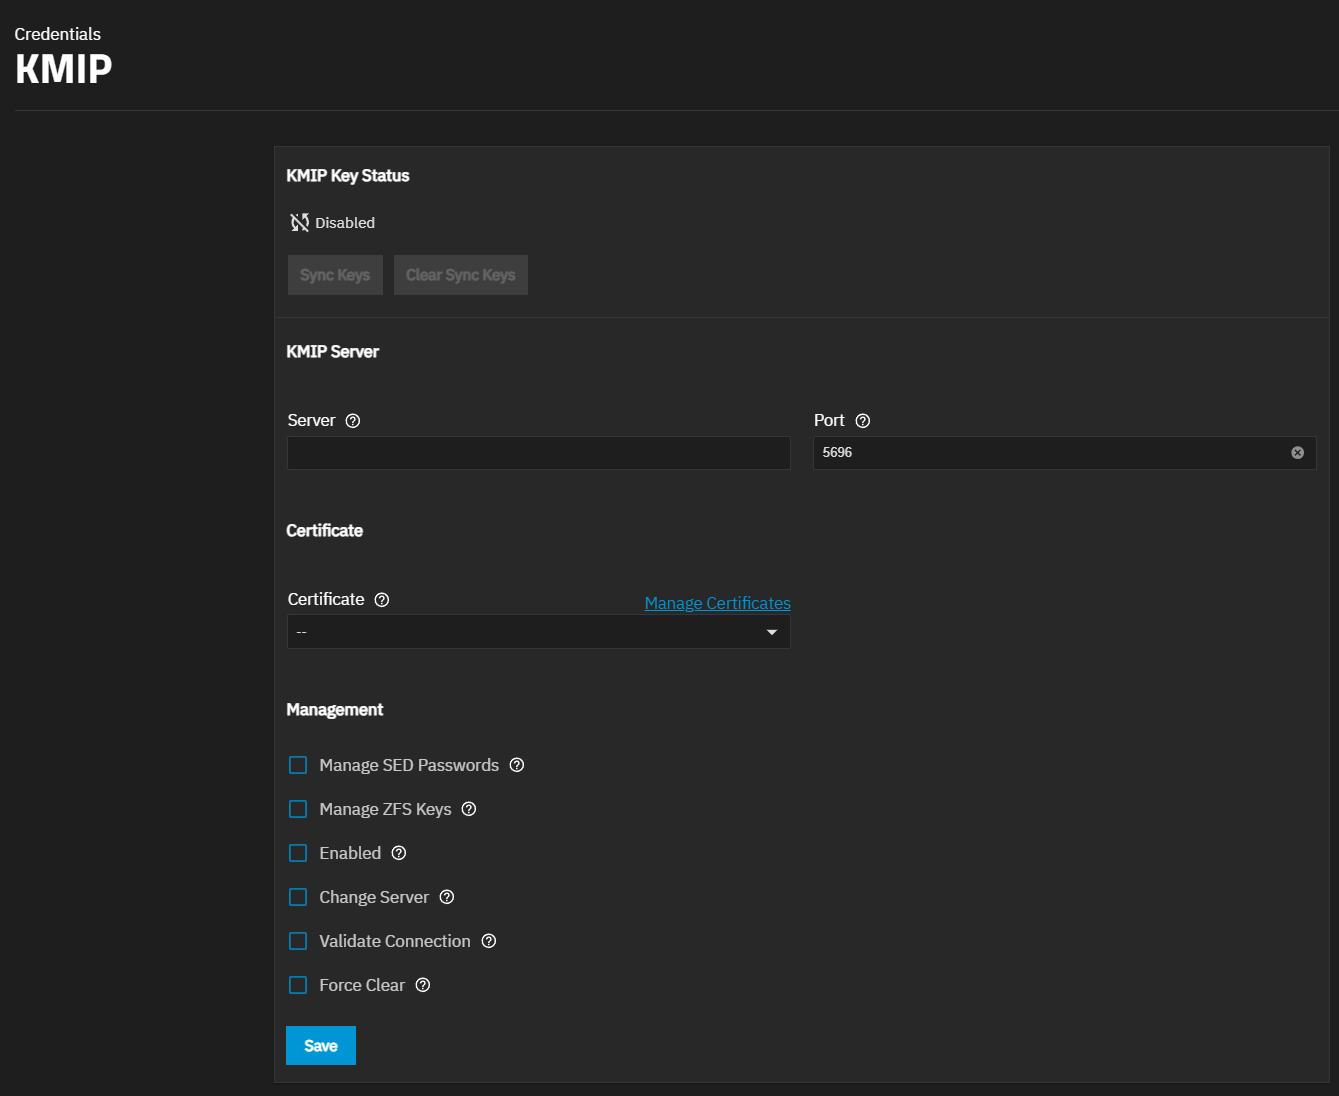
Go to Credentials > KMIP.
Enter the central key server host name or IP address in Server and, if not using the default port 5696, enter a number for an open connection port on the central key server in Port. Select the certificate imported from the central key server in Certificate. To ensure the certificate chain is correct, click on Validate Connection. Click Save.
When the certificate chain verifies, choose the encryption values, SED global password, or ZFS data pool encryption keys to move to the central key server. Select Enabled to begin moving the passwords and keys immediately after clicking Save.
Refresh the KMIP screen to show the current KMIP Key Status.
To cancel a pending key synchronization, select Force Clear and click Save.


