TrueNAS SCALE Nightly Development Documentation
This content follows experimental early release software. Use the Product and Version selectors above to view content specific to a stable software release.
MinIO
9 minute read.
Last Modified 2024-03-15 13:07 EDTCommunity applications are created and maintained by members of the TrueNAS community. Similarly, community members actively maintain application articles in this section. Click Edit Page in the top right corner to propose changes to this article.
This section has tutorials for using the MinIO apps available for TrueNAS SCALE.
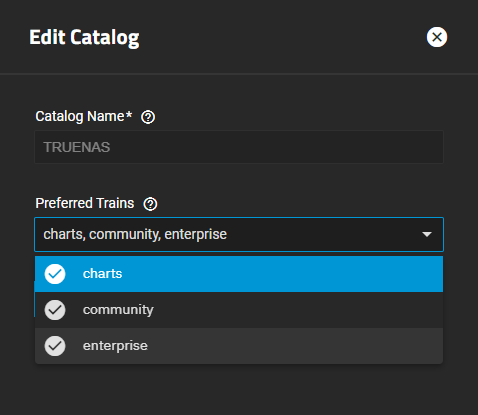
SCALE has two version of the MinIO application. The community version of the S3 application available in the charts train of TRUENAS catalog application. The MinIO Enterprise version of the application is a smaller version of MinIO that is tested and polished for a safe and supportable experience for TrueNAS Enterprise customers. Community members can install either the Enterprise or community version.
MinIO High Performance Object Storage, released under the Apache Licenses v2.0 is an Open Source, Kubernetes Native, and Amazon S3 cloud storage compatible object storage solution. For more on MinIO, see MinIO Object Storage for Kubernetes.
The Minio applications, chart and enterprise train versions, allow users to build high performance infrastructure for machine learning, analytics, and application data workloads.
MinIO supports distributed mode. Distributed mode, allows pooling multiple drives, even on different systems, into a single object storage server. For information on configuring a distributed mode cluster in SCALE using MinIO, see Setting Up MinIO Clustering.
For information on installing and configuring MinIO Enterprise, see Installing MinIO Enterprise.
The instructions in this section cover the basic requirements and instruction on how to install and configure the community MinIO application, charts train version. For instructions on installing the Enterprise version of the MinIO application see Configuring Enterprise MinIO.
Before configuring MinIO, create a dataset and shared directory for the persistent MinIO data.
Go to Datasets and select the pool or dataset where you want to place the MinIO dataset. For example, /tank/apps/minio or /tank/minio. You can use either an existing pool or create a new one.
After creating the dataset, create the directory where MinIO stores information the application uses. There are two ways to do this:
In the TrueNAS SCALE CLI, use
storage filesystem mkdir path="/PATH/TO/minio/data"to create the /data directory in the MinIO dataset.In the web UI, create a share (i.e. an SMB share), then log into that share and create the directory.
MinIO uses /data but allows users to replace this with the directory of their choice.
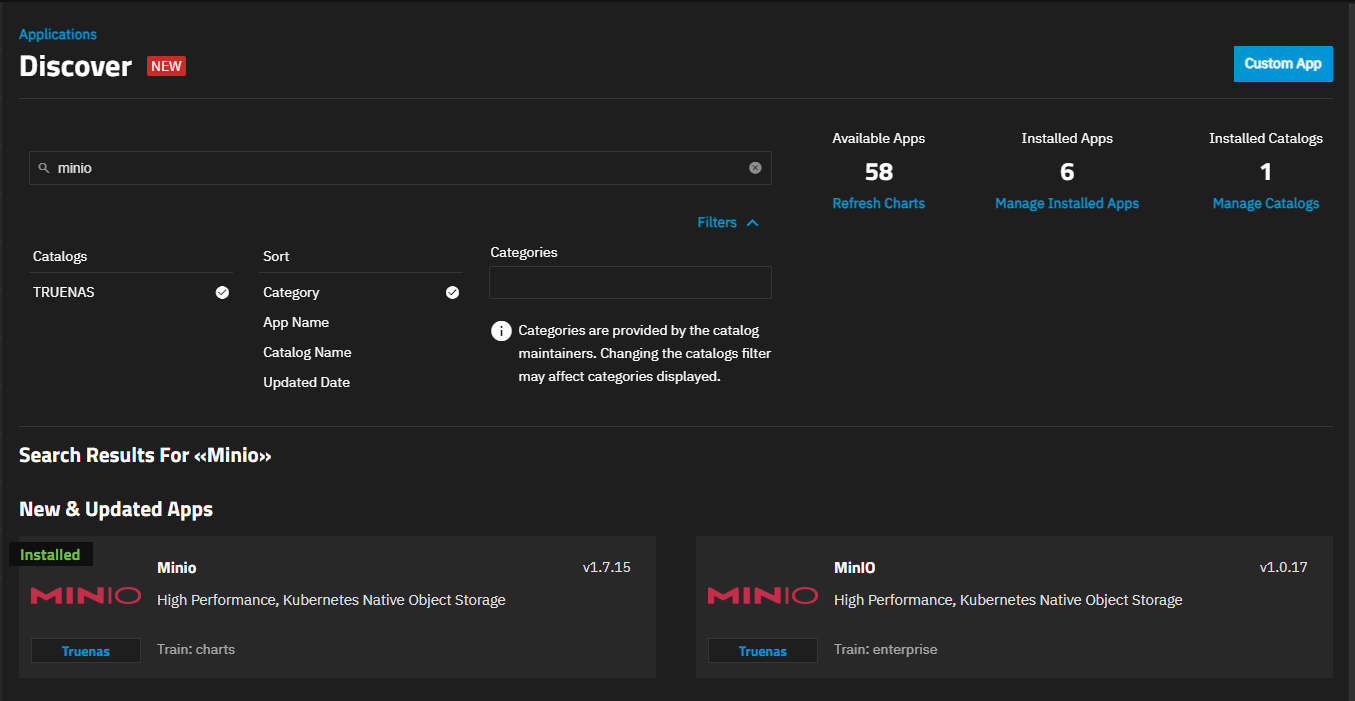
To install the S3 MinIO (community app), go to Apps, click on Discover Apps, then either begin typing MinIO into the search field or scroll down to locate the charts version of the MinIO widget.
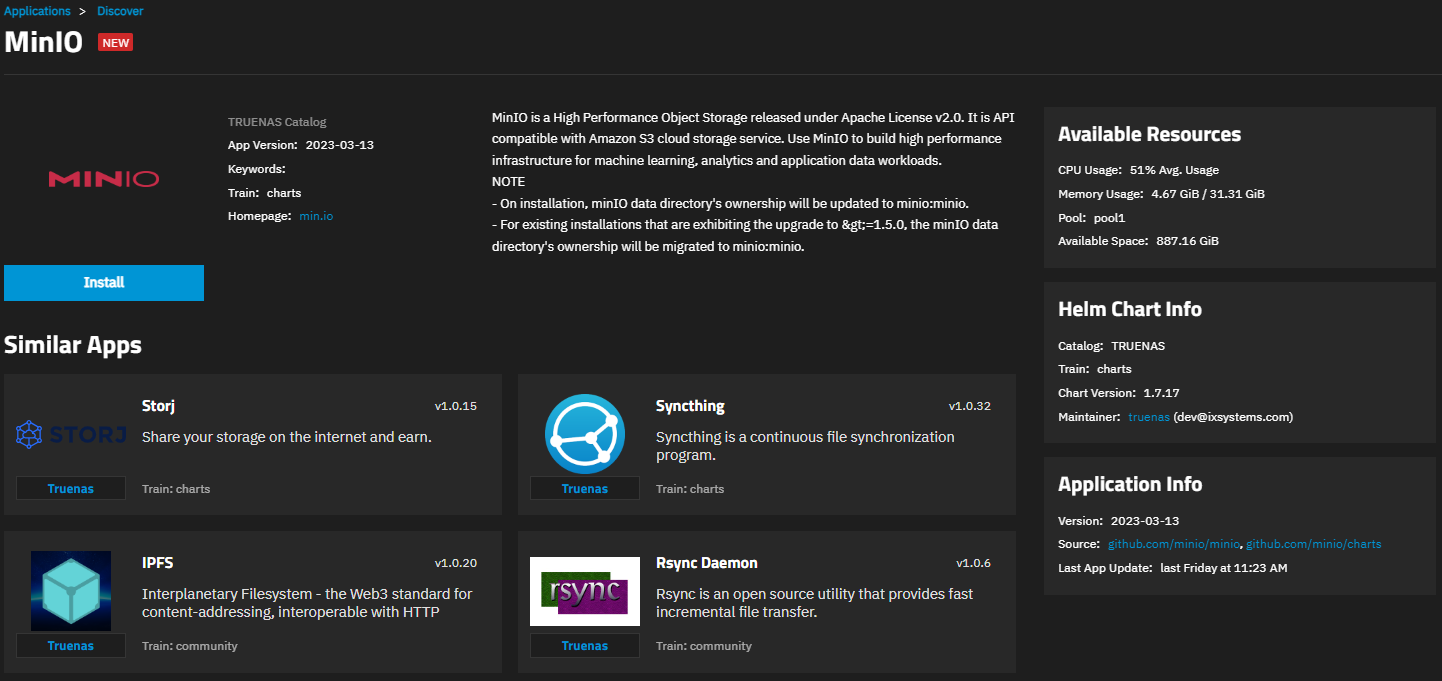
Click on the widget to open the MinIO application information screen.
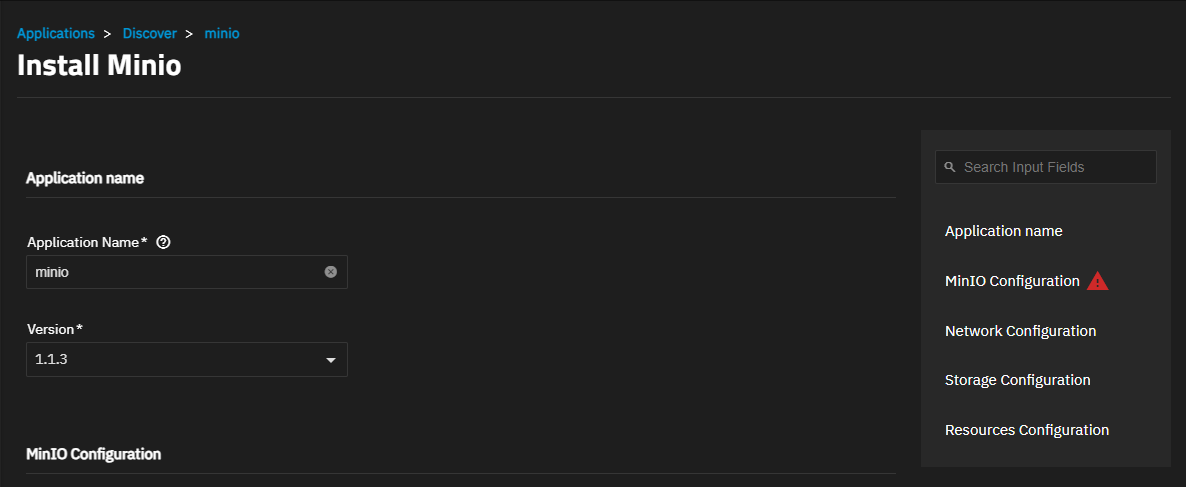
Click Install to open the Install MinIO screen.
Accept the default values for Application Name and Version. The best practice is to keep the default Create new pods and then kill old ones in the MinIO update strategy. This implements a rolling upgrade strategy.
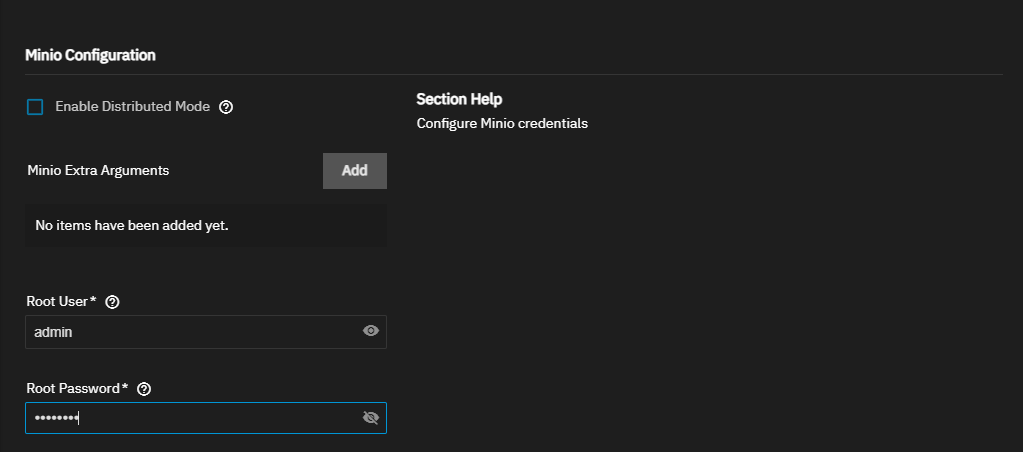
Next, enter the MinIO Configuration settings.
The MinIO application defaults include all the arguments you need to deploy a container for the application.
Enter a name in Root User to use as the MinIO access key. Enter a name of five to 20 characters in length, for example admin or admin1. Next enter the Root Password to use as the MinIO secret key. Enter eight to 40 random characters, for example MySecr3tPa$$w0d4Min10.
Refer to MinIO User Management for more information.
Keep all passwords and credentials secured and backed up.
MinIO containers use server port 9000. The MinIO Console communicates using port 9001.
You can configure the API and UI access node ports and the MinIO domain name if you have TLS configured for MinIO.
To store your MinIO container audit logs, select Enable Log Search API and enter the amount of storage you want to allocate to logging. The default is 5 disks.
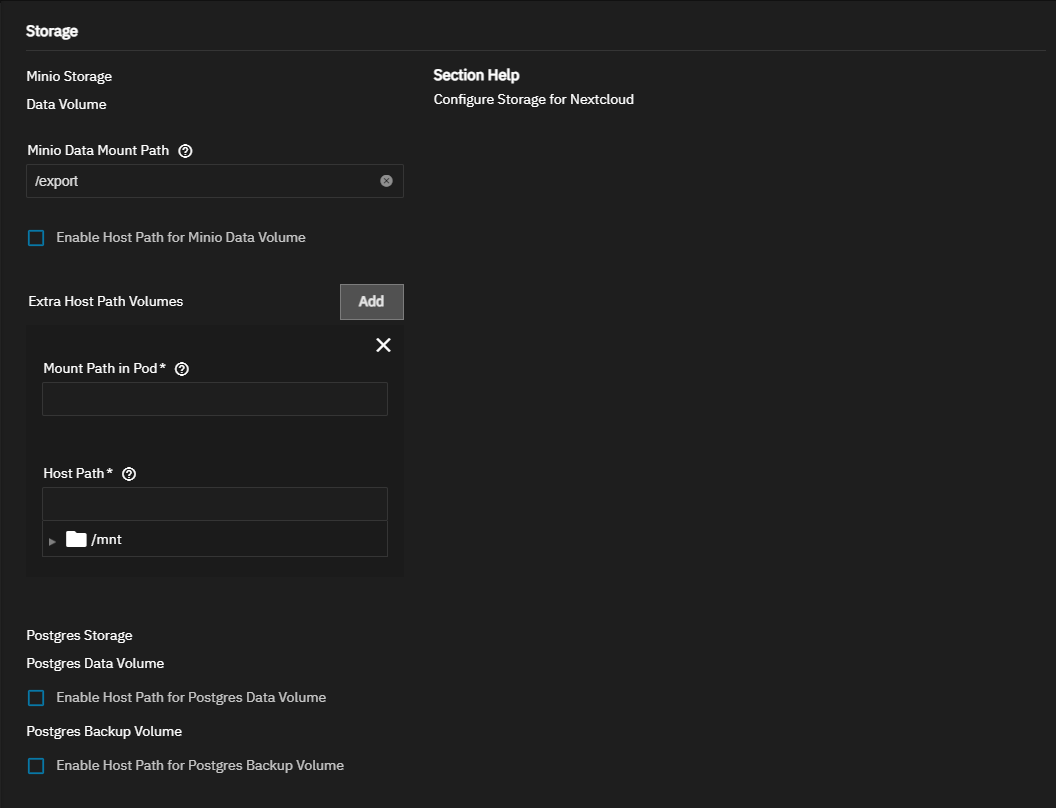
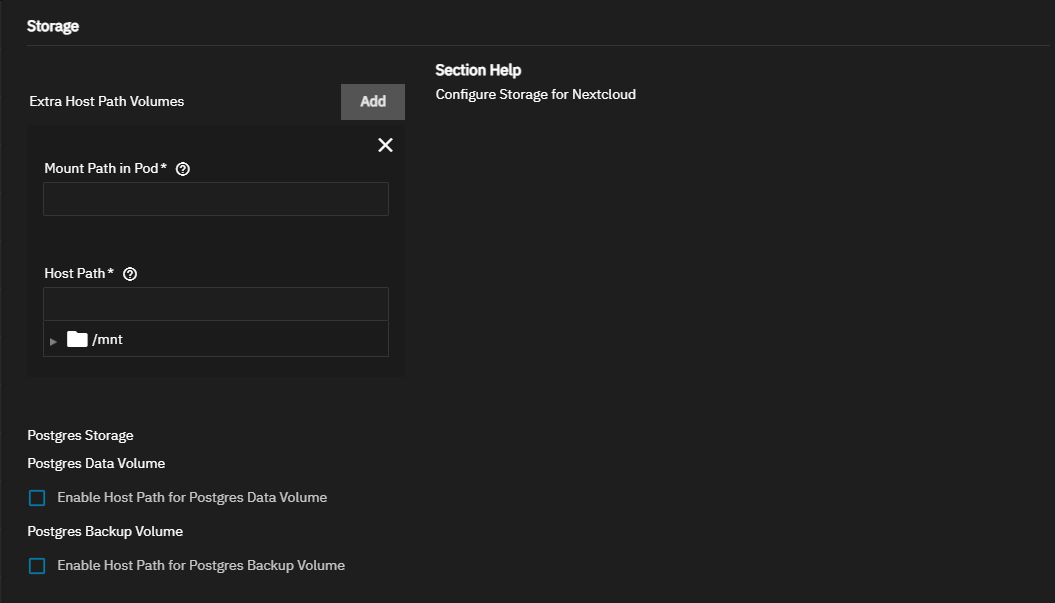
Configure the storage volumes. Accept the default /export value in Mount Path. Click Add to the right of Extra Host Path Volumes to add a data volume for the dataset and directory you created above. Enter the /data directory in Mount Path in Pod and the dataset you created in the First Steps section in Host Path.
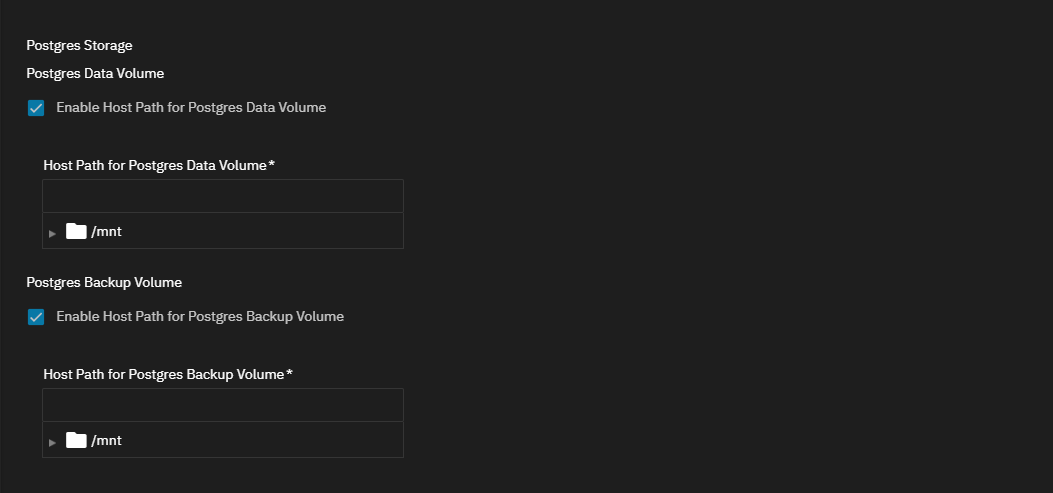
If you want to create volumes for postgres data and postgres backup, select Postgres Data Volume and/or Postgres Backup Volume to add the mount and host path fields for each. If not set, TrueNAS uses the defaults for each postgres-data and postgres-backup.
Accept the defaults in Advanced DNS Settings.
If you want to limit the CPU and memory resources available to the container, select Enable Pod resource limits then enter the new values for CPU and/or memory.
Click Install when finished entering the configuration settings.
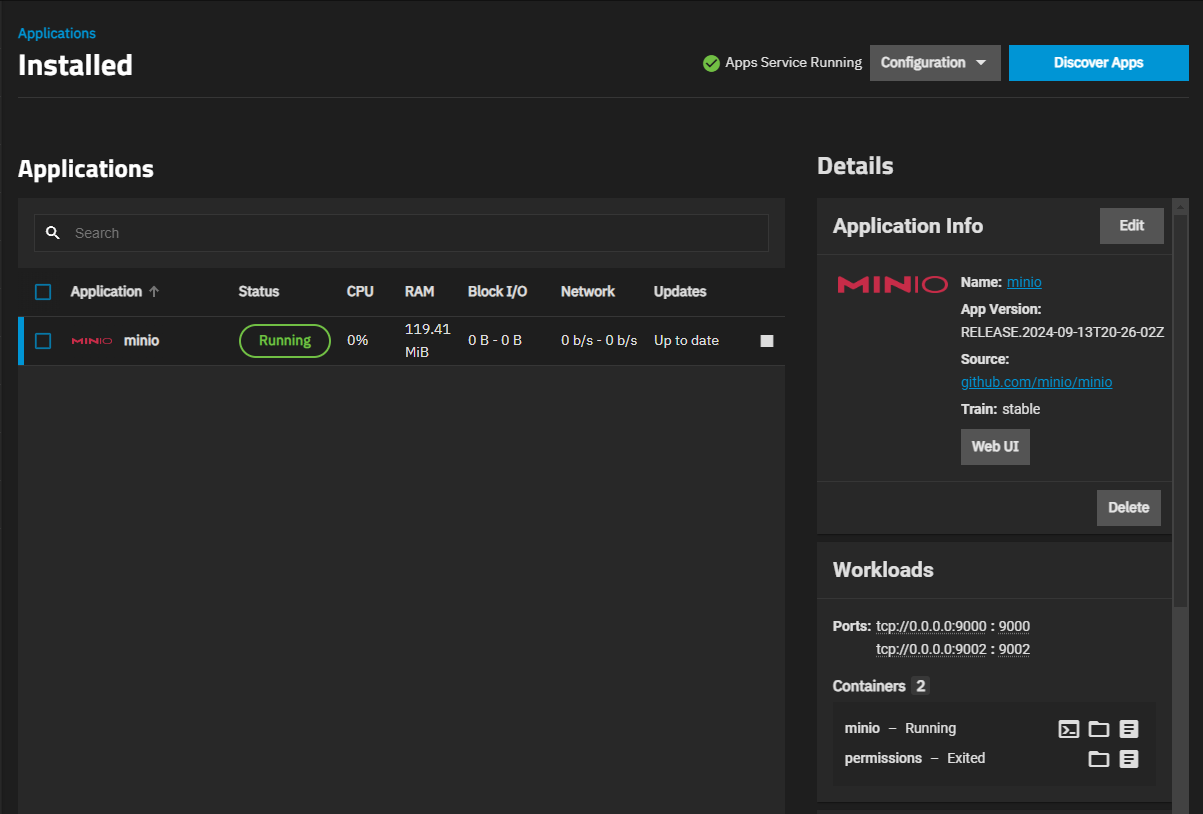
The Installed applications screen displays showing the MinIO application in the Deploying state. It changes to Running when the application is ready to use.
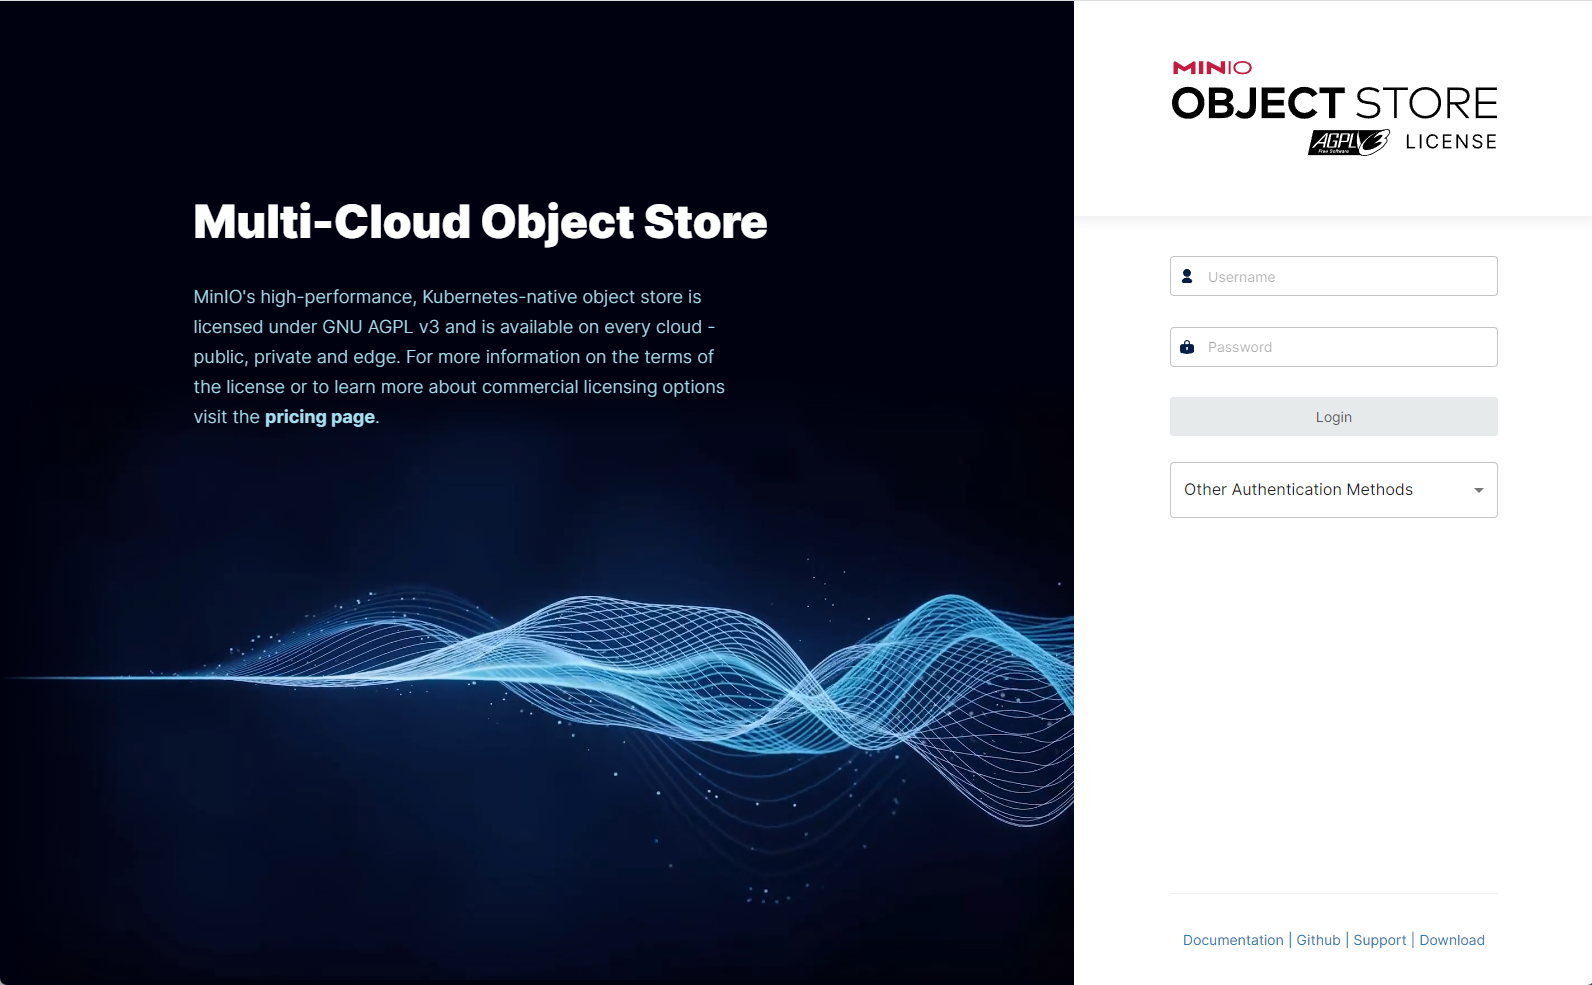
Click Web Portal to open the MinIO sign-in screen.
The following section provide more detailed explanations of the settings found in each section of the Install MinIO configuration screen.
Accept the default value or enter a name in Application Name field. Accept the default version number in Version.
The MinIO Workload Configuration section includes the MinIO update strategy setting that sets how application updates occur.
Select Create new pods then kill old ones to implement a rolling update strategy where the existing container (pod) remains until the update completes, then it is removed. Select Kill existing pods before creating new ones to implement a recreate update strategy where you remove the existing container (pod) and then create a new one. The recommended option is to keep the default and use the the rolling update strategy.
The MinIO Configuration section provides options to set up a cluster, add arguments, credentials, and environment variables to the deployment.
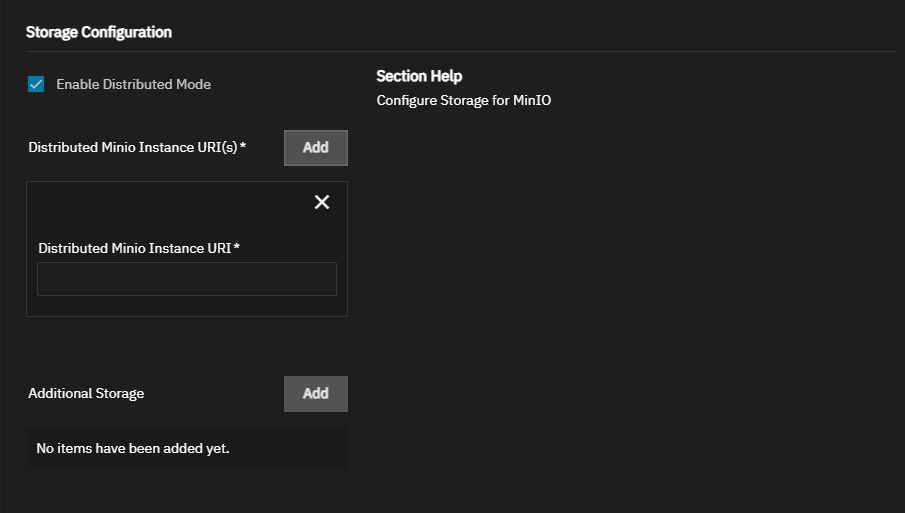
Select Enable Distributed Mode when setting up a cluster of SCALE systems in a distributed cluster.
MinIO in distributed mode allows you to pool multiple drives or TrueNAS SCALE systems (even if they are different machines) into a single object storage server for better data protection in the event of single or multiple node failures because MinIO distributes the drives across several nodes. For more information, see the Distributed MinIO Quickstart Guide.
To create a distributed cluster, click Add to show the Distributed MinIO Instance URI(s) fields for each TrueNAS system (node) IP addresses/host names to include in the cluster. Use the same order across all the nodes.
The app is preconfigured with arguments it needs to deploy a container. Do not enter the server and URL argument earlier versions of the app required.
Enter the name for the root user (MinIO access key) in Root User. Enter a name of five to 20 characters in length. For example admin or admin1. Next enter the root user password (MinIO secret key) in Root Password. Enter eight to 40 random characters. For example MySecr3tPa$$w0d4Min10.
You do not need to enter extra arguments or environment variables to configure the MinIO app.
Accept the default port settings in MinIO Service Configuration. Before changing ports, refer to Default Ports.
Select the optional Enable Log Search API to enable LogSearch API and configure MinIO to use this function. This deploys a postgres database to store the logs. Enabling this option displays the Disk Capacity in GB field. Use this to specify the storage in gigabytes the logs are allowed to occupy.
MinIO storage settings include the option to add mount paths and storage volumes to use inside the container (pod). There are three storage volumes, data, postgres data, and postgres backup. The data volume is the only required storage volume.
Accept the default /export value in Mount Path. Click Add to the right of Extra Host Path Volumes to add a data volume for the dataset and directory you created above. Enter the /data directory in Mount Path in Pod and the dataset you created in the First Steps section above in Host Path.
Of the three volume options, adding the data volume and directory are required. Adding postgres data volumes is optional.
To add host paths for postgress storage volumes, select Enable Host Path for Postgres Data Volume and/or Enable Host Path for Postgres Backup Volumes. SCALE default values for each of these postgres volumes are postgres-data and postgres-backup.
MinIO does not require configuring advanced DNS options. Accept the default settings or click Add to the right of DNS Options to show the Name and Value fields for a DNS option.
By default, this application is limited to use no more than 4 CPU cores and 8 Gigabytes available memory. The application might use considerably less system resources.
To customize the CPU and memory allocated to the container (pod) the MinIO app uses, select Enable Pod resource limits. This adds the CPU Resource Limit and Memory Limit fields. Tune these limits as needed to prevent the application from overconsuming system resources and introducing performance issues.
- Updating MinIO from 1.6.58: Provides information on updating MinIO from 1.6.58 to newer versions.
- Setting Up MinIO Clustering: Provides configuration instructions using the MinIO Offical Charts application widget. It includes instructions on setting up a distributed cluster configuration.


