TrueNAS SCALE Nightly Development Documentation
This content follows experimental early release software. Use the Product and Version selectors above to view content specific to a stable software release.
Cloudflare Tunnel
4 minute read.
Last Modified 2024-07-18 08:42 EDTThis guide shows how to create a Cloudflare tunnel and configure the Nextcloud and Cloudflared applications in TrueNAS SCALE. The goal is to allow secure access from anywhere.
Exposing applications to the internet can create security risks. Always follow best practices to secure your applications.
See additional security considerations below.
Review the Nextcloud documentation to get a better understanding of the security implications before proceeding.
Application maintenance is independent from TrueNAS SCALE version release cycles. App versions, features, fields, and install behavior at the time of access might vary from those in documented tutorials, especially for legacy version documentation that no longer receives active updates.
We welcome community contributions to keep this documentation current! Click Edit Page in the top right corner to propose changes to this article. See Updating Content for more information.
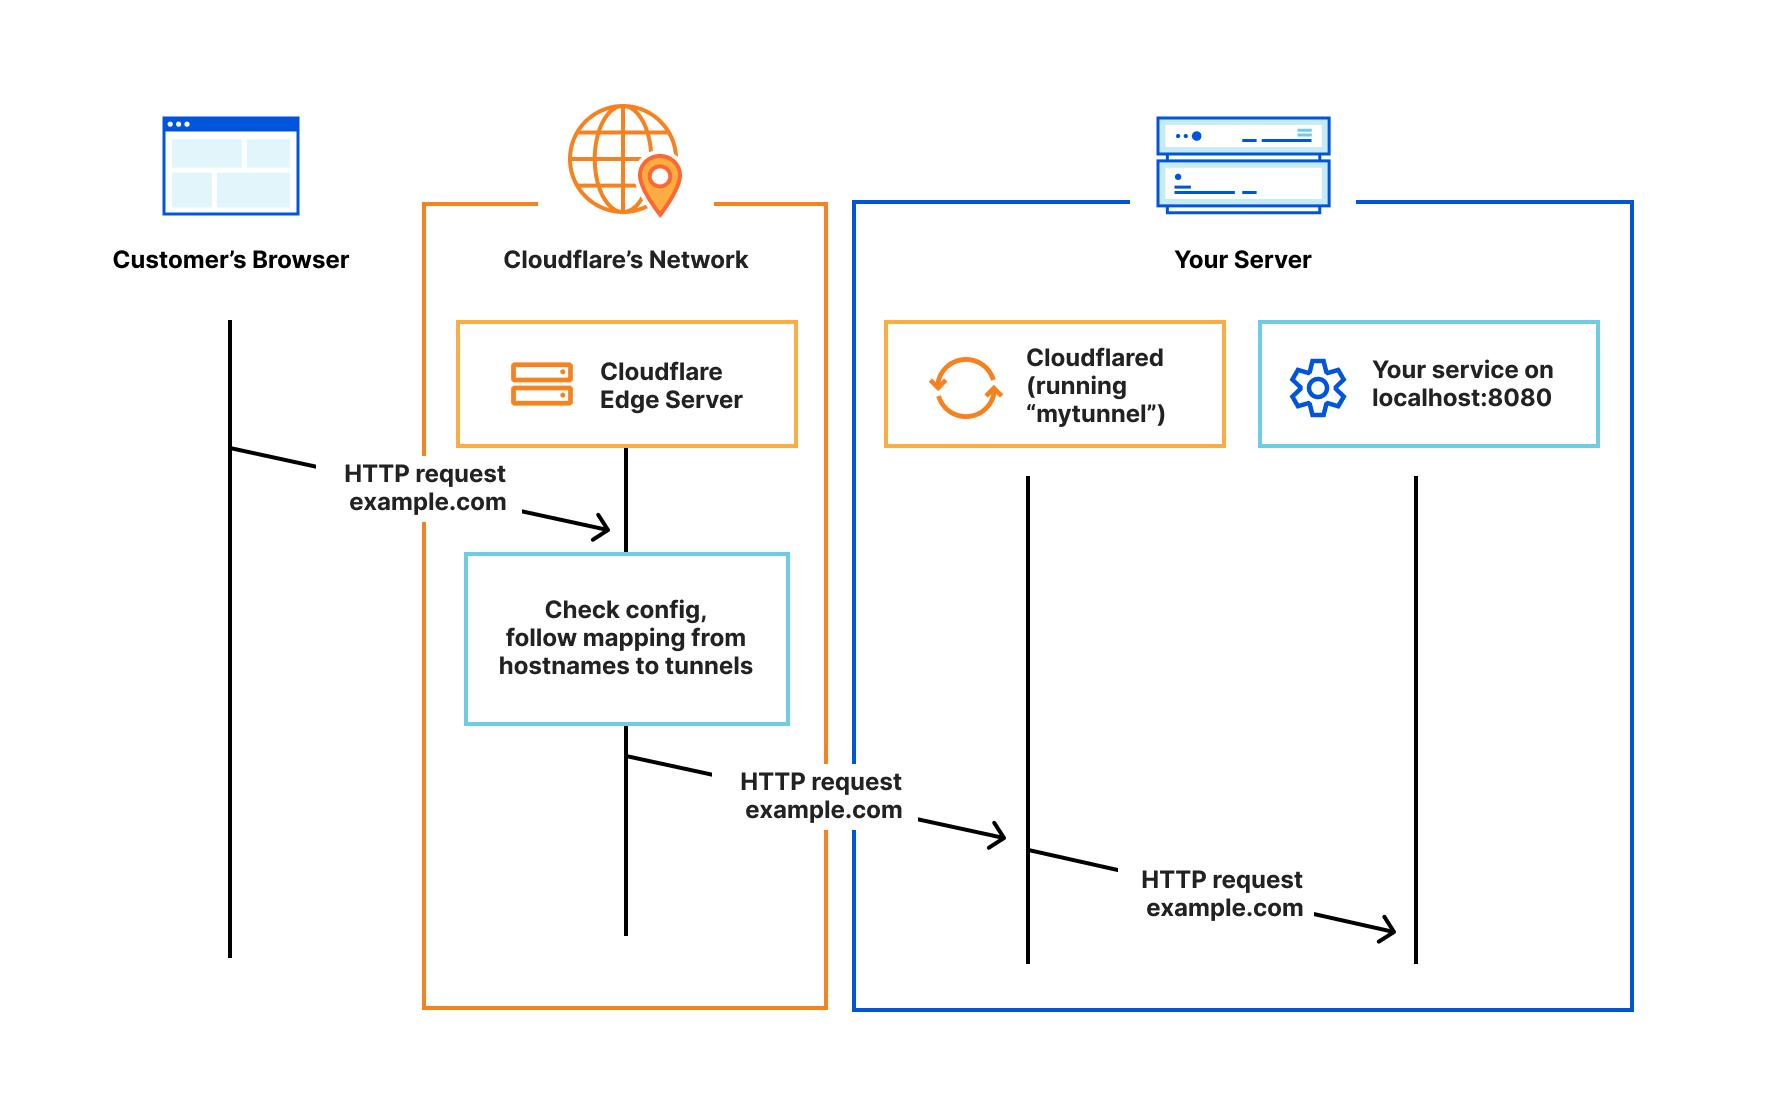
Cloudflare Tunnel is a system that proxies traffic between the user and the application over the Cloudflare network. It uses a Cloudflared client that is installed on the TrueNAS SCALE system.
This allows a secure and encrypted connection without the need of exposing ports or the private IP of the TrueNAS system to the internet.
Register or log in to a Cloudflare account. A free account is sufficient.
Follow Cloudflare documentation to register a domain and set up DNS.
This video from Lawrence Systems provides a detailed overview of setting up Cloudflare tunnels for applications. It assumes that the applications run as a docker container, but the same approach can be used to secure apps running on TrueNAS SCALE in Kubernetes.
In the Cloudflare One dashboard:
Go to Networks and select Tunnels.
Click Create Tunnel, choose type Cloudflared and click Next.
Choose a Tunnel Name and click Save tunnel.
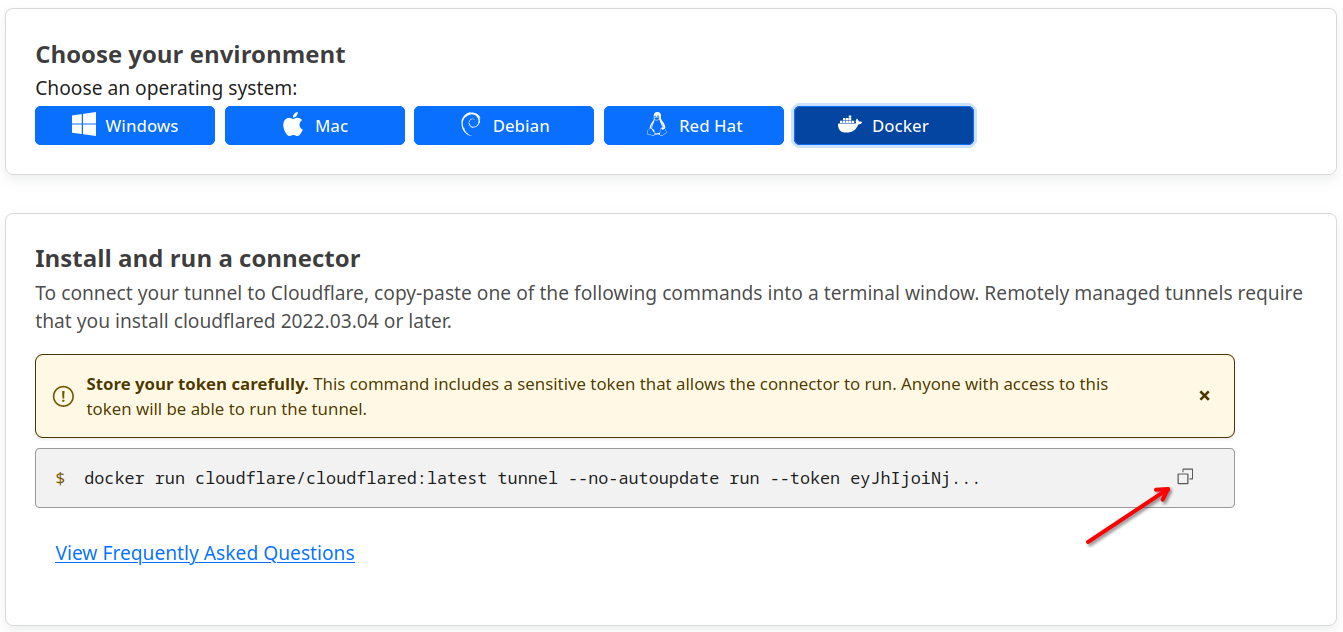
Copy the tunnel token from the Install and run a connector screen. This is needed to configure the Cloudflared app in TrueNAS SCALE.
The operating system selection does not matter as the same token is used for all options. For example, the command for a docker container is:
docker run cloudflare/cloudflared:latest tunnel --no-autoupdate run --token
eyJhIjoiNjVlZGZlM2IxMmY0ZjEwNjYzMDg4ZTVmNjc4ZDk2ZTAiLCJ0IjoiNWYxMjMyMWEtZjE
2YS00MWQwLWFhN2ItNjJiZmYxNmI4OGIwIiwicyI6IlpqQmpaRE13WXpBdFkyRmpPUzAwWVRCbU
xUZ3hZVGd0TlRWbE9UQmpaakEyTlRFMCJ9
Copy the string after --token, then click Next.
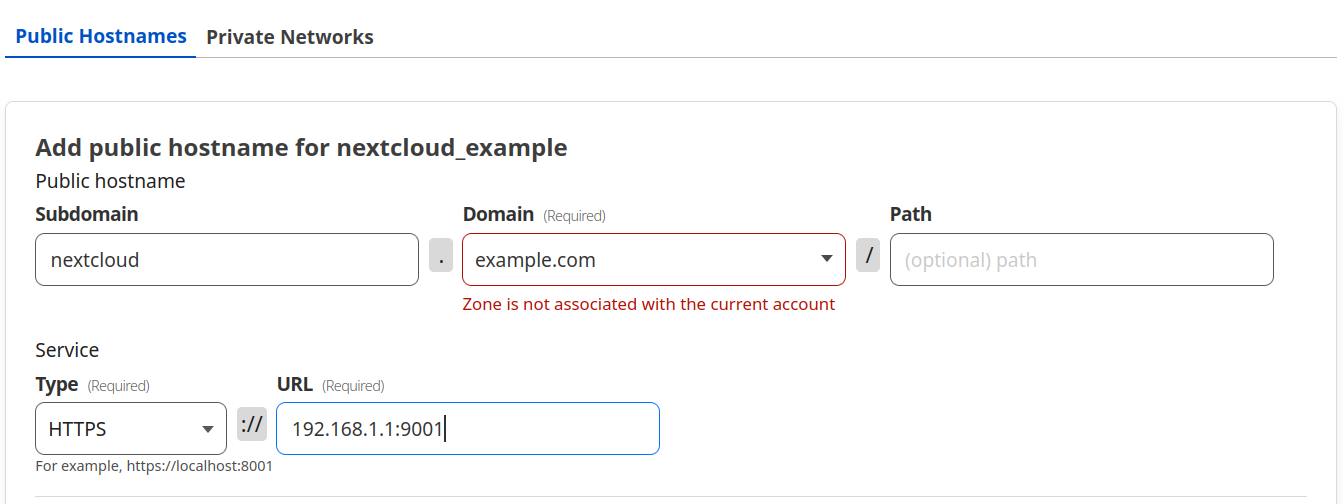
Add a public hostname for accessing Nextcloud, for example: nextcloud.example.com.
Set service Type to HTTPS. Enter the local TrueNAS IP with the Nextcloud container port, for example 192.168.1.1:9001.
Go to Additional application Settings, select TLS from the dropdown menu, and enable No TLS Verify.
Click Save tunnel.
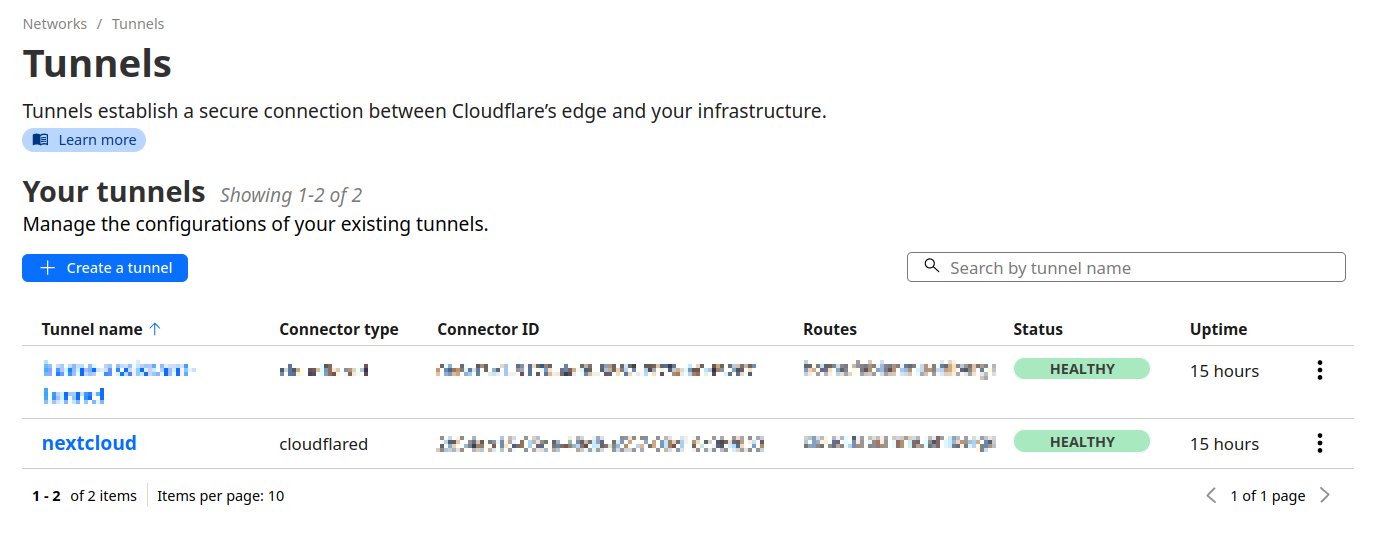
The new tunnel displays on the Tunnels screen.
After creating the Cloudflare tunnel, go to Apps in the TrueNAS SCALE UI and click Discover Apps. Search or browse to select the Cloudflared app from the community train and click Install.
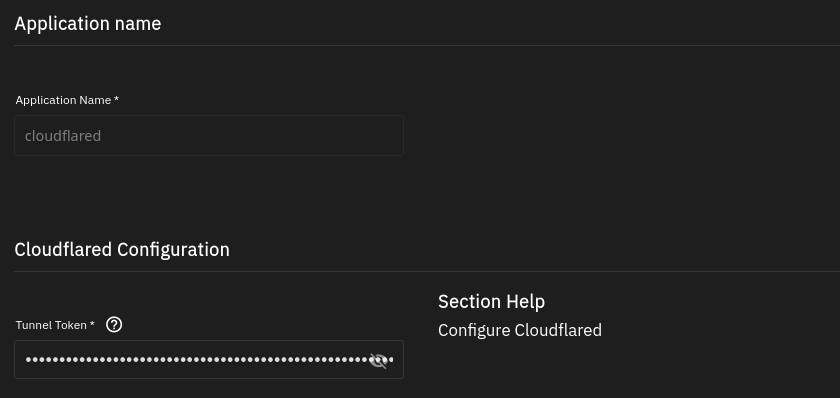
Accept the default Application Name and Version.
Copy the Cloudflare tunnel token from the Cloudflare dashboard
Paste the token from Cloudflare, that you copied earlier, in the Tunnel Token field.
All other settings can be left as default.
Click Save and deploy the application.
Install the Nextcloud community application.
The first application deployment may take a while and starts and stops multiple times. This is normal behavior.
The Nextcloud documentation provides information on running Nextcloud behind a reverse proxy. Depending on the reverse proxy and its configuration, these settings may vary. For example, if you don’t use a subdomain, but a path like example.com/nextcloud.
If you want to access your application via subdomain (shown in this guide) two environment variables must be set in the Nextcloud application: overwrite.cli.url and overwritehost. Additionally, you will need to clear the Host field under Nextcloud Configuration, otherwise the OVERWRITEHOST variable cannot be set.
Enter the two environment variables in Name as OVERWRITECLIURL and OVERWRITEHOST.
Enter the address for the Cloudflare Tunnel, configured above in Value, for example nextcloud.example.com.
With the Cloudflare connector and Nextcloud installed and configured, in your Cloudflare dashboard, go to Networks and select Tunnels.
The status of the tunnel should be HEALTHY.
Nextcloud should now be reachable via the Cloudflare Tunnel address, nextcloud.example.com in this example, using a HTTPS connection.
Use strong user passwords and configure two-factor authentication for additional security.
Cloudflare offers access policies to restrict access to the application to specific users, emails or authentication methods.
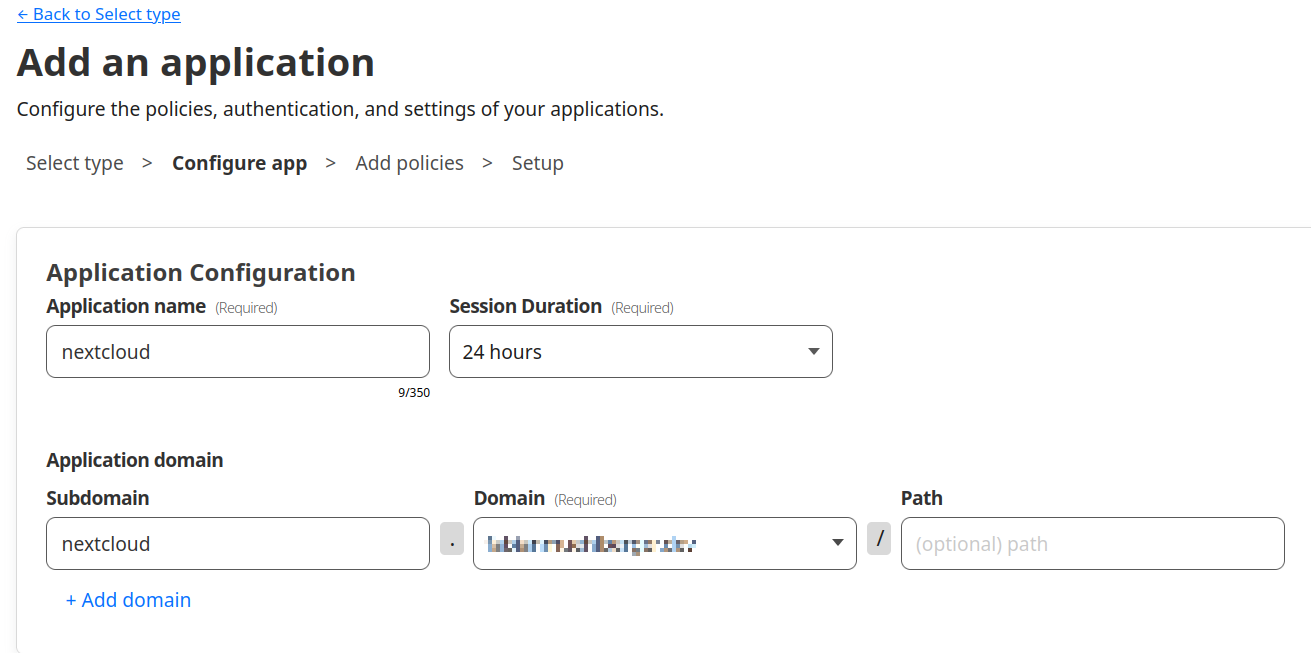
Go to Access, click Add an Application, and select Self-Hosted.
Add your Nextcloud application and the domain you configured in the Cloudflare tunnel.
Click Next.
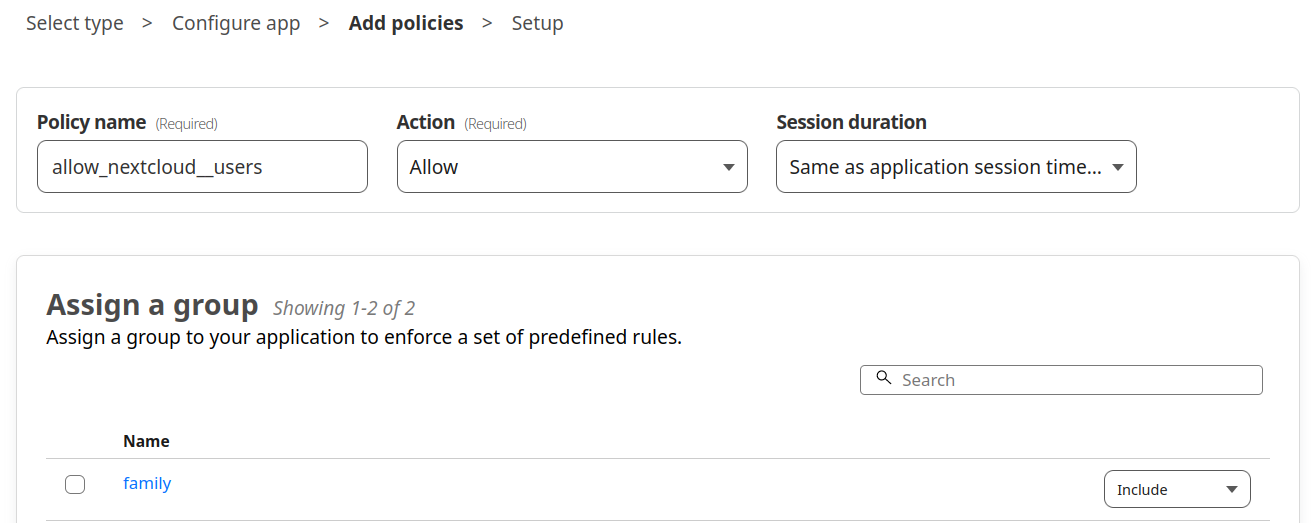
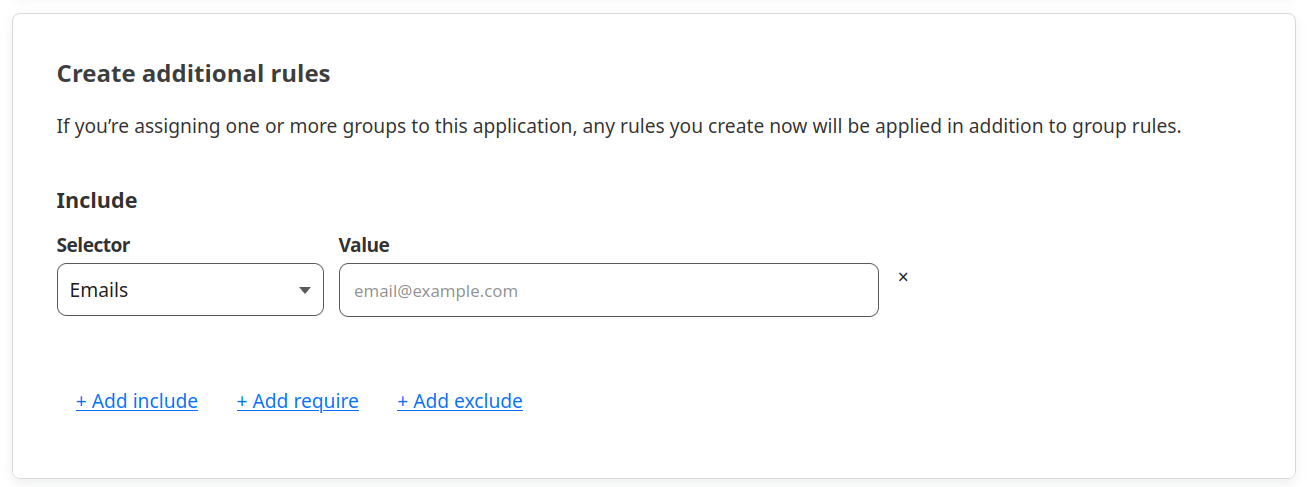
Create a new policy by entering a Policy Name. Groups can be assigned to this policy or additional rules can be added.
Click Next and Save.
Note: there are additional options for policy configuration, but these are beyond the scope of this tutorial.


