




TrueNAS Development Documentation
This content follows experimental development changes in TrueNAS 28, a future version of TrueNAS.
Use the Product and Version selectors above to view content specific to a stable software release.
Customizing the Dashboard
4 minute read.
This section contains tutorials for the main Dashboard.
You can customize the main Dashboard by moving, adding, or deleting cards.
Click Configure to put the Dashboard into configuration mode.
While in configuration mode all cards show surrounded by dotted line borders. Each card includes a drag handle, and the edit and delete icon buttons.
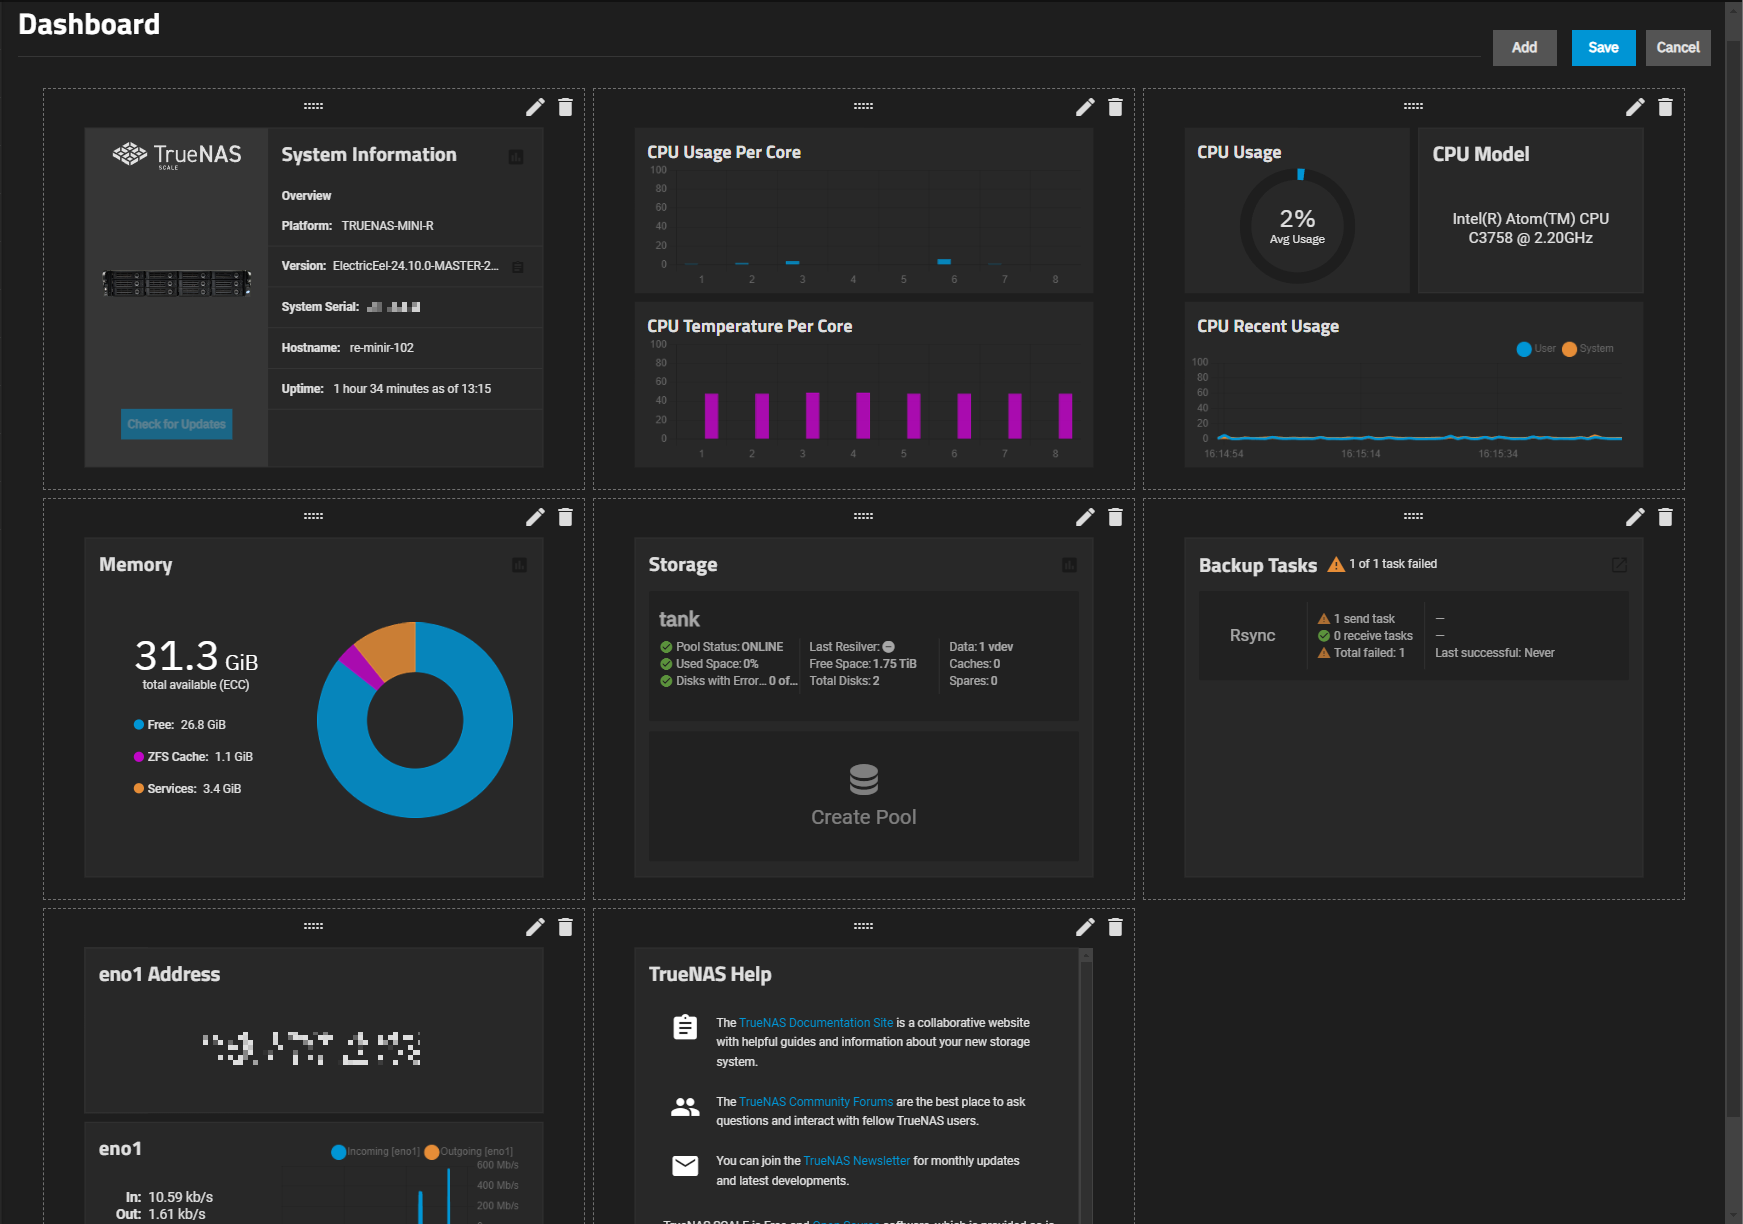
To move a card to a new position on the Dashboard screen, click Configure to put the screen into configuration mode.
Locate the card you want to reposition.
Click on and hold the drag handle at the top center of the card, then drag the card to the desired position on the screen.
After moving cards, click Save at the top right of the screen to exit configuration mode and show cards in the new positions.
You can add new cards to the dashboard or change existing cards to a new layout, category, or type.
Click Configure at the top right of the screen to put the screen into configuration mode.
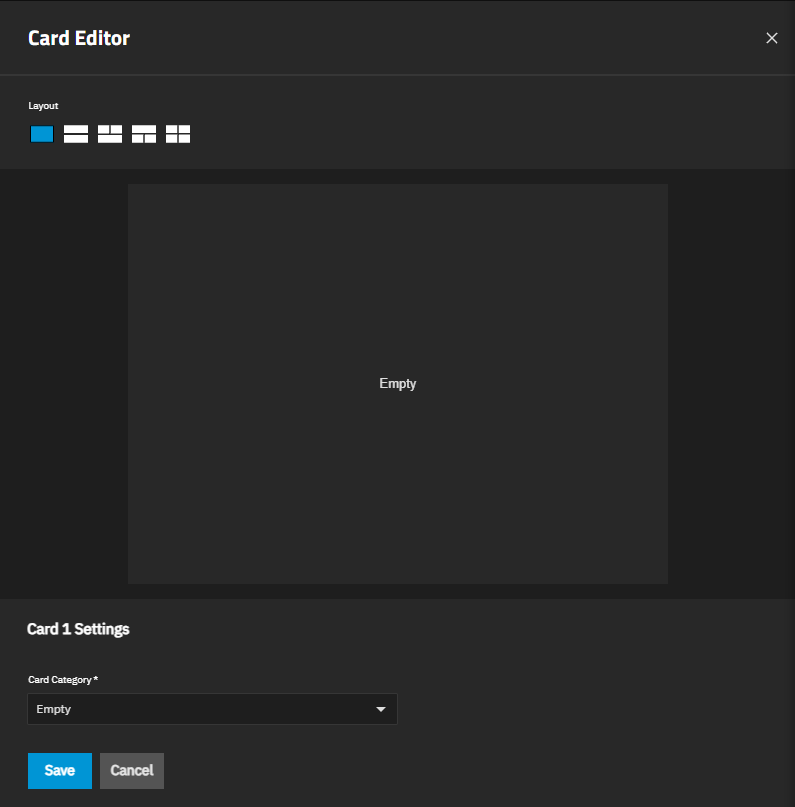
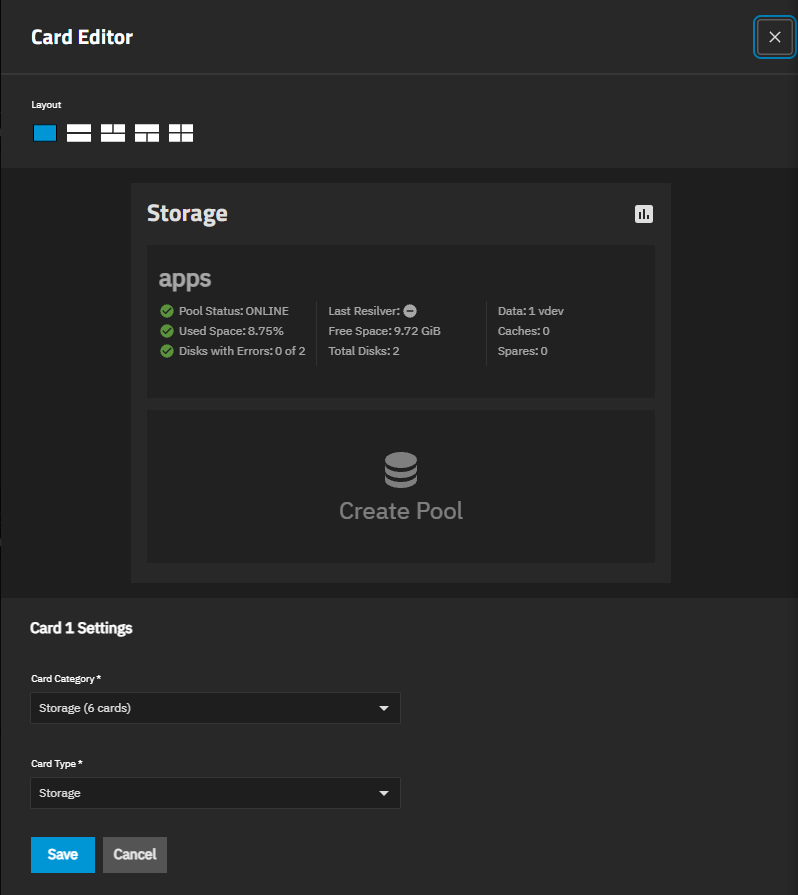
If adding a new card, click Add to open the Card Editor.
If changing an existing card, locate the card on the screen, then click Edit to open the Card Editor with the layout and settings for that card.
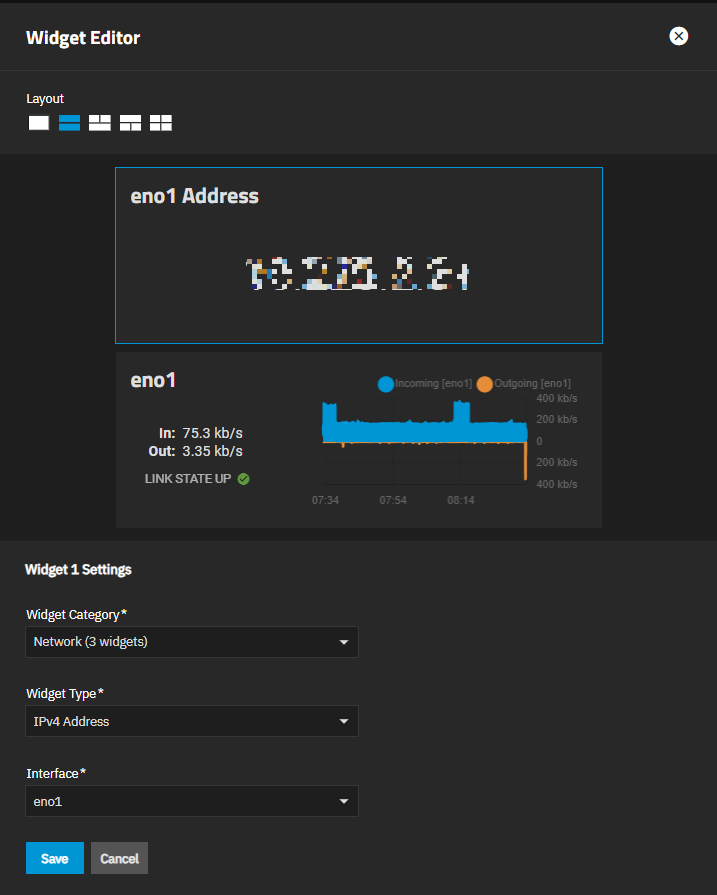
Click on the layout image you want to use. The image on the screen show the new card layout.
If adding a new card, the default layout is full size with the category and type set to Empty.
If editing an existing card, the current layout changes to show the existing category and type in the first card of the new layout. An error shows in the selected card of the group if the card size does not support the selected category and type.
Select the card in the group you want to add or change. If the layout includes half and/or quarter size cards, the first card in the group is selected by default.
To configure another card in the layout, select the position in the group you want to configure.
Select the Card Category and Card Type to apply to the selected card. For example, if configuring a network card, you can use one full size layout or select one with half and quarter size cards. The example below shows two layout options for configuring a network card.
If the selected category is not supported for the selected card, either select a new layout or change the Card Category and/or Card Type to one the card supports.
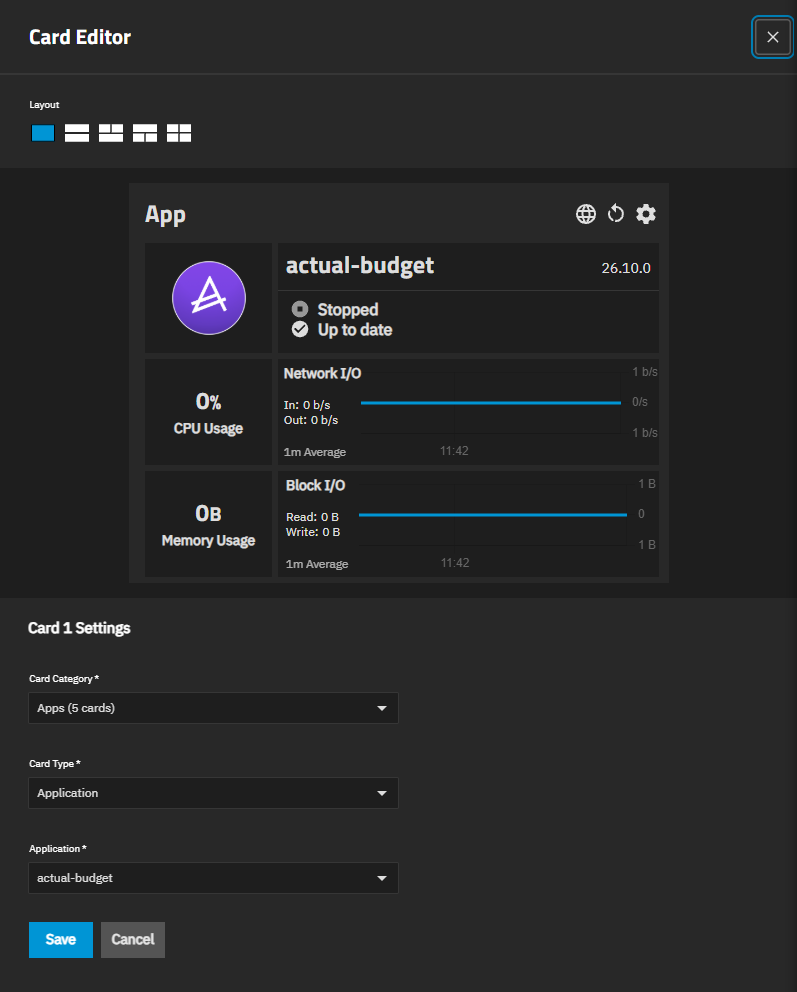
To show an installed app, select Apps as the Card Category, select a Card Type, and then select the app from the Application dropdown list. The Application card type needs a full-size layout.
(Optional) Edit the next card in the selected layout. After adding or changing the card category and type, either click on the next card in the group to configure it.
Click Save to close the Card Editor and return to the Dashboard.
Edit or add as many cards as you want.
Click Save at the top right of the Dashboard screen to save all changes and exit configuration mode. To exit configuration mode without saving changes, click Cancel.
To delete a card from the Dashboard screen, click Configure to put the screen into configuration mode.
Click the Delete icon on the card to delete it and remove it from the screen.
Click Save at the top right of the screen. The screen exits configuration mode and the Dashboard no longer shows the card.
App cards include buttons in the card header that let you open and manage an app without leaving the Dashboard.
- Click the web portal button to open the main web portal for the app in a new browser tab. If the app has more than one web portal, click the Other Portals arrow next to it and select the portal you want to open.
- Click Restart App to restart the app. The button is not available while the app is deploying.
- Click Check App Details to open the details for the app on the Installed apps screen.