



TrueNAS Stable Version Documentation
This content follows TrueNAS 25.10 (Goldeye) releases.
Use the Product and Version selectors above to view content specific to a different software release.
Updating TrueNAS
5 minute read.
TrueNAS has several software branches (linear update paths) known as trains. Update profiles offer updates to the release running on your system based on specific use cases. Some profiles are not available or recommended for Enterprise customers. TrueNAS systems are shipped with the profile set for the user based on their use case.
The Update screen shows the installed version, other installation or update options, and user profiles. Some users can select a different profile option from the Select and update profile dropdown list.
When upgrading TrueNAS to a new major version, follow the upgrade path of major versions until the system is on the desired major version release. For more information on the upgrade path from one version to the next, see Software Releases.
See the Software Status page for the latest recommendations for software usage. Do not change to a prerelease or nightly release unless you intend to keep the system permanently on early versions and are not storing critical data on it.
The Developer update profile allows using a non-production train in active development, but be prepared to experience bugs or other problems. Testers are encouraged to submit bug reports with debug files. For information on how to file an issue ticket, see Filing an Issue Ticket in TrueNAS.
The TrueNAS Update screen provides users with automatic and manual update methods.
We recommend updating TrueNAS when the system is idle (no clients connected, no disk activity, etc.). The system restarts after an upgrade. Update during scheduled maintenance times to avoid disrupting user activities.
All auxiliary parameters are subject to change between major versions of TrueNAS due to security and development issues. We recommend removing all auxiliary parameters from TrueNAS configurations before upgrading.
If an update is available, it shows in the Update Available section on the Update screen.
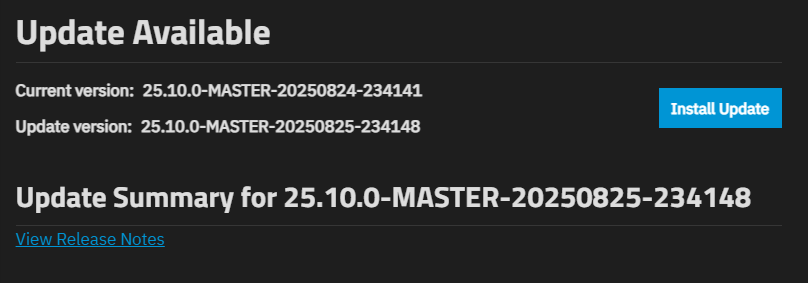
Click Install Update to open the Save configuration settings from this machine before updating? window.
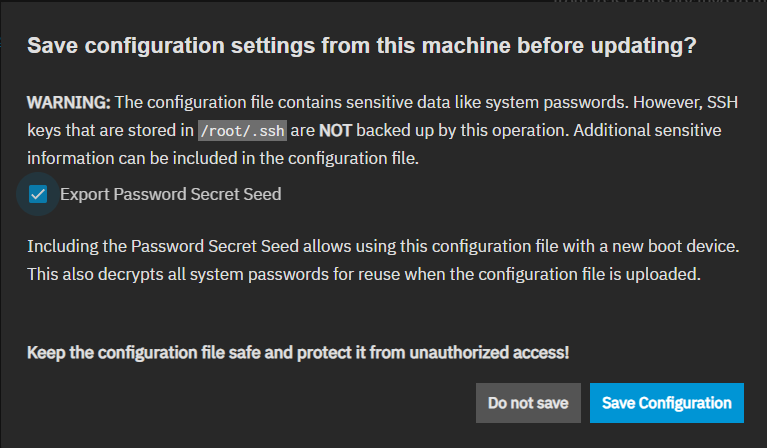
Select Export Password Secret Seed, then click Save Configuration.
TrueNAS downloads the configuration and the update files, then starts the installation.
After updating, clear the browser cache (CTRL+F5) before logging in to TrueNAS. This ensures stale data doesn’t interfere with loading the TrueNAS UI.
If the system detects an available update, it and the Install Update button show below the current release running on the system. Click Install Update. The Save configuration settings from this machine before updating? window opens. Leave Export Password Secret Seed selected, and then click Save Configuration.
TrueNAS Manual update files are available from the TrueNAS Download page website. If using the Developer update profile and a nightly build, you can use the manual update option to update the release running on your system if an update is not shown in the Update Available section of the Update screen.
Click Install to the right of Manual Update. The Save configuration settings from this machine before updating? window opens. Click Export Password Secret Seed, then click Save Configuration. The Manual Update screen opens.
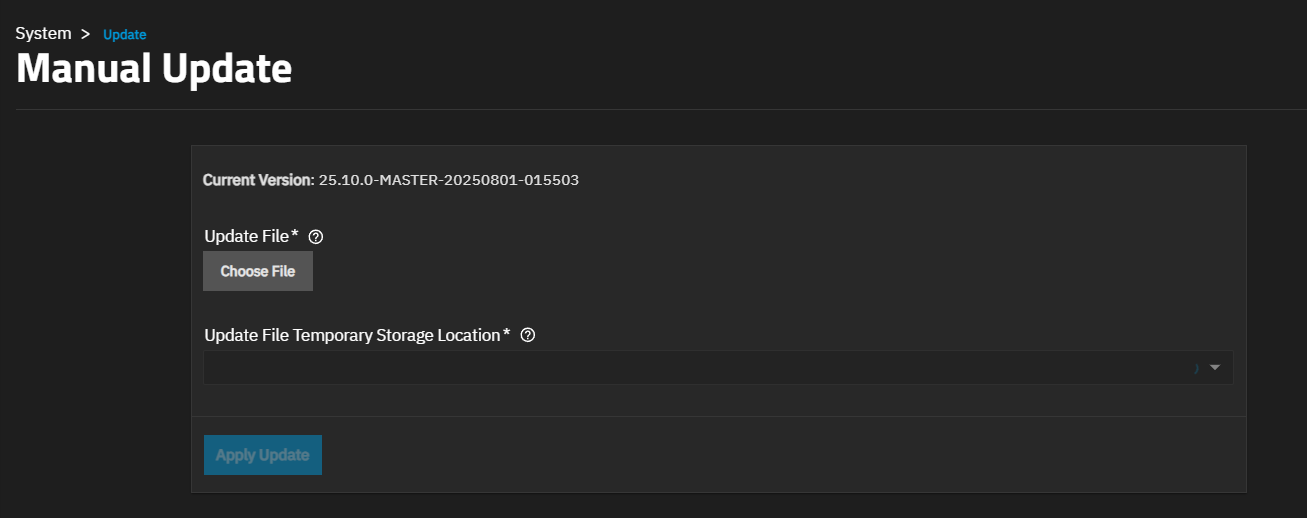
Click Choose File to locate the update file on your system. Select a temporary location to store the update file. Select Memory Device or the mount location from the dropdown list to keep a copy in the server.
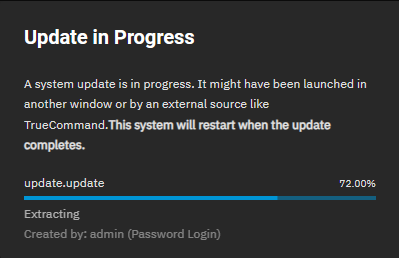
Click Apply Update to start the update process. A status window opens and displays the installation progress. When complete, the system automatically Restarts.
When a system update starts, appears in the toolbar at the top of the UI. Click the icon to see the current status of the update and which TrueNAS administrative account initiated the update.