TrueNAS SCALE Documentation Archive
This content follows the TrueNAS SCALE 24.04 (Dragonfish) releases. Archival documentation is provided for reference only and not actively maintained.
Use the Product and Version selectors above to view content specific to different TrueNAS software or major version.
Snapshots
5 minute read.
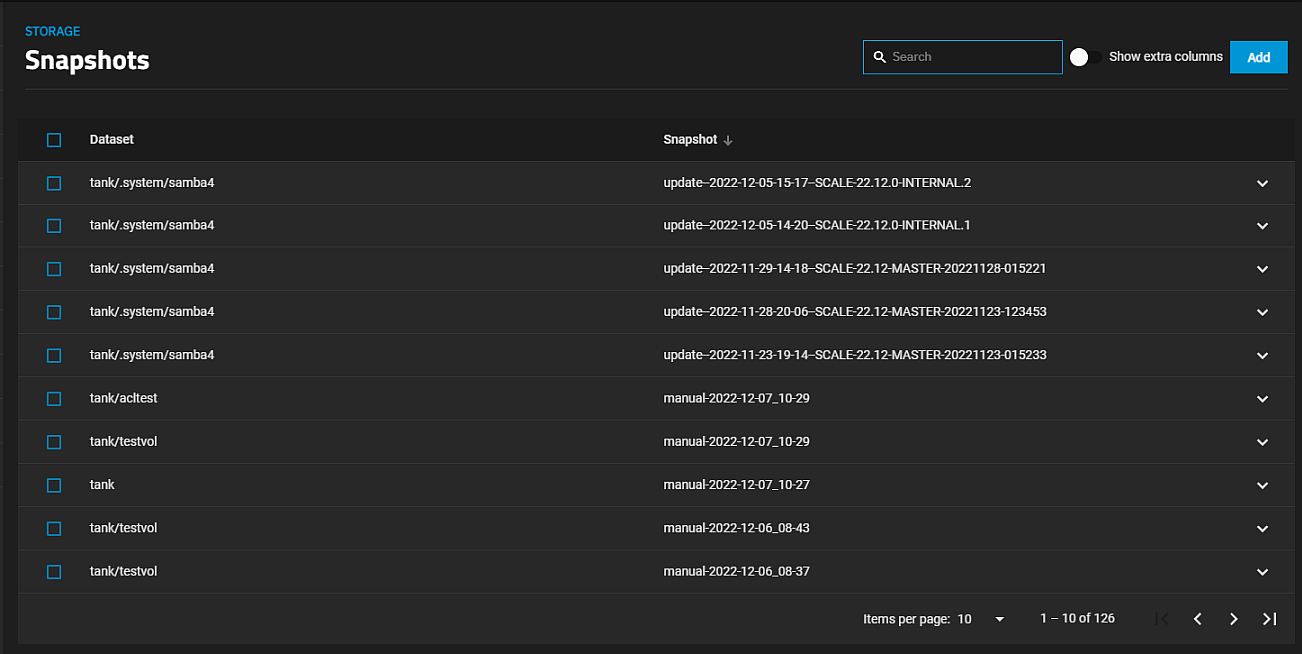
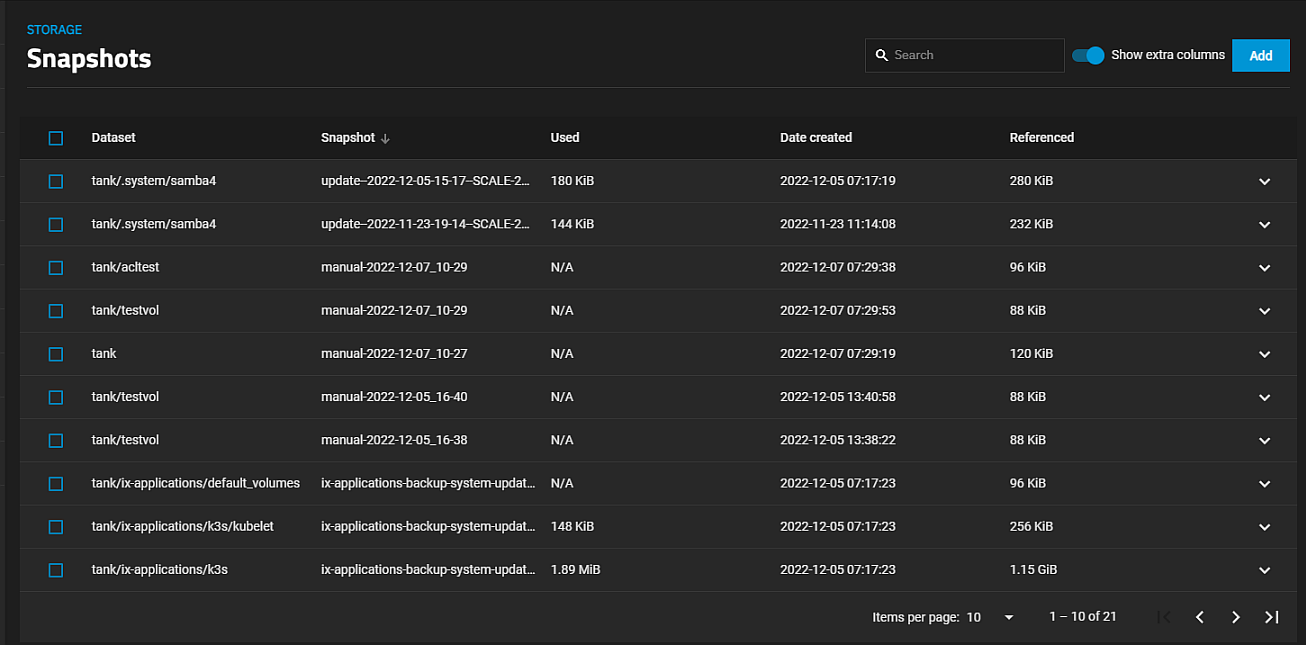
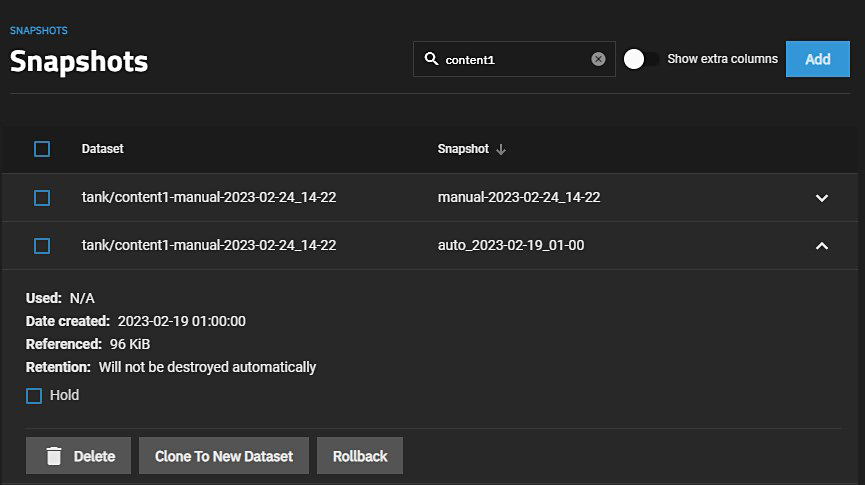
The Snapshots screen lists dataset snapshots on the system. It allows you to add new or manage existing snapshots.
Access to the Snapshots screen is available using the Manage Snapshots link on the Data Protection widget on the Datasets screen and by clicking Snapshots on the Periodic Snapshot Tasks widget on the Data Protection screen.
If the selected dataset does not have snapshots, the screen displays No Snapshots are Available.
Enter a dataset path in the search field at the top of the screen to check for snapshots for other datasets.
Add opens the Add Snapshot screen.
Select the checkbox to the left of each snapshot to select multiple snapshots and display the Batch Operations option to Delete the selected snapshots.
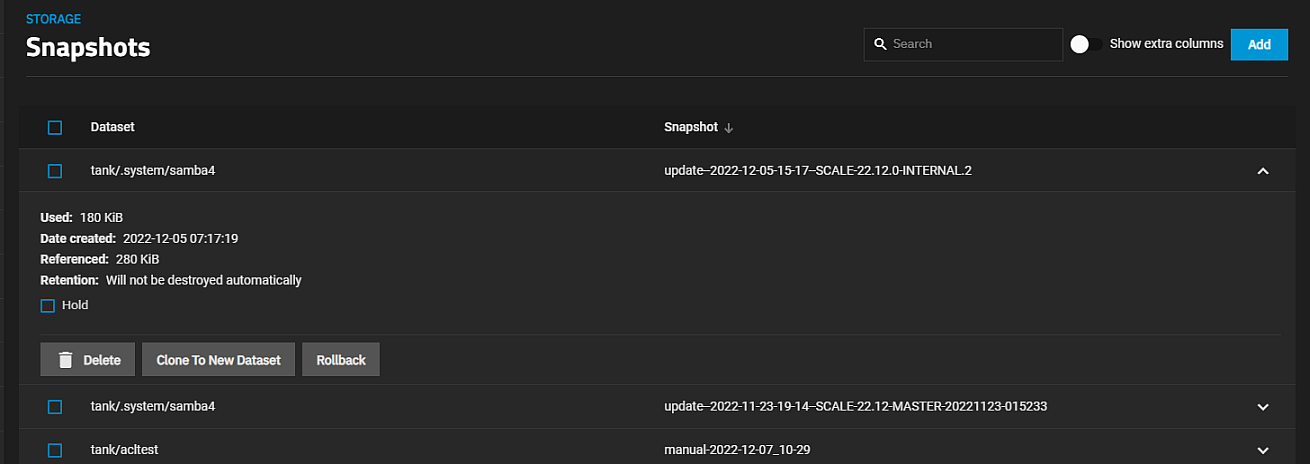
Click anywhere on a snapshot to expand it and view more information about the snapshot and the options for that snapshot.
| Option | Description |
|---|---|
| Delete | Opens a Delete confirmation dialog for the selected snapshot(s). Select Confirm to activate the Delete button. |
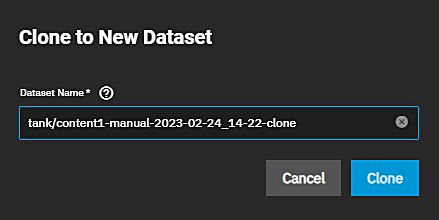
| Clone to New Dataset | Opens the Clone to New Dataset) window where you enter a new name or clone with the default value in the Dataset Name field. |
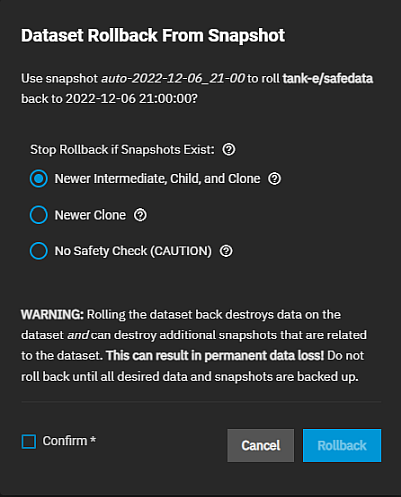
| Rollback | Opens the Dataset Rollback From Snapshot window with three radio button options. Confirm activates the Rollback button. |
| Hold | Select to prevent the snapshot from being deleted. If selected and you batch-operation delete datasets, this opens an error display with the name of the dataset and prevents the delete operation from continuing. |
The snapshot Rollback option replaces the data in the selected dataset with the information saved in the snapshot.
There are three Stop Rollback if Snapshot Exists radio button options that impose safety levels on the rollback operation. When the safety check finds additional snapshots directly related to the dataset you are rolling back it cancels the rollback.WARNING: Rolling the dataset back destroys data on the dataset and can destroy additional snapshots that are related to the dataset. This can result in permanent data loss! Do not roll back until all desired data and snapshots are backed up.
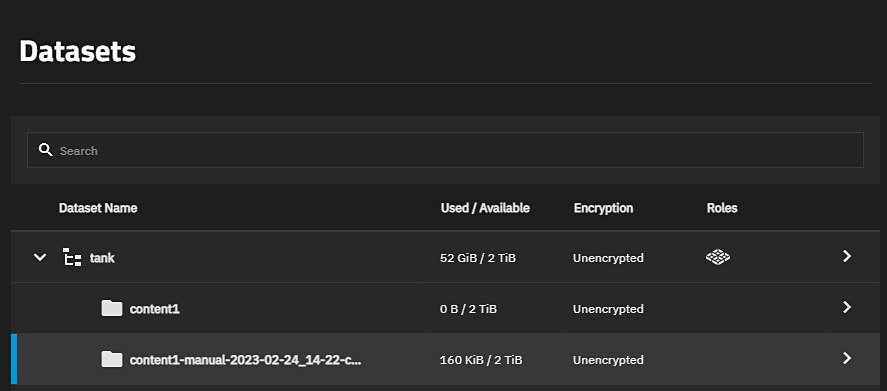
Use the Clone to New Dataset button to create a clone of the snapshot. The clone appears directly beneath the parent dataset in the dataset tree table on the Datasets screen. Click Clone to New Dataset to open a clone confirmation dialog.
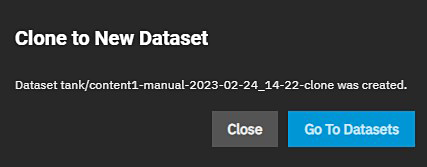
Click Clone to confirm.
The Go to Datasets button opens the Datasets screen.
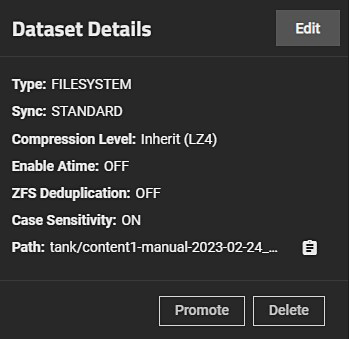
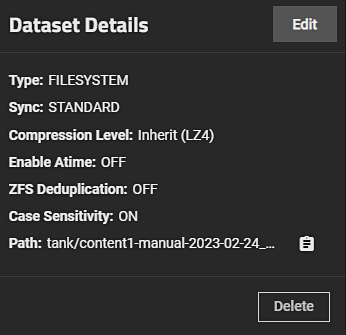
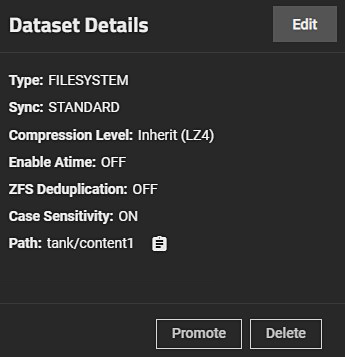
Click on the clone name in the dataset listing to populate the Dataset Details widget and display the Promote button.
After clicking the Promote button, the dataset clone is promoted and this button no longer appears.
Promote now displays on the Dataset Details widget when you select the demoted parent dataset.
See zfs-promote.8 for more information.
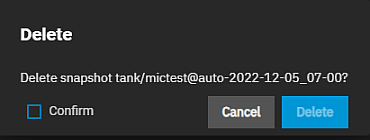
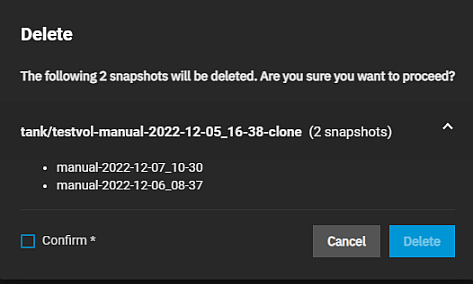
The snapshot Delete option opens a window that lists the snapshot(s) you select.
Confirm activates the Delete button.
To delete more than one snapshot in one operation, select the checkbox beside the datasets you want to delete to display the Batch Operations Delete option.
Batch Operations Delete opens a window listing all selected snapshots.
Confirm activates the Delete button. If a snapshot has the Hold option selected, an error displays to prevent you from deleting that snapshot.
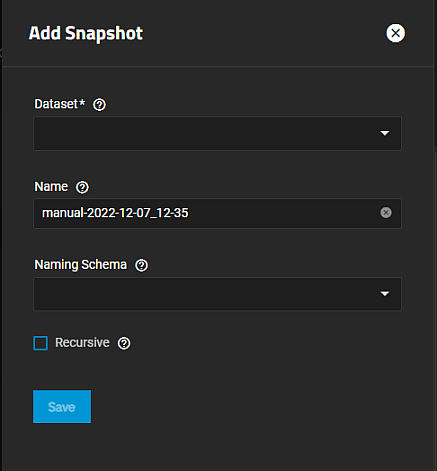
The Add Snapshots screen allows you to create a snapshot while on the Snapshots screen. It also opens when you click Create Snapshot on the Dataset Protection widget on the Datasets screen.
Save retains the settings and returns to the Snapshots screen.


