TrueNAS SCALE Documentation Archive
This content follows the TrueNAS SCALE 24.04 (Dragonfish) releases. Archival documentation is provided for reference only and not actively maintained.
Use the Product and Version selectors above to view content specific to different TrueNAS software or major version.
Adding a Google Photos Cloud Sync Task
4 minute read.
Google Photos works best in TrueNAS using a Google Photos API key and rclone token.
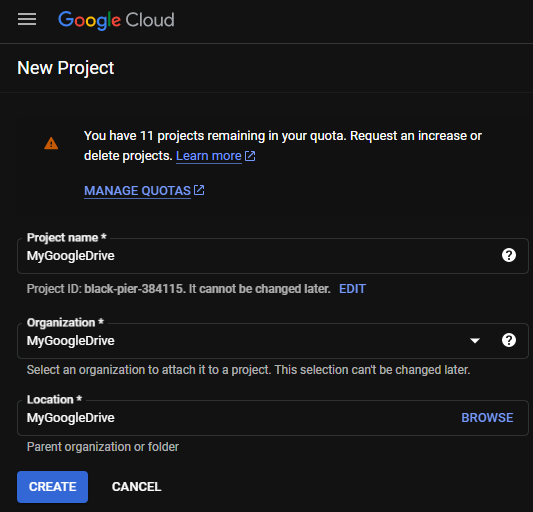
On the Google API dashboard, click the dropdown menu next to the Google Cloud logo and select your project. If you do not have a project, click NEW PROJECT and enter a value in Project name, Organization, and Location.
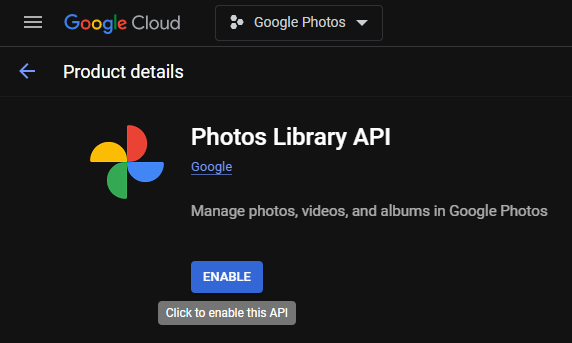
After you select your project, click Enabled APIs & Services on the left menu, then click + ENABLE APIS AND SERVICES.

Enter photos library api in the search bar, then select Photos Library API and click ENABLE.

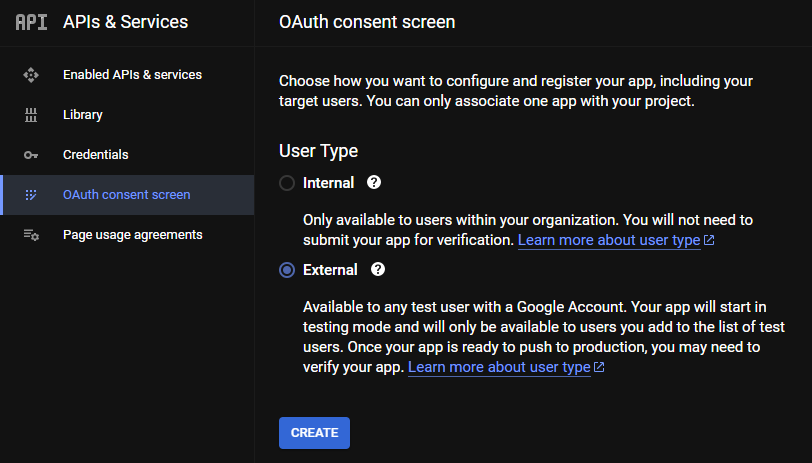
Next, click OAuth consent screen on the left menu, select EXTERNAL, then click CREATE.
Enter a value in App name and User support email.
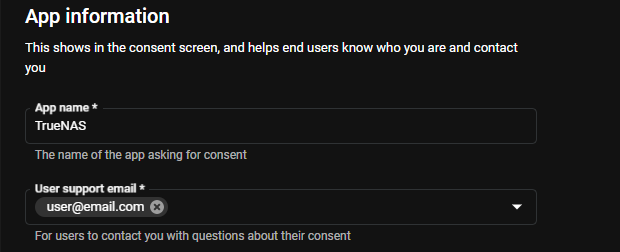
Enter an email address in the Developer contact information section, then click SAVE AND CONTINUE.

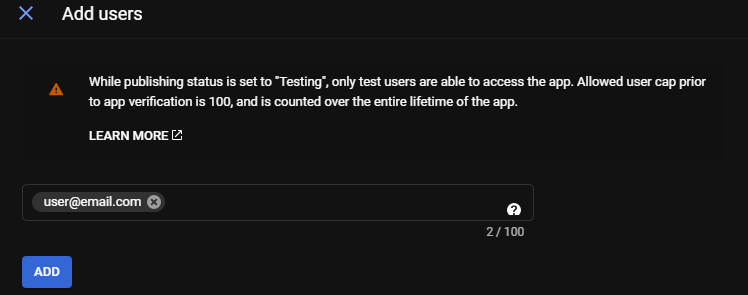
Continue to the Add users section, enter your email address, then click ADD.
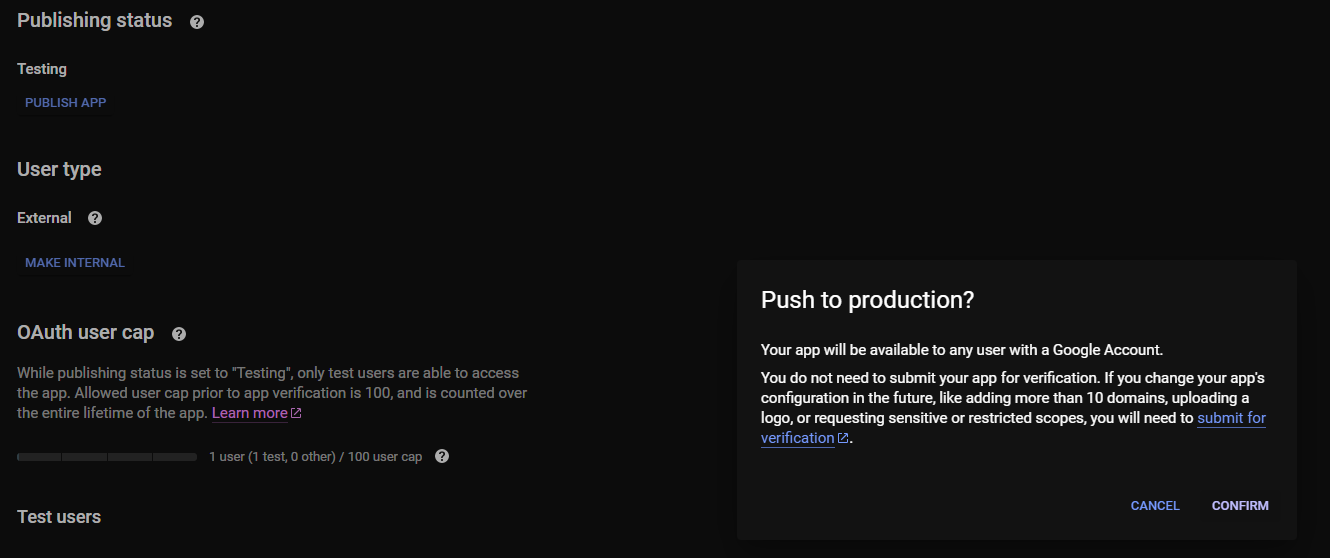
On the OAuth consent screen, click PUBLISH APP under Testing and push the app to production.
Click Credentials on the left menu, then click + CREATE CREDENTIALS and select OAuth client ID.

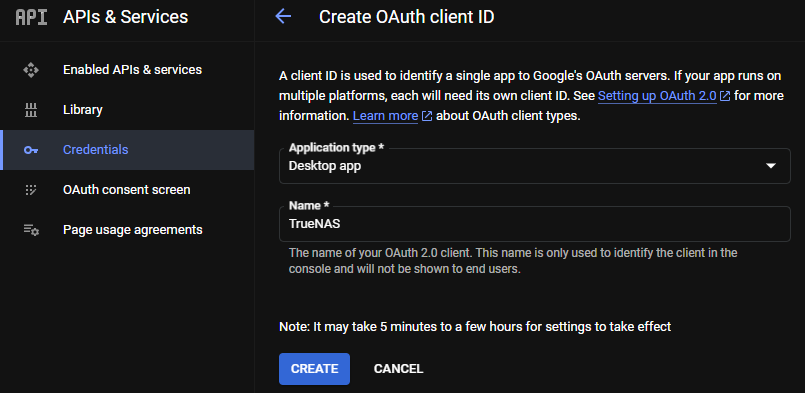
Select Desktop app in the Application type dropdown, then enter a name for the client ID and click CREATE.
Copy and save your client ID and secret, or download the JSON file.
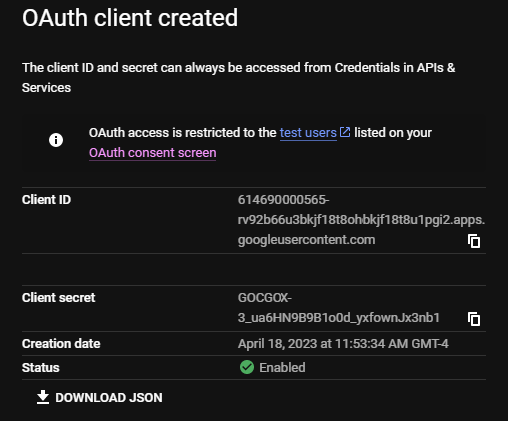
Download rclone for your OS and open it in a command line utility. The example photos in this article use Powershell in Windows OS.
Enter rclone config, then enter n to create a new remote.

Enter a name for the new remote, then enter the number from the list corresponding to Google Photos.
Enter the client id and secret you saved when you created the Google Photos API credentials, then enter false to keep the Google Photos backend read-only.

Do not edit the advanced config. When prompted about automatically authenticating rclone with the remote, enter y.
A browser window opens to authorize rclone access. Click Allow.
In the command line, enter y when prompted about media item resolution to complete the configuration.
Copy and save the type, client_id, client_secret, and token, then enter y to keep the new remote.
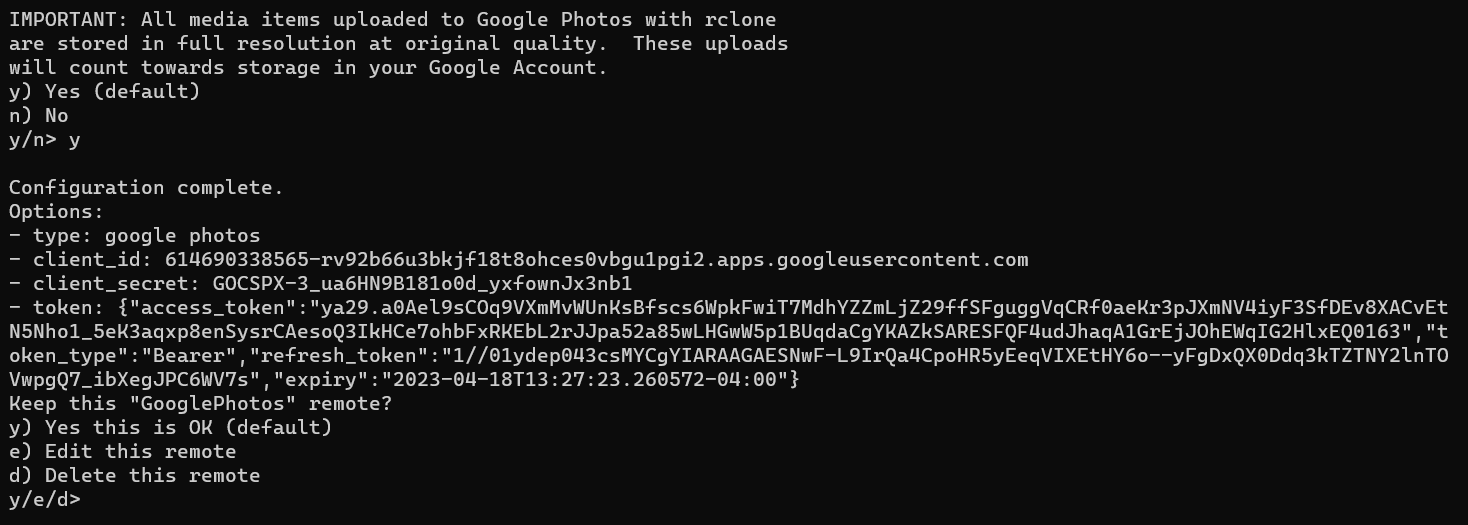
Open your TrueNAS Web UI. Go to Credentials > Backup Credentials and click Add in the Cloud Credentials widget.
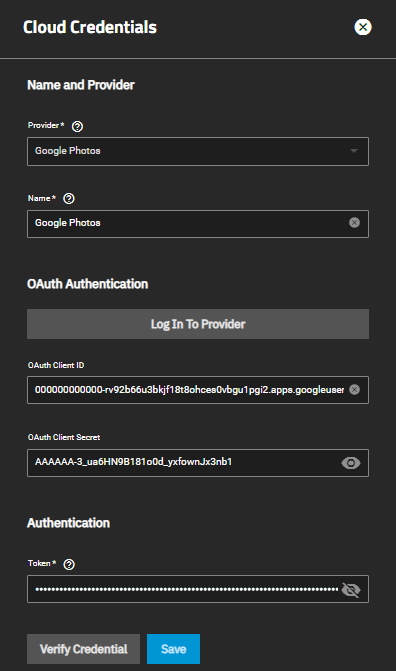
Select Google Photos as the Provider and enter a name.
Do not click Log In To Provider.
Paste the Google Photos API client ID and client secret in the OAuth Client ID and OAuth Client Secret fields.
Paste your rclone token into the Token field.
Click Verify Credential to ensure you filled out the fields correctly, then click Save.
To add a cloud sync task, go to Data Protection > Cloud Sync Tasks and click Add. The Cloudsync Task Wizard opens.
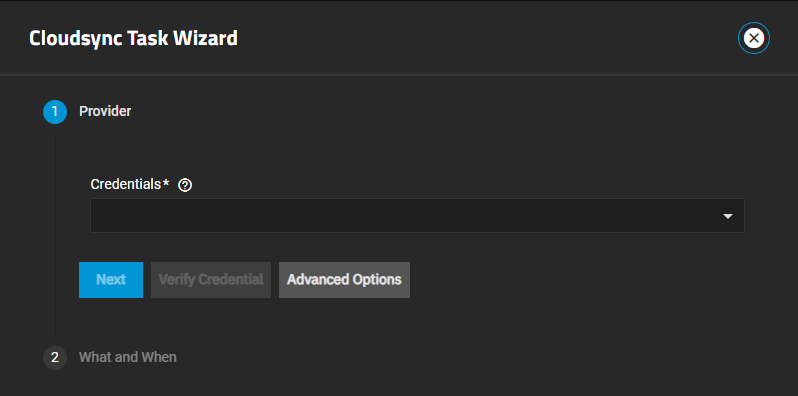
Select an existing backup credential from the Credential dropdown list. If not already added as a cloud credential, click Add New to open the Cloud Credentials screen to add the credential. Click Save to close the screen and return to the wizard.
Click Next to open the Where and When wizard screen.
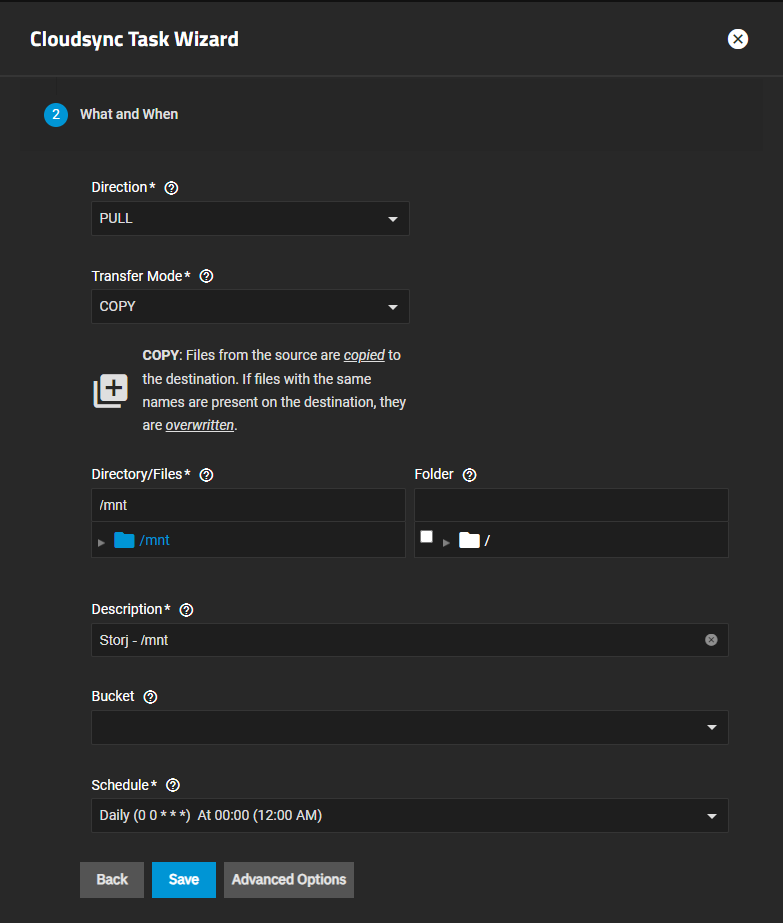
Select the option from Direction and in Transfer Mode. Select the location where to pull from or push data to in the Folder field.
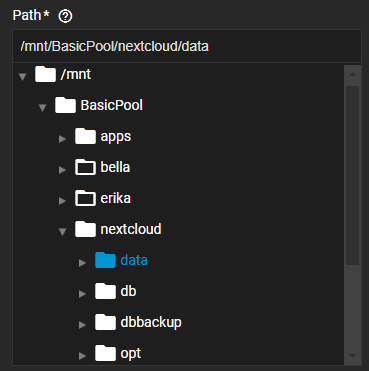
Select the dataset location in Directory/Files. Browse to the dataset to use on SCALE for data storage. Click the arrow to the left of the name to expand it, then click on the name to select it.
If Direction is set to PUSH, click on the folder icon to add / to the Folder field.
Cloud provider settings change based on the credential you select. Select or enter the required settings that include where files are stored. If shown, select the bucket on the Bucket dropdown list.
Select the time to run the task from the Schedule options.
Click Save to add the task.
Use Dry Run to test the configuration before clicking Save or select the option on the Cloud Sync Task widget after you click Save. TrueNAS adds the task to the Cloud Sync Task widget with the Pending status until the task runs on schedule.


