TrueNAS SCALE Documentation Archive
This content follows the TrueNAS SCALE 24.04 (Dragonfish) releases. Archival documentation is provided for reference only and not actively maintained.
Use the Product and Version selectors above to view content specific to different TrueNAS software or major version.
Rsync Daemon
6 minute read.
Application maintenance is independent from TrueNAS SCALE version release cycles. This means app version information, features, configuration options, and installation behavior at the time of access might vary from those in documented tutorials.
In TrueNAS 24.04 (Dragonfish), the Apps feature is provided using Kuberenetes. To propose documentation changes to a Kubernetes-based app available in TrueNAS 24.04 (Dragonfish), click Edit Page in the top right corner.
Future versions of TrueNAS, starting with 24.10 (Electric Eel), provide the Apps feature using Docker. See the TrueNAS Apps Marketplace for more information.
See Updating Content for more guidance on proposing documentation changes.
This application in not needed when rsync is configured externally with SSH or with the TrueNAS built-in rsync task in SSH mode. It is always recommended to use rsync with SSH as a security best practice.
You do not need this application to schedule or run rsync tasks from the Data Protections screen using the Rsync Task widget.
This application is an open source server that provides fast incremental file transfers. When installed, the Rsync Daemon application provides the server function to rsync clients given the server information and ability to connect.
The before installing the Rsync Daemon application (rsyncd) add a dataset the application can use for storage.
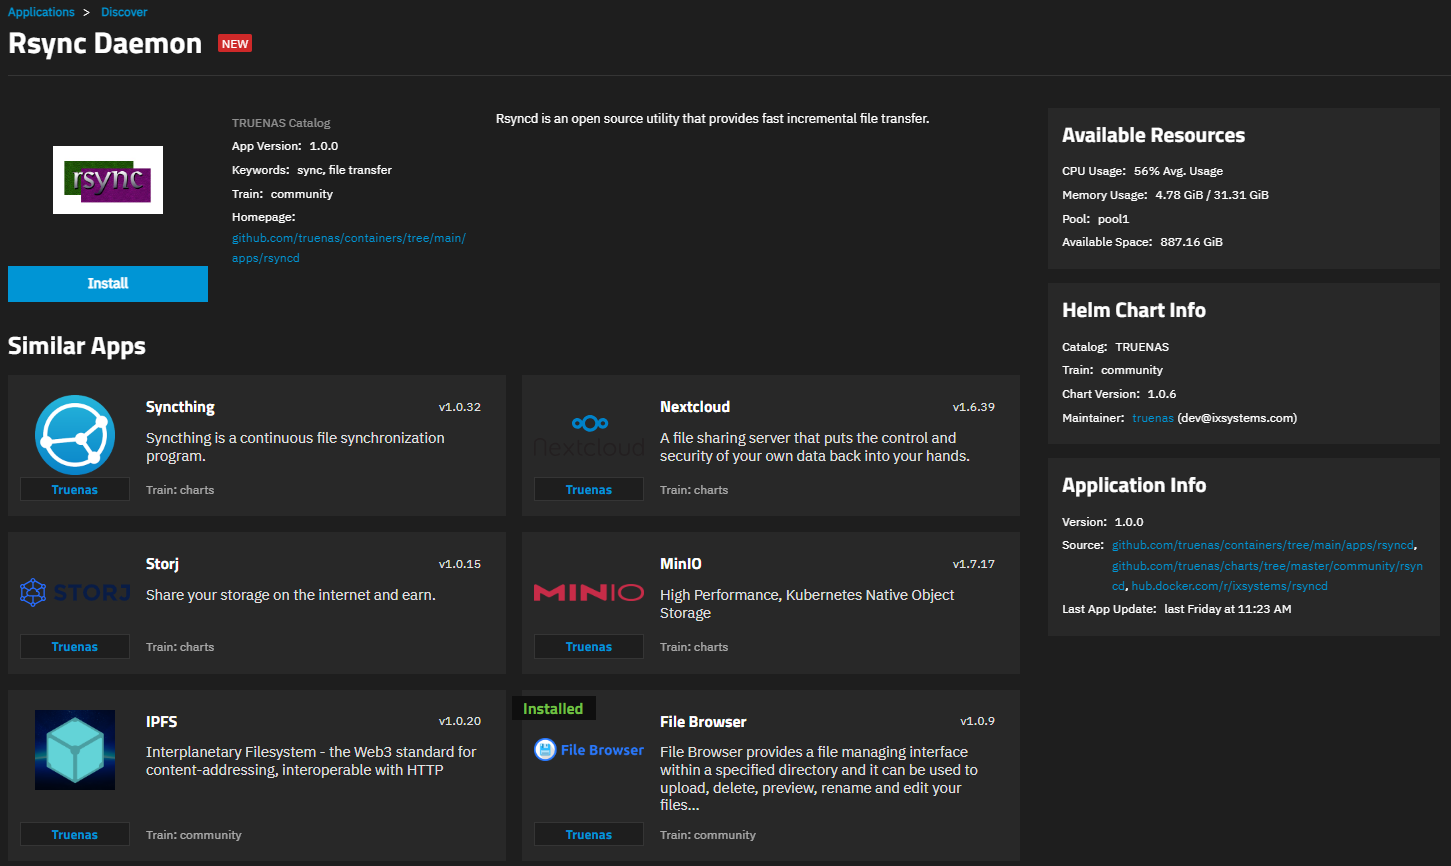
To install this application, go to Apps, click on Discover Apps, then either begin typing rsync into the search field or scroll down to locate the Rsync Daemon application widget.
Click on the widget to open the application Rsync Daemon information screen.
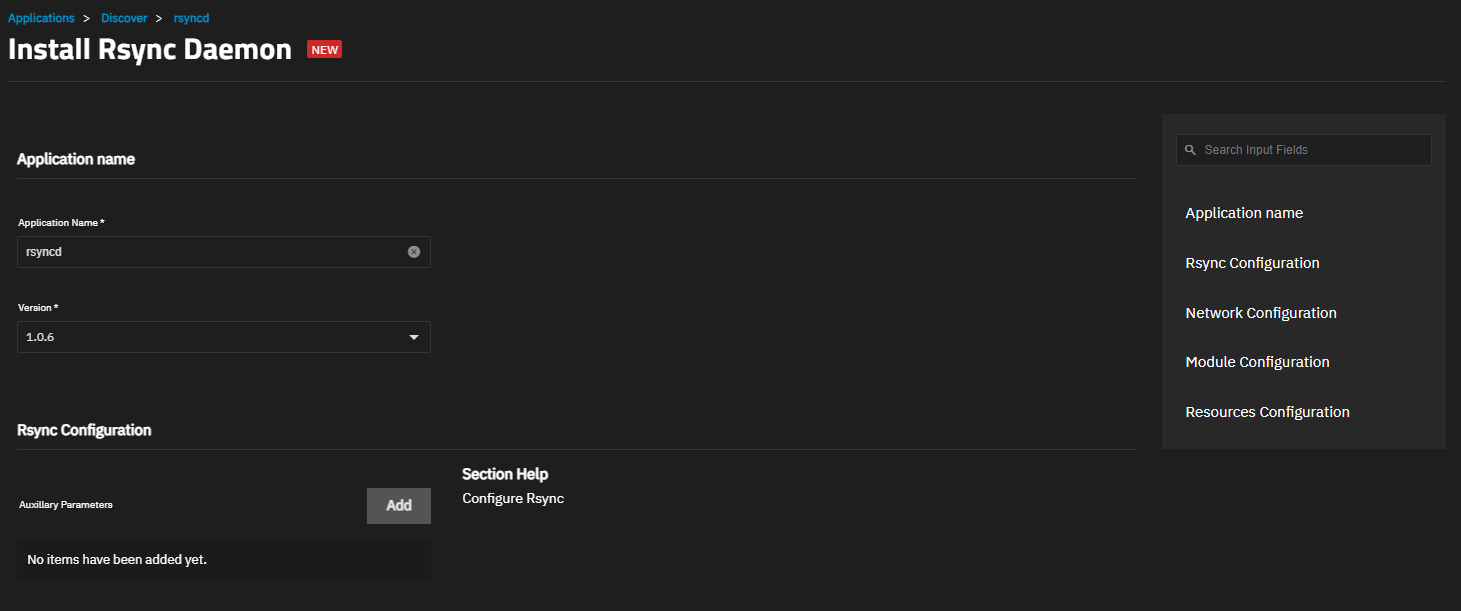
Click Install to open the Install Rsync Daemon configuration screen.
Accept the default value or enter a name in Application Name.
Accept the Network Configuration default port number the Rsync app listens on.
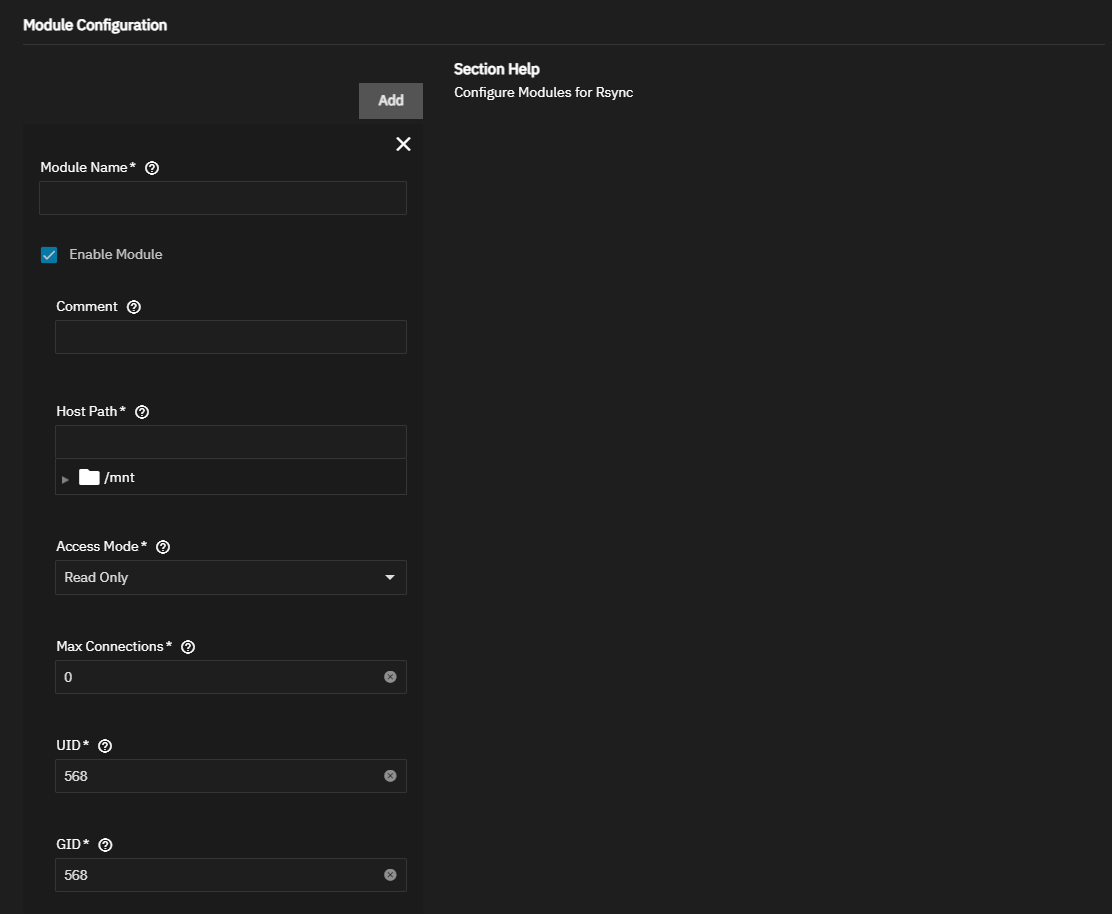
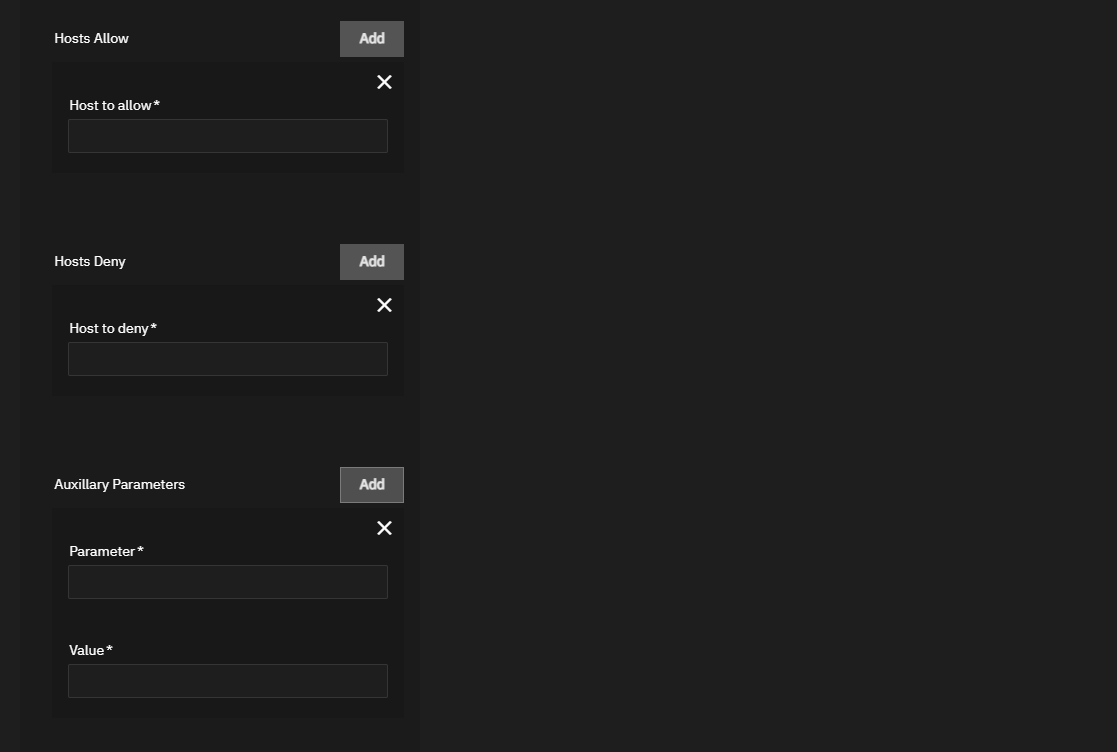
Add and configure at least one module. A module creates an alias for a connection (path) to use rsync with. Click Add to display the Module Configuration fields. Enter a name and specify the path to the dataset this module uses for the rsync server storage. Leave Enable Module selected. Select the type of access from the Access Mode dropdown list. Accept the rest of the module setting defaults. To limit clients that connect, enter IP addresses in Hosts Allow and Hosts Deny.
Accept the default for the rest of the settings.
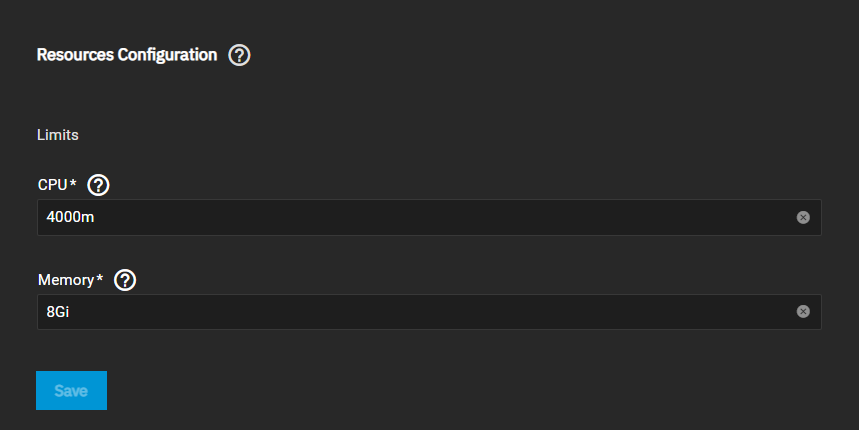
Accept the default values in Resources Configuration or enter the CPU and memory values for the destination system.
Click Save.
The Installed applications displays with the app in the Deploying state until the installation completes, then it changes to Running.
The following sections provide more detailed explanations of the settings found in each section of the Install Rsync Daemon configuration screen.
The Application Name section includes only the Application Name setting. Accept the default rsyncd or enter a new name to show on the Installed applications screen in the list and on the Application Info widget.
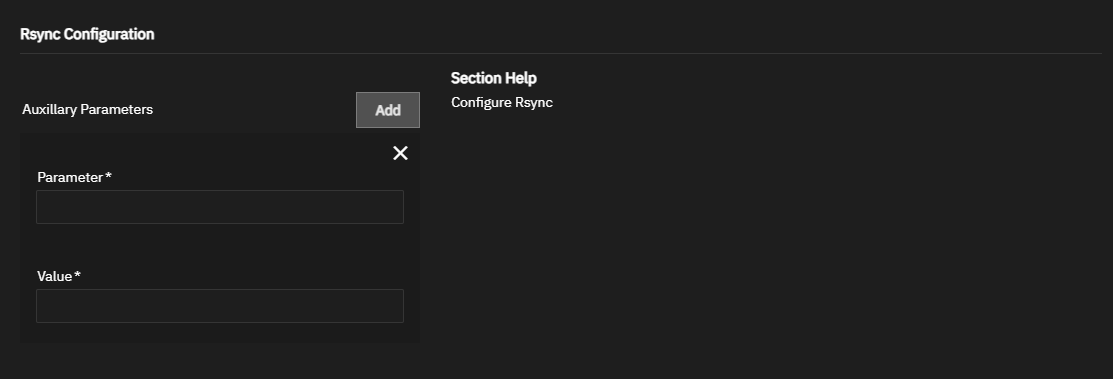
The Rysnc Configuration section Auxiliary Parameters allow you to customize the rsync server deployment. Enter rsync global or module parameters using the Auxiliary Parameters fields.
Click Add to the right of Auxiliary Parameters for each parameter you want to add. Enter the name of the parameter in Parameter and the value for that parameter in Value.
The Network Configuration section includes the Host Network and Rsync Port settings.
Accept the default port number 30026 which is the port the Rsync app listens on. Before changing the port number refer to Default Ports to verify the port is not already assigned. Enter a new port number in Rsync Port.
We recommend that you leave Host Network unselected.
The Module Configuration section includes settings to add and customize a module for the rsync server and to configure the clients allowed or denied access to it. Click Add for each module to add.
There are seven required settings to add a module and four optional settings.
Module Name is whatever name you want to give the module and is an alias for access to the server storage path. A name can include upper and lowercase letters, numbers, and the special characters underscore (_), hyphen (-) and dot (.). Do not begin or end the name with a special character.
Enable Module, selected by default, allows the list client IP addresses added to connect to the server after the app is installed and started.
Use optional Comment to enter a description that displays next to the module name when clients obtain a list of available modules. Default is to leave this field blank.
Enter or browse to the location of the dataset to use for storage for this module on the rsync server in Host Path.
Select the access permission for this storage path from the Access Mode dropdown list. Options are Read Only, Read Write, and Write Only.
Enter a number in Max Connections for the number of client connections to allow. The default, 0, allows unlimited connections to the rsync server.
Accept the UID (user ID) and GID (group ID) default 568. If you create an administration user and group to use for this module in this application, enter that UID/GID number in these fields.
Use Hosts Allow and Hosts Deny to specify IP addresses for client systems that can to connect to the rsync server through this module. Enter multiple IP addresses separated by a comma and space between entries in the field. Leave blank to allow all or deny hosts.
Use the Auxiliary Parameters to enter parameters and their values to further custiize the module. Do not enter parameters already available as the settings included in this section. You can specify rsync global or module parameters using the module Auxiliary Parameters fields.
By default, the rsync daemon will allow access to everything within the dataset that has been specified for each module, without authentication. In order to set up password authentication you needs to add two auxilary parameters for the module:
Parameter: “auth users” Value: comma separated list of usernames
Parameter: “secrets file” Value: path to the rsyncd.secrets file
You will have to place the file inside your module dataset and use the value:
“/data/
The file will have to be chmod 600 and owned by root:root in order for the rsync daemon to accept it for authentication.
The file should contain list of username:password in plaintext, one user per line: admin:password1234 user:password5678
The Resources Configuration section allows you to limit the amount of CPU and memory the application can use. By default, this application is limited to use no more than 4 CPU cores and 8 Gibibytes available memory. The application might use considerably less system resources.
Tune these limits as needed to prevent the application from overconsuming system resources and introducing performance issues.


