TrueNAS SCALE Documentation Archive
This content follows the TrueNAS SCALE 24.04 (Dragonfish) releases. Archival documentation is provided for reference only and not actively maintained.
Use the Product and Version selectors above to view content specific to different TrueNAS software or major version.
WG Easy
5 minute read.
Application maintenance is independent from TrueNAS SCALE version release cycles. This means app version information, features, configuration options, and installation behavior at the time of access might vary from those in documented tutorials.
In TrueNAS 24.04 (Dragonfish), the Apps feature is provided using Kuberenetes. To propose documentation changes to a Kubernetes-based app available in TrueNAS 24.04 (Dragonfish), click Edit Page in the top right corner.
Future versions of TrueNAS, starting with 24.10 (Electric Eel), provide the Apps feature using Docker. See the TrueNAS Apps Marketplace for more information.
See Updating Content for more guidance on proposing documentation changes.
WG Easy is the easiest way to install and manage WireGuard on any Linux host. The application is included in the Community catalog of applications.
WG EASY is a Docker image designed to simplify setting up and managing WireGuard connections. This app provides a pre-configured environment with all the necessary components and a web-based user interface to manage VPN connections.
WG Easy does not require advanced preparation before installing the application.
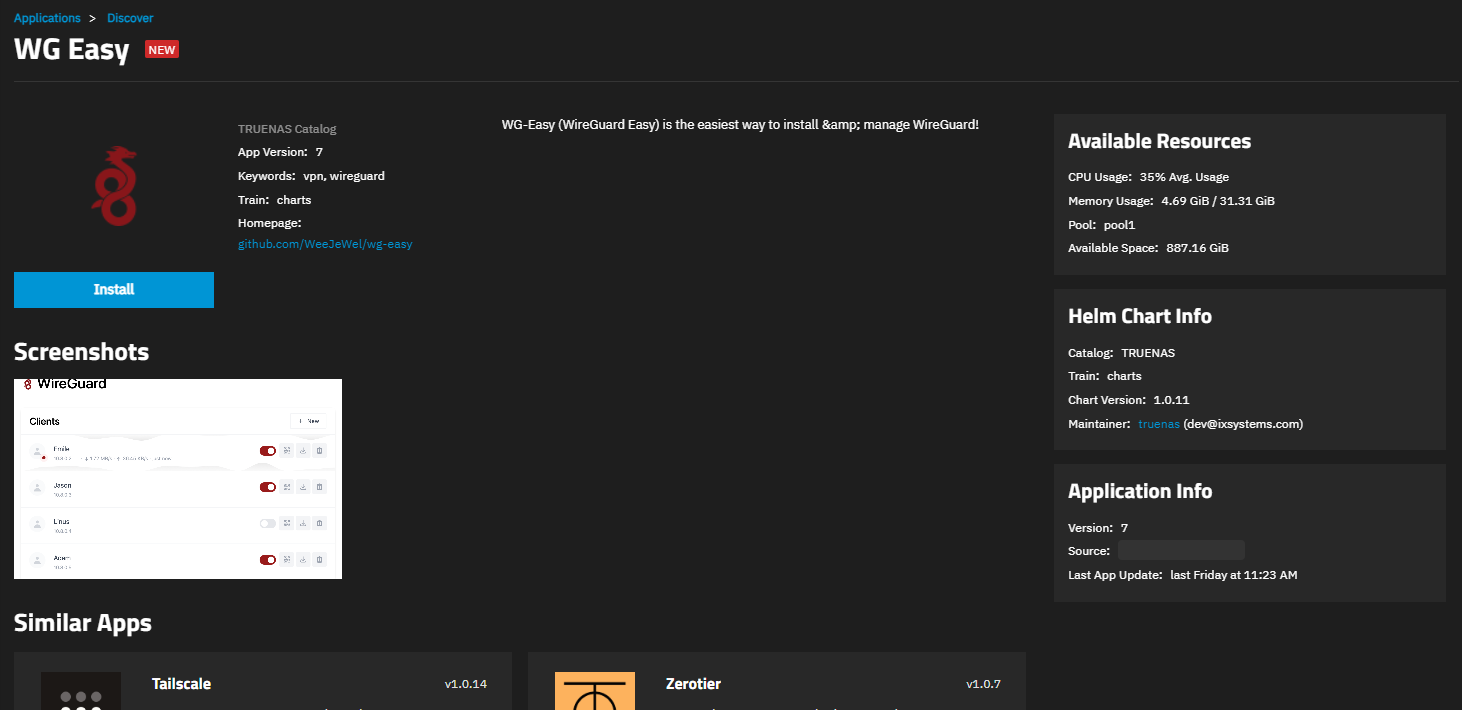
To install the WG Easy application, go to Apps, click Discover Apps, then either begin typing WG Easy into the search field or scroll down to locate the WG Easy application widget.
Click on the widget to open the WG Easy application information screen.
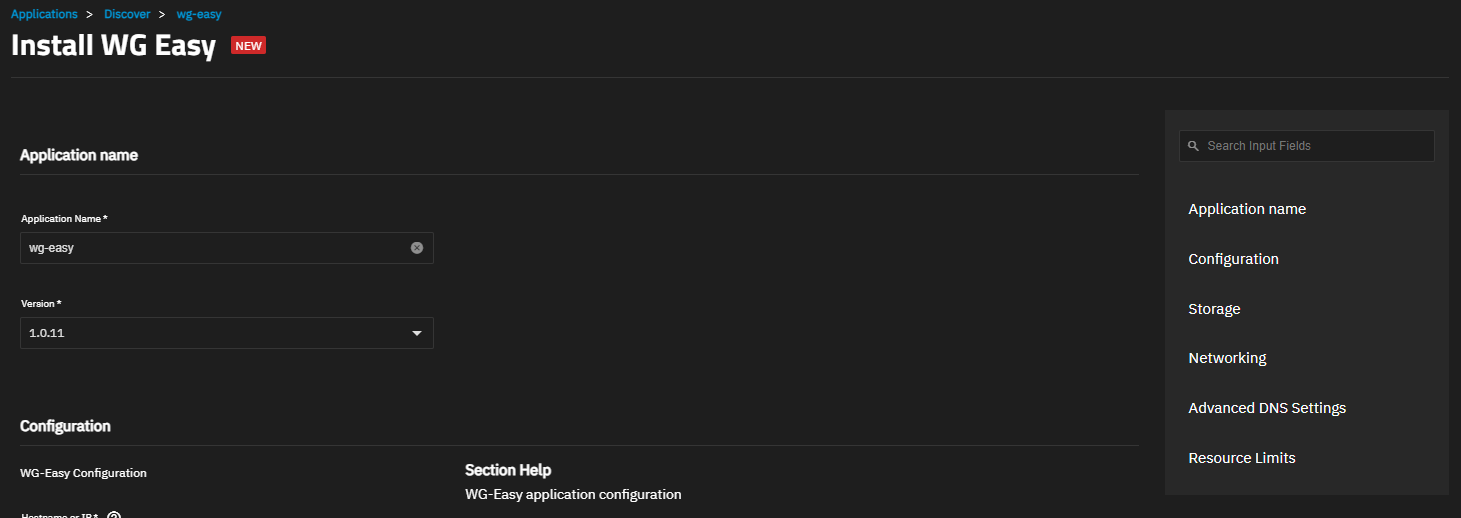
Click Install to open the WG Easy application configuration screen. Application configuration settings are presented in several sections. To find specific fields click in the Search Input Fields search field, scroll down to a particular section or click on the section heading on the navigation area in the upper-right corner.
After installing WG Easy the app displays on the Installed screen.
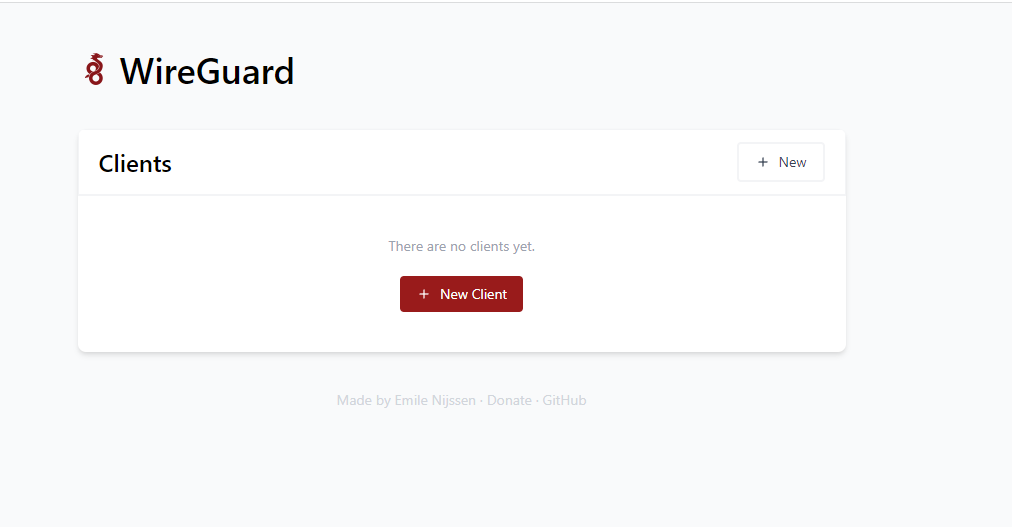
Click Web PortaL on the Application Info widget to open the WG Easy web interface where you can add a new client.
Accept the default value or enter a name in Application Name field. Accept the default version number in Version.
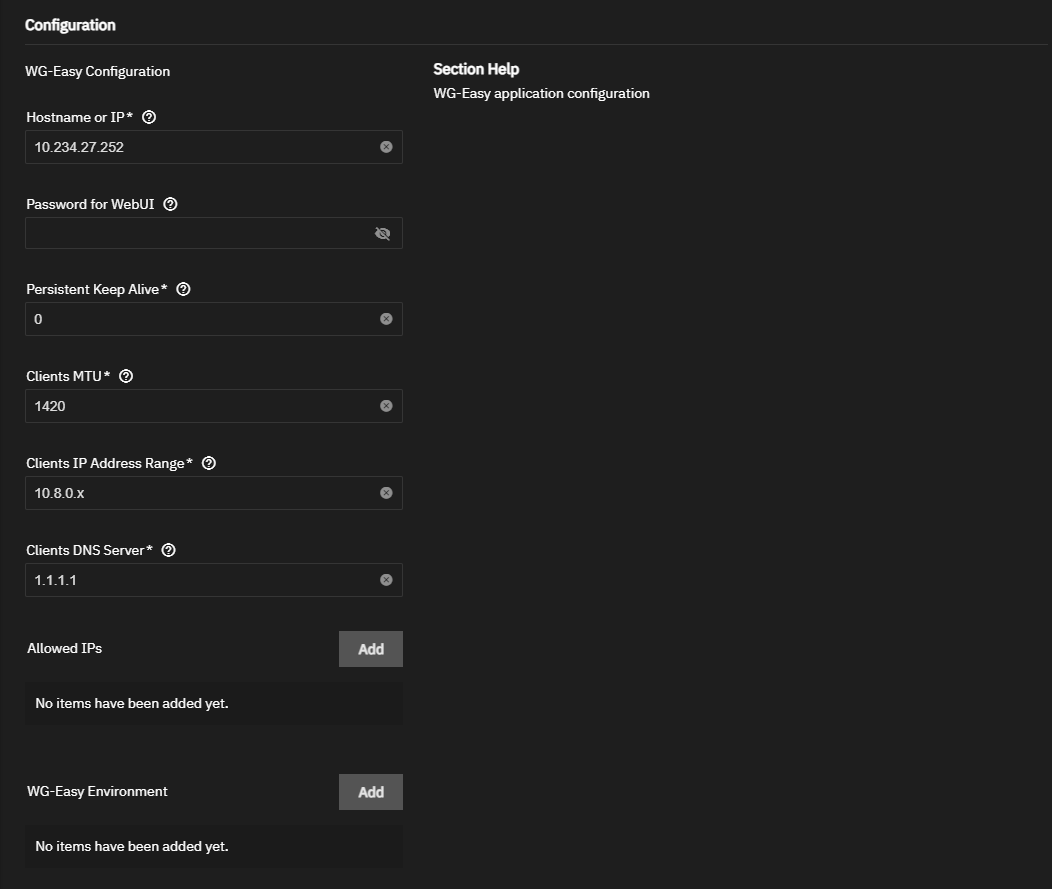
You can accept the defaults in the Configuration settings, or enter the configuration settings you want to use.
Enter the public host name or IP of your VPN server in Hostname or IP.
If you use or want to protect access to the WG Easy web UI, enter a password in Password for WebUI.
Accept the default values in Persistent Keep Alive or change the value to the number of seconds you want to keep the session alive. When set to zero, connections are not kept alive. Alternate value to use 25.
Accept the default setting for WireGuard (1420) in Clients MTU or enter a new value.
Accept the default IPs in Clients IP Address Range and Clients DNS Server or enter the IP addresses the client uses. If not provided, the default value 1.1.1.1 is used.
To specify allowed IP addresses, click Add to the right of Allowed IPs for each IP address you want to enter. If you do not specify allowed IPs, the application uses 0.0.0.0/0.
To specify environment variables, click Add to the right of WG Easy Environment for each environment variable you want to add.
You can install WG Easy using the default settings or enter your own values to customize the storage settings.
Select Enable Custom Host Path for WG-Easy Configuration Volume to add the Host Path for WG-Easy Configuration Volume field. Enter or browse to select a preconfigured mount path for the host path.
To add additional host path volumes, click Add to the right of Extra Host Path Volumes.
Enter the path in Mount Path in Pod where you want to mount the volume inside the pod. Enter or browse to the host path for the WG Easy application dataset.
Accept the default port numbers in WireGuard UDP Node Port for WG-Easy and WebUI Node Port for WG-Easy. WireGuard always listens on 51820 inside the Docker container. Refer to the TrueNAS default port list for a list of assigned port numbers. To change the port numbers, enter a number within the range 9000-65535.
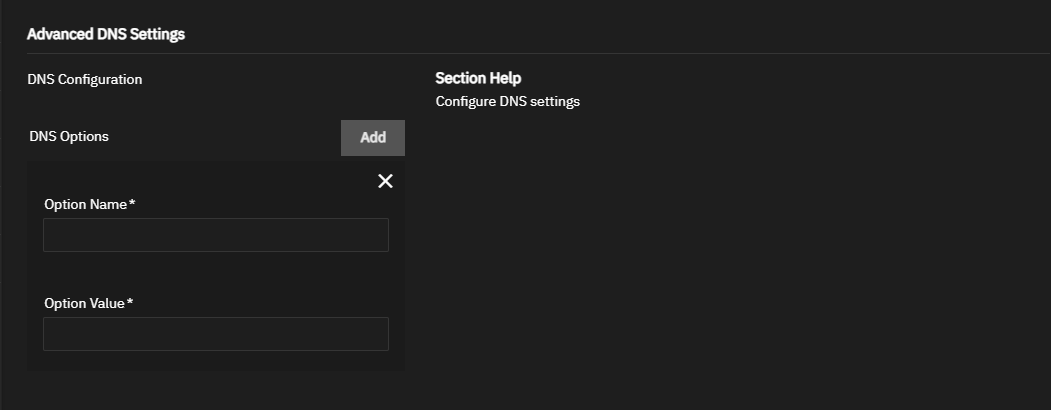
WG Easy does not require configuring advanced DNS options. Accept the default settings or click Add to the right of DNS Options to show the fields for option name and value.
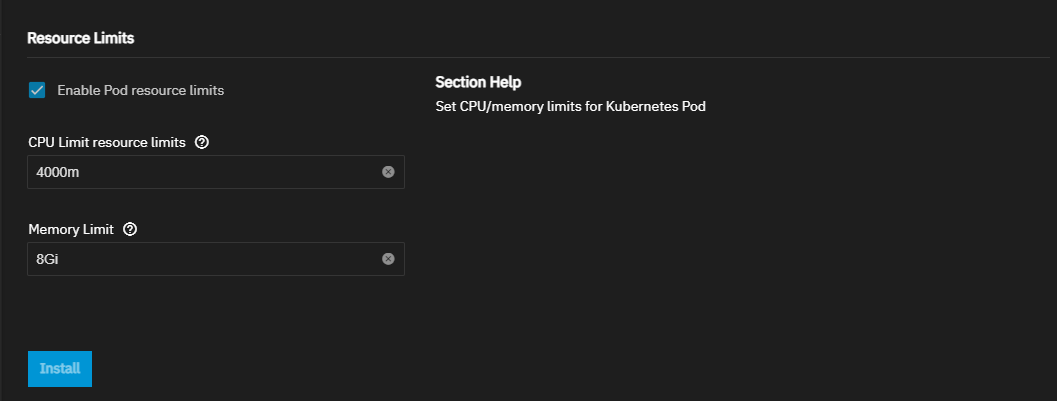
Accept the default values in Resources Configuration or select Enable Pod resource limits to show the fields to enter new CPU and memory values for the destination system.
Enter CPU values as a plain integer value followed by the suffix m (milli). Default is 4000m.
Accept the default value 8Gi, or enter the memory limit in bytes. Enter a plain integer followed by the measurement suffix, for example 129M or 123Mi
Click Save.


