TrueNAS Documentation Archive
This content follows the TrueNAS 23.10 (Cobia) releases. Archival documentation is provided for reference only and not actively maintained. Use the Product and Version selectors above to view content specific to different TrueNAS software or major version.
Disks
8 minute read.
Last Modified 2023-09-06 16:08 EDTThe Disks screen displays a list of the physical drives (disks) installed in the system. The list includes the names, serial numbers, sizes, and pools for each system disk.
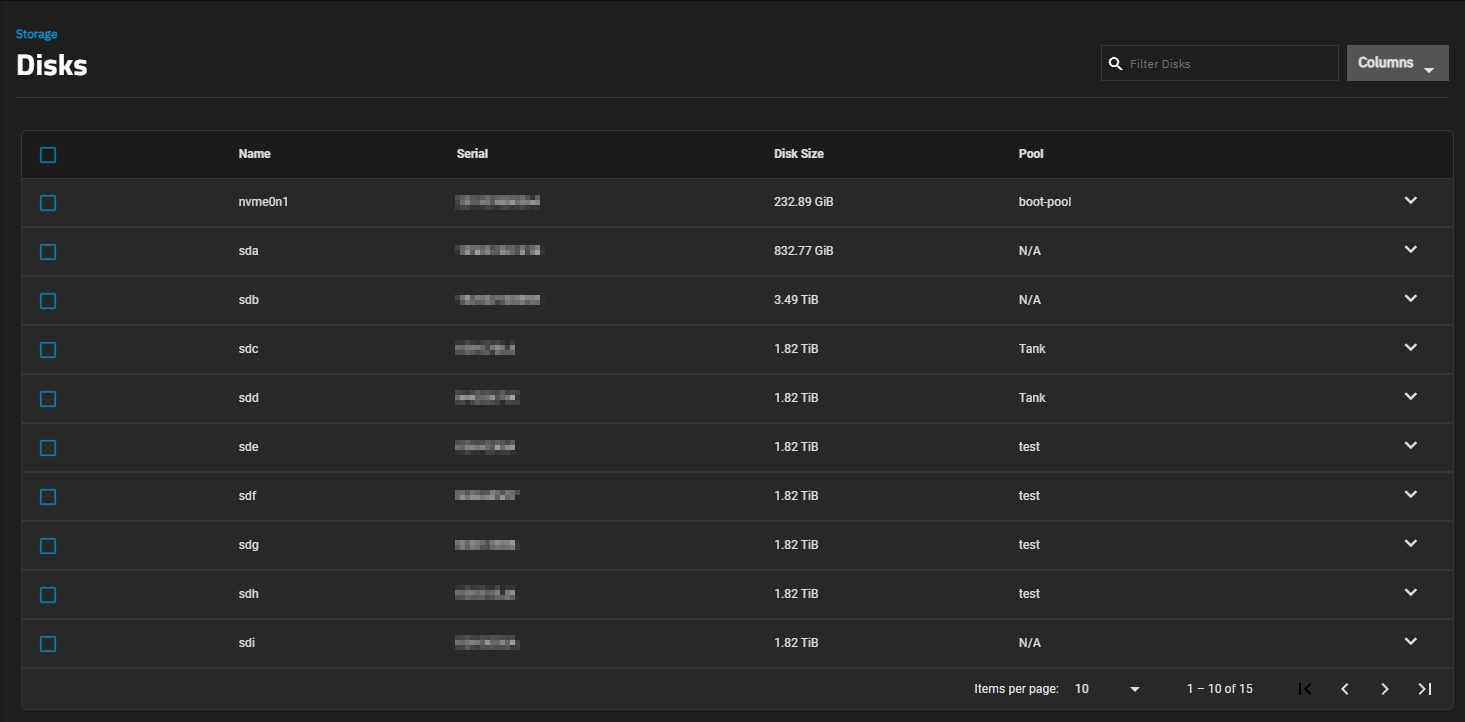
Use the Columns dropdown list to select options to customize disk the information displayed. Options are Select All, Serial (the disk serial number), Disk Size, Pool (where the disk is in use), Disk Type, Description, Model, Transfer Mode, Rotation Rate (RPM), HDD Standby, Adv. Power Management, Enable S.M.A.R.T., S.M.A.R.T. extra options, and Reset to Defaults. Each option displays the information you enter in the Edit Disk screen or when you install the disk.
Selecting the checkbox to the left of the disk displays the Batch Operations options. The checkbox at the top of the table selects all disks in the system. Select again to clear the checkboxes.
Storage at the top of the screen to return to the Storage Dashboard.
Click anywhere on a disk row to expand it and show the traits specific to that disk and available option.
Selecting a checkbox to the left of a disk on the Disks screen displays the Batch Operations functions: Edit Disk(s) and Manual Test.
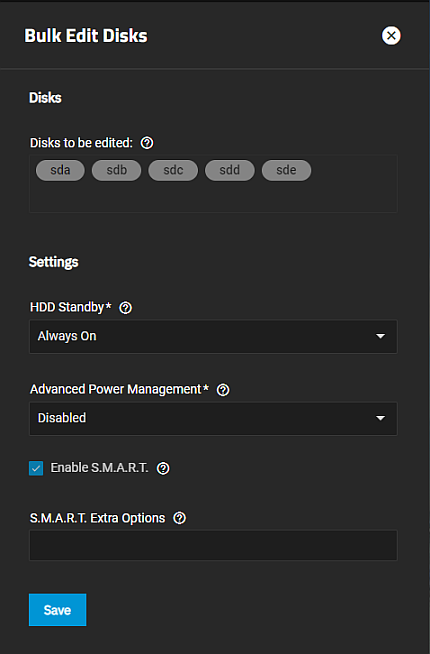
Edit Disk(s) opens the Bulk Edit Disks screen.
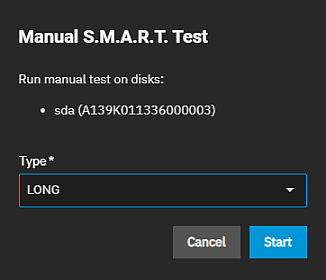
Manual Test opens the Manual SMART Test dialog with a list of the disk(s) selected.
The Bulk Edits Disks screen allows you to make changes to disk settings for multiple disks at the same time.
The Manual S.M.A.R.T. Test dialog displays the name of the selected disk(s) and the option to specify the type of test you want to run outside of a scheduled S.M.A.R.T. test.
The S.M.A.R.T. Test Results if diskname lists test results for the selected disk.
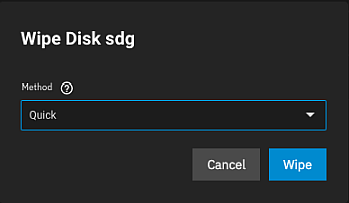
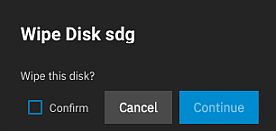
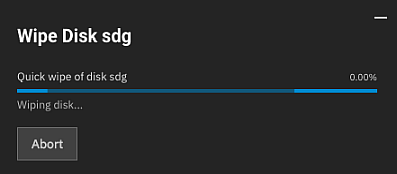
The option to wipe a disk only displays when a disk is unused by a pool. Wipe opens three dialogs, one to select the method, a confirmation dialog, and a progress dialog that includes the option to abort the process.
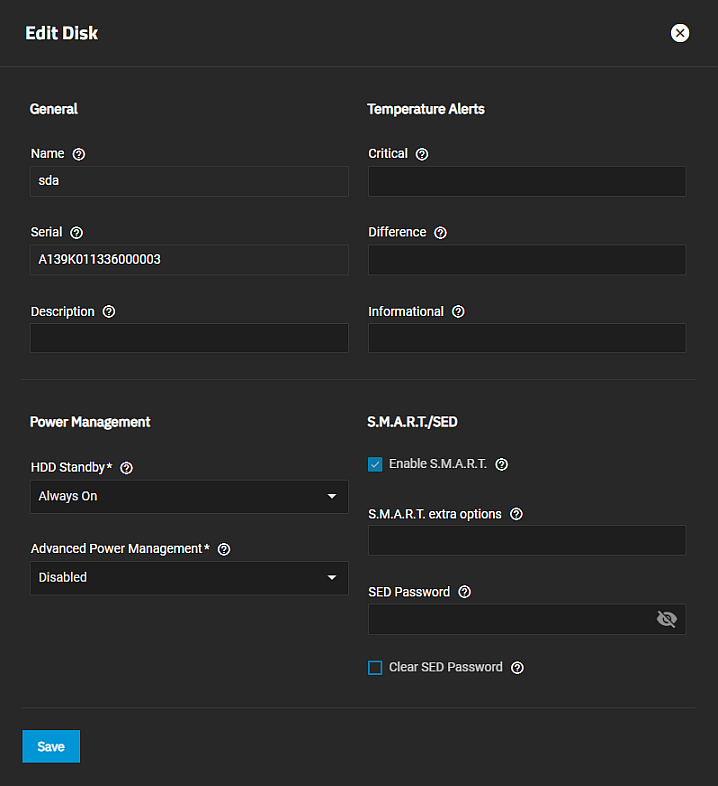
The Edit Disk screen allows users to configure general disk, power management, temperature alert, S.M.A.R.T., and SED settings for system disks not assigned to a pool.


