TrueNAS Documentation Archive
This content follows the TrueNAS 23.10 (Cobia) releases. Archival documentation is provided for reference only and not actively maintained. Use the Product and Version selectors above to view content specific to different TrueNAS software or major version.
Apps
13 minute read.
Last Modified 2024-12-04 08:21 ESTThe apps article content is End of Life (EOL) for 23.10 (Cobia) which means this content is not currently maintained.
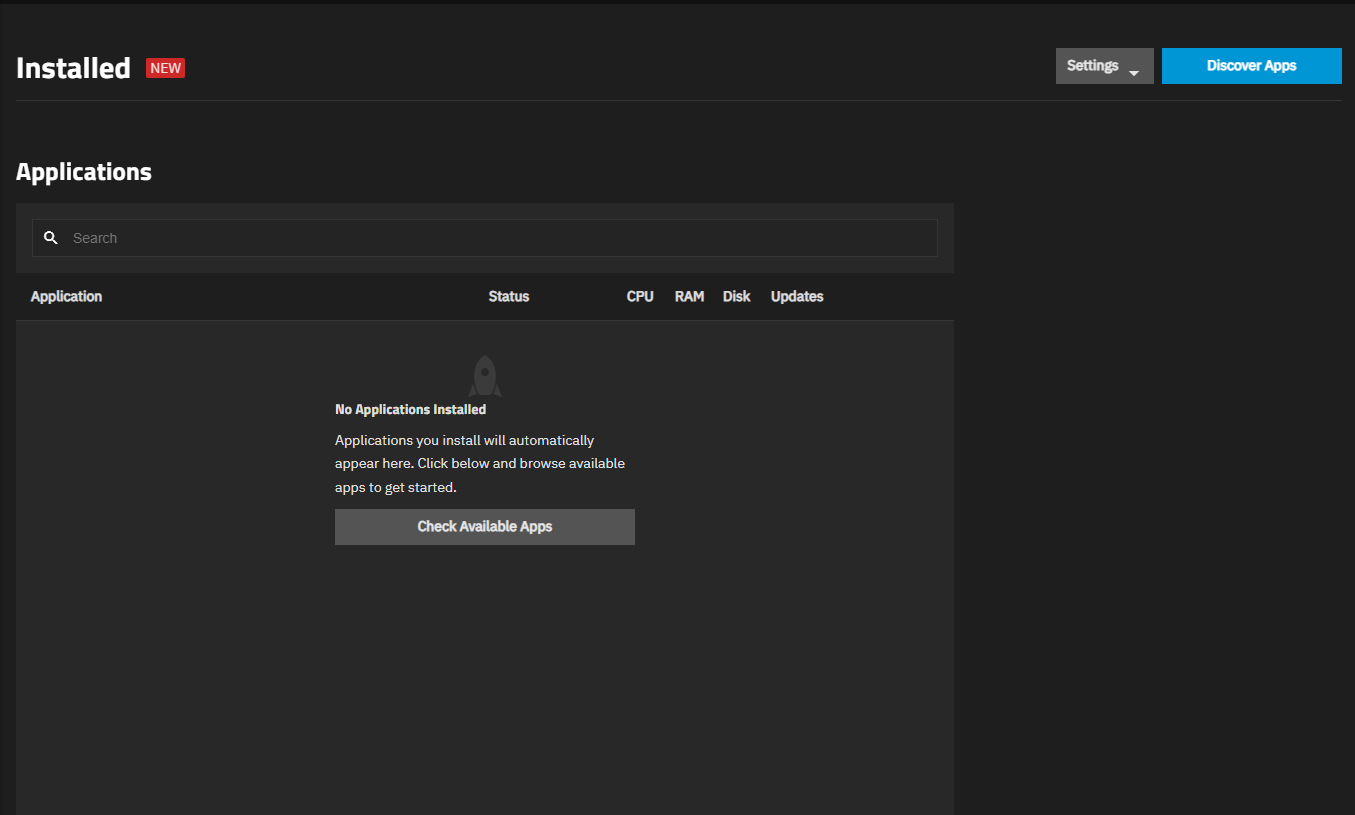
The Apps option on the main feature panel opens the Installed Applications screen. The screen displays No Applications Installed before you install the first application.
The first time you open the Applications screen, it displays an Apps Service Not Configured status on the screen header.
Click Settings > Choose Pool to choose a storage pool for Apps.
After an Apps storage pool is configured, the status changes to Apps Service Running.
Use Check Available Apps or Discover Apps to open the Discover applications screen to see widgets for applications available in SCALE.
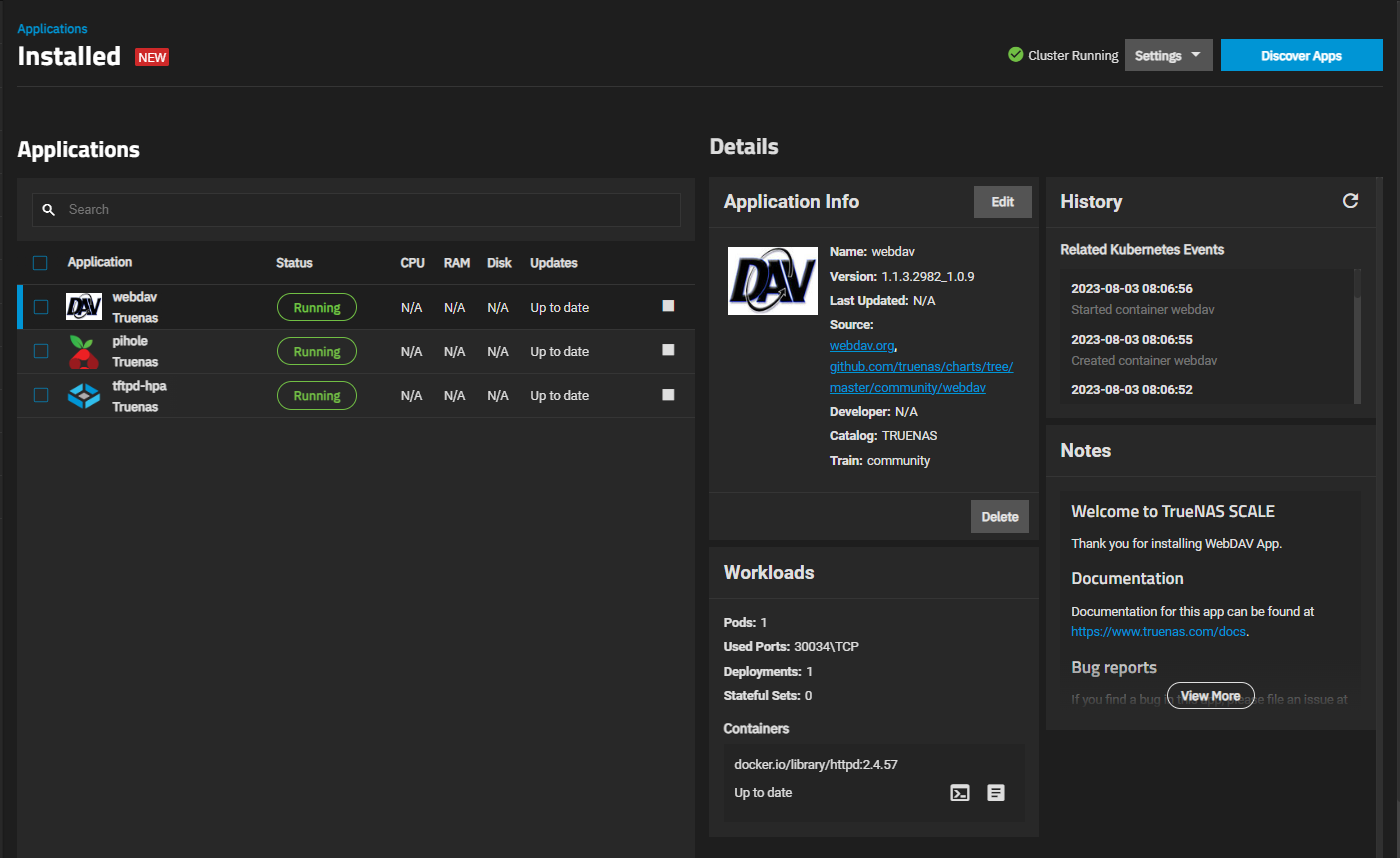
After installing an application, the Installed screen populates the Applications area with a table of applications. Each application listed shows the name, status, CPU, RAM, disk and update information for the application.
Use Search to enter the name and search for an installed application.
The Bulk Actions dropdown list displays if you select the Applications checkbox or the checkbox to the left of an individual installed application. The Applications checkbox selects all installed apps. The checkbox to the left of an individual application selects that application.
Settings only displays on the Installed Applications screen and displays the global options that apply to all applications.
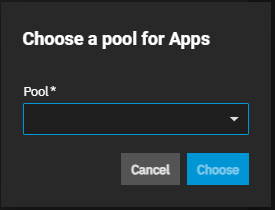
- Choose Pool opens the Choose a pool for Apps dialog.
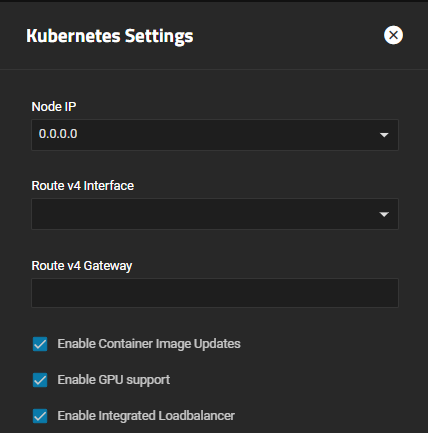
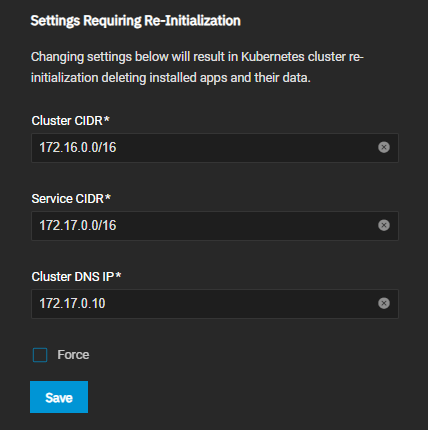
- Advanced Settings opens the Kubernetes Settings configuration screen.
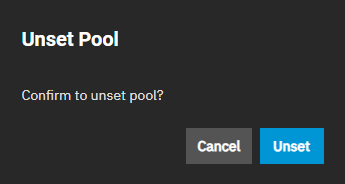
- Unset Pool displays only after setting a pool for applications to use. It opens the Unset Pool dialog.
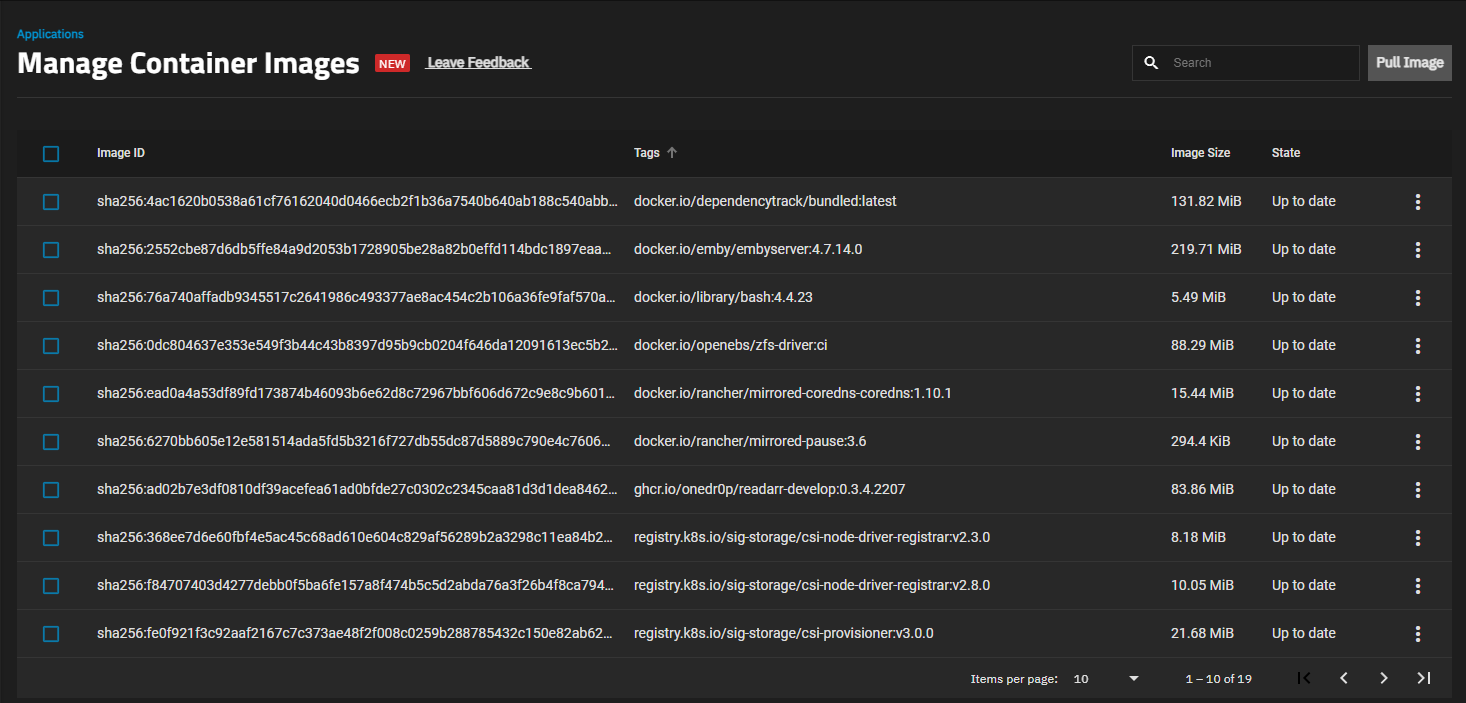
- Manage Container Images opens the related screen. This screen has options to pull, update, or delete specific images.
The Choose a pool for Apps dialog includes the Pool dropdown list that shows the list of pools available on your system. Choose sets the selected pool for use by applications. Use the Settings > Choose Pool option to change the pool.
Migrate applications to the new pool starts moving application data from an existing pool to the new pool specified after you click Choose. Select Migrate applications to the new pool when changing the applications pool and migrating data from the existing pool to the new one.
Advanced Settings opens the Kubernetes Settings configuration screen.
The Unset Pool option under Settings displays a confirmation dialog. Click UNSET to unset the pool. When complete, a Success dialog displays.
This screen displays all container images currently downloaded on TrueNAS.
Entering characters in the Search filters the images list to only Image ID or Tags entries matching the entered characters.
Clicking checkboxes from the images list shows Bulk Operations to update or delete images. Click for a single image entry shows the same update or delete options.
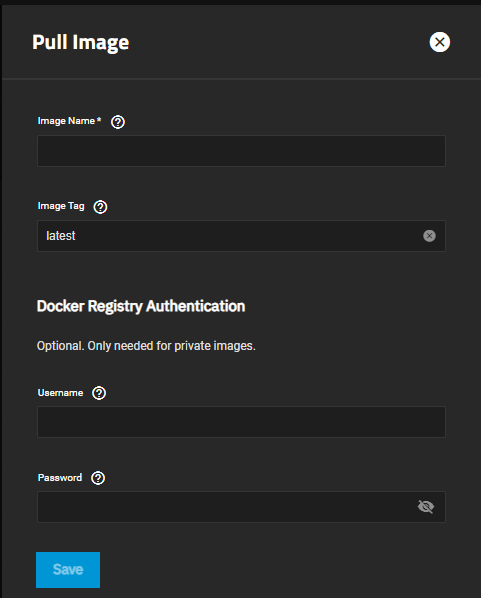
The Pull Image button opens a side panel with options to download specific images to TrueNAS.
| Setting | Description |
|---|---|
| Image Name | Enter the full path and name for the specific image to download. Use the format registry/repository/image. |
| Image Tag | Enter the specific image tag string to download that specific version of the image. The default latest pulls whichever image version is most recent. |
| Docker Registry Authentication | Optional. Only needed for private images. |
| Username | User account name to access a private Docker image. |
| Password | User account password to access a private Docker image. |
The Bulk Action dropdown list allows you to apply actions to one more applications installed and running on your system.
Options are Start All Selected, Stop All Selected, Upgrade All Selected, and Delete All Selected.
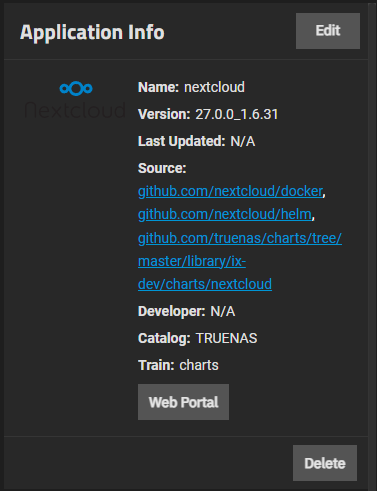
The Application Info widget shows for each application on the Installed application screen. The widget includes the name, version number, date last updated, source link for the application, developer, catalog and train name.
Web Portal opens the application login or sign-up web page.
Delete deletes the application deployment but does not remove it from the catalog or train in TrueNAS SCALE.
Edit opens an Edit Application configuration screen with the settings found on the install wizard screen for the application.
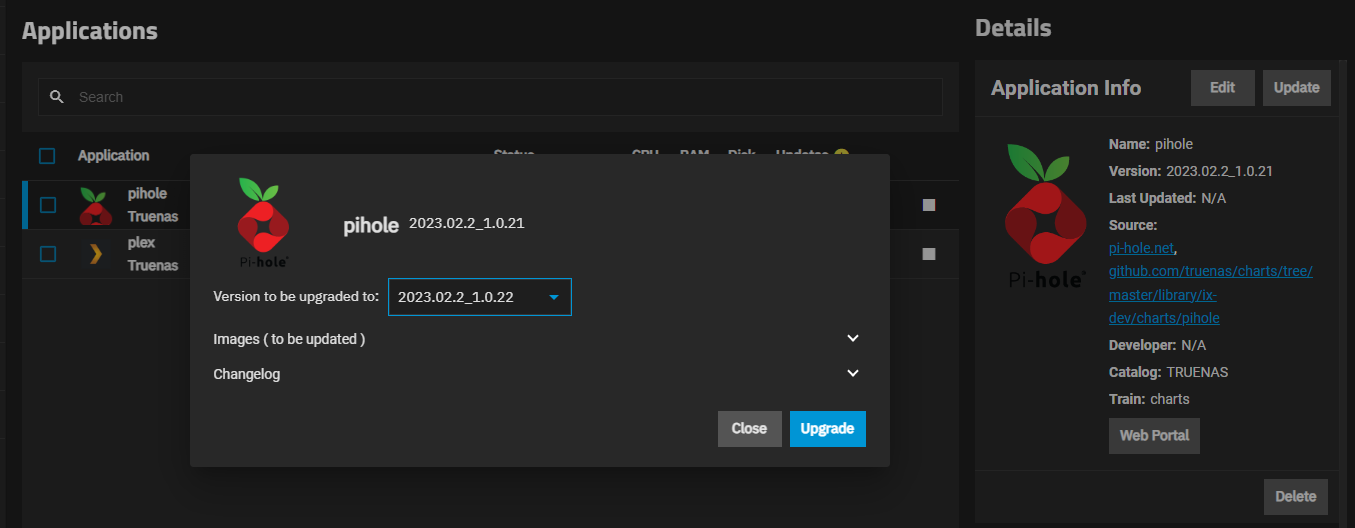
Update opens a window for the application showing the current version and the new version the upgrade installs.
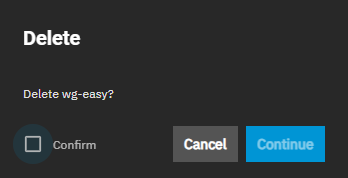
The Delete dialog asks for confirmation to delete the selected application.
Confirm activates the Continue button. Continue initiates the delete operation.
Update on the Application Info widget displays after clicking the Update All button on the Installed applications header. Both buttons only display if TrueNAS SCALE detects an available update for an application. The application widget on the Discover screen also displays and update badge.
Update opens an upgrade window for the application that includes two selectable options, Images (to be updated) and Changelog. Click on the down arrow to see the options available for each.
Upgrade begins the process and opens a counter dialog that shows the upgrade progress. When complete, the update badge and buttons disappear and the application Update state on the Installed screen changes from Update Available to Up to date.
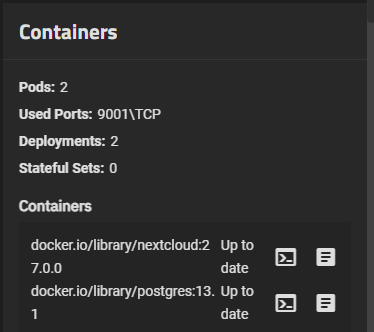
The Workloads widget shows the pod information for the selected installed application. Information includes number of pods, used ports, number of deployments, stateful sets, and container information. One icon links to the pod shell and another to pod logs.
The Shell Shell button opens the Choose Pod window. After selecting the options a Shell for the pod opens.
The Logs Logs button opens the Choose Pod window. After selecting the options, a window with logs for pod opens.
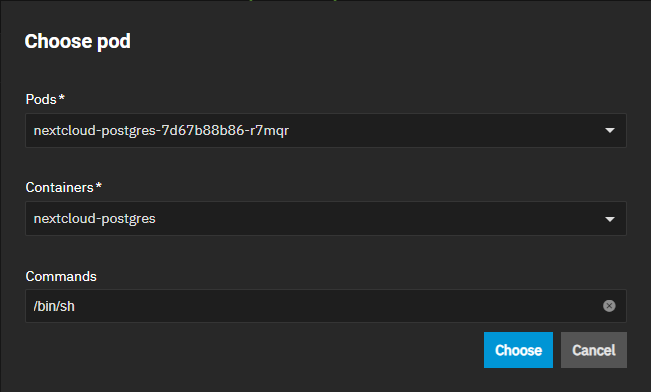
The Choose Pod window lets you choose the pod, active container, and shell commands to use when the Applications > Pod Shell screen displays.
| Setting | Description |
|---|---|
| Pods | Required. Select the pod installed from the dropdown list. |
| Containers | Required. Select the container from the dropdown list. |
| Commands | Enter the shell commands. |
Choose opens the Pod Shell or Pod Log screen based on the Workloads widget icon clicked.
Click Installed on the breadcrumb to return to the Installed applications screen.
The Pod Logs screen opens a shell displaying logs for the selected installed application. Each Pod Log screen includes a banner with the Application Name, Pod Name and Container Name.
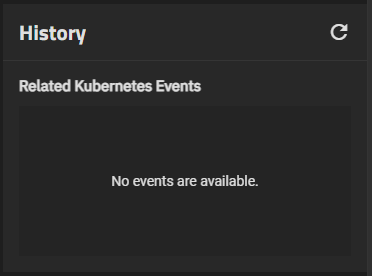
The History widget for each application displays Kubernetes related events. The refresh icon updates the information in this widget.
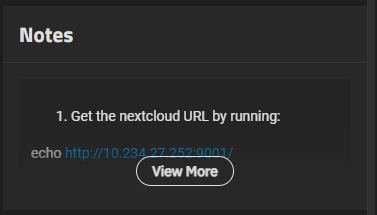
The Notes widget for each application displays any notes related to the application. If there are no notes, the widget does not display. Example content ranges from links to TrueNAS documentation on the application to a CLI command to get to the application URL in the Shell.
Each application has an installation wizard with settings that application uses or needs to deploy the application container. The edit screen opens the same installation wizard, but some settings might not be editable.
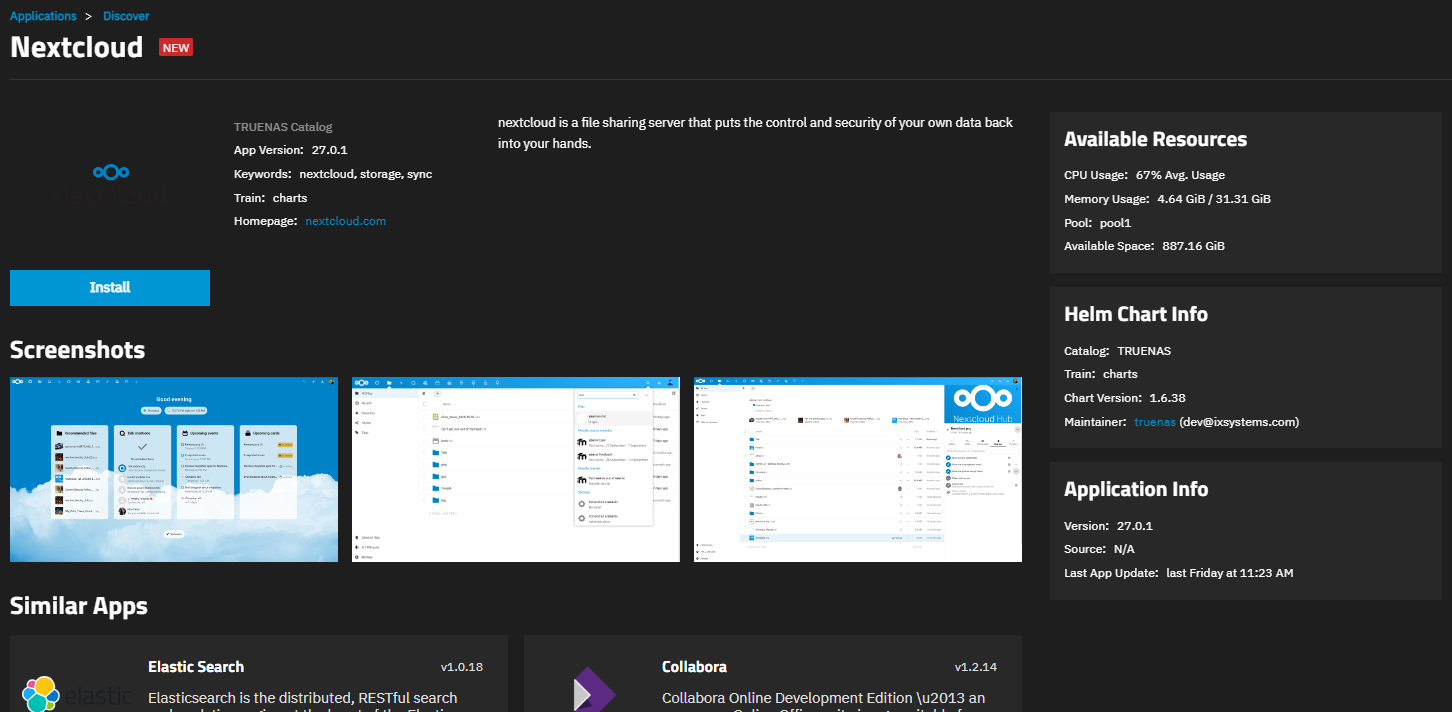
Install on the application widget on the Discover screen opens the application information screen for that application.
Each application information screen includes the catalog, version, train, home page link, and keywords to find the app in TrueNAS searches.
The screen includes three widgets:
- Available Resources that displays CPU and memory usage, the pool and available space in gigabits.
- Helm Chart Info that includes the catalog, train, chart version, and the maintainer of the chart.
- Application Info that includes the application version number, links to the source(s), and last application update time and date.
The screen includes small screenshots of the application website that when clicked open larger versions of the image.
Install opens the installation wizard for the application.
The bottom of the screen includes widgets for similar applications found in the catalog.
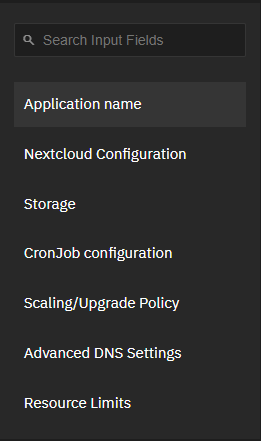
Each application has the same or similarly named setting sections. The install and edit wizard screens include a navigation panel on the right of the screen that lists and links to the setting sections. A red triangle with an exclamation point marks the sections with required settings. An asterisk marks required fields in a section. You can enter a new setting in fields that include a preprogrammed default.
Not all applications include all of the following sections:
| Setting Section | Description |
|---|---|
| Application Name | Includes the required Application Name and Version settings. SCALE provides the default application name and current version number of the application in the TRUENAS chart. After installing the application, the name is not editable. Version is not included on the Edit application screen. |
| Application Configuration* | Includes certificates, credential or token authentication, timezone, host name, and environment variable settings that vary by application. Settings are editable. Some applications include network settings in this section. |
| Networking | Includes container network settings such as the port number assigned for communication, and to set an option that the host network settings manually or to use the default option to use the preprogrammed settings defined in SCALE. |
| Storage | Includes the option to enable and configure extra volumes such as a data and configuration volume, or other volumes the application might need. |
| Scaling/Upgrade Policy | Includes the update strategy or policy setting. Another application might include Update strategy in the Workload Configuration section. |
| Resource Reservation | Includes the GPU configuration setting. |
| Advanced DNS Settings | Includes options to configure advanced DNS settings. |
| Resource Limits | Includes the option to limit CPU and memory resources the Kubernetes pod uses in SCALE. |
| CronJob Configuration | Includes options to enable, configure, and schedule cron jobs as part of the application deployment. |
The Discover screen displays New & Updated Apps application widgets for the official TrueNAS Chart, Community, and Enterprise train applications based on the Trains settings selected on the Edit Catalog screen. First time SCALE installation includes the Chart catalog train.
The breadcrumbs at the top of the header provide links to the previous or the main applications screen. Click a link to open that screen.
Custom App opens the Install Custom App screen.
The Discover screen includes a search field, links to other application management screens, and filters to sort the application widgets displayed.
The three application screen links are:
- Refresh Charts that executes a job to refresh the catalog applications.
- Manage Installed Apps that opens Installed applications screen.
- Manage Catalogs that opens the Catalog screen.
Filters shows a list of sort categories that alter how application widgets display. Filter information includes the Catalog, Sort options and the Categories dropdown field.
Catalog displays the default catalog TRUENAS.
Sort options are:
- Category sorts the app widgets by category or functional area. For example, New & Updated Apps, S3, File-Sharing, Financial, Games, Media, Monitoring, Networking, Productivity, Security and Storage.
- App Name sorts the app widgets alphabetically (A to Z)
- Catalog Name sorts the app widgets by installed catalogs. TRUENAS is the default catalog installed in SCALE.
- Updated Date sorts the app widgets by date of update.
Categories allows selecting which application categories display. Options are New-And-Updated, Recommended, S3, File-Sharing, Financial, Games, Media, Monitoring, Networking, Productivity, Security, and Storage. Click in the field to see the list, then click on a category. Repeat to select multiple categories.
The Install Custom App screen displays the setting options needed to install a third-party application not included in the TRUENAS catalog. See Install Custom App Screens for more information.
The Catalog screen displays a list of application catalogs installed on TrueNAS SCALE, default catalog is TRUENAS.
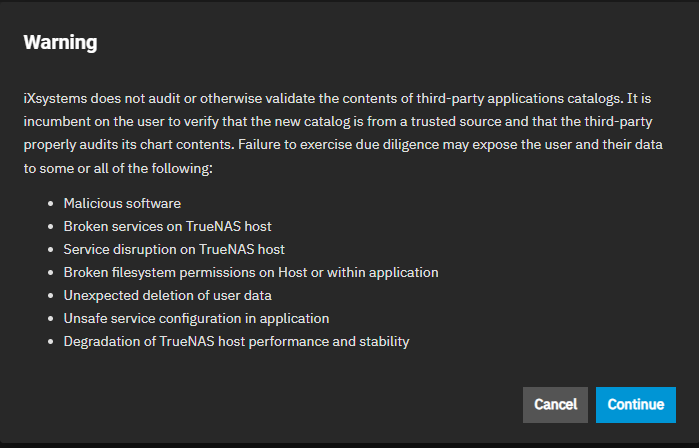
The options at the top right of the screen include the Refresh All and Add Catalog options. Refresh All starts a catalog refresh operation. Add Catalog opens the Add Catalog screen after first displaying a warning confirmation dialog.
Click on a catalog row to expand it and show the options available for each catalog:
The default TRUENAS catalog does not show the Delete option.
Add Catalog at the top of the Catalogs screen opens a warning dialog before it opens the Add Catalog screen.
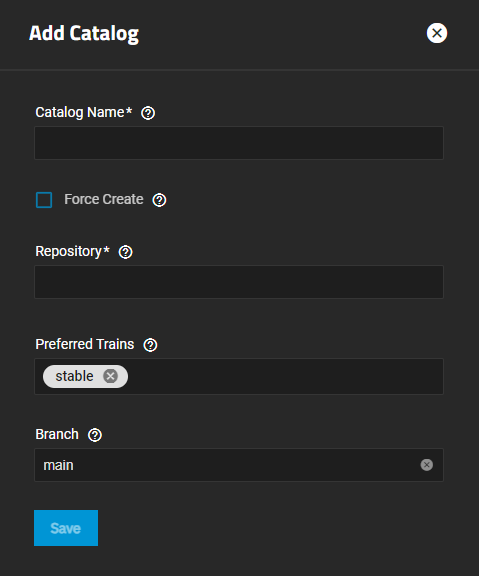
Click Continue to open the Add Catalog screen.
| Field | Description |
|---|---|
| Catalog Name | enter the name the TrueNAS uses to look up the catalog. For example, truecharts. |
| Force Create | Select to add the catalog to the system even if some trains are unhealthy. |
| Repository | Enter the valid git repository URL. For example, https://github.com/truecharts/catalog. |
| Preferred Trains | The trains TrueNAS uses to retrieve available applications for the catalog. The default is stable (and optionally: incubator). |
| Branch | Specify the git repository branch TrueNAS should use for the catalog. The default is main. |
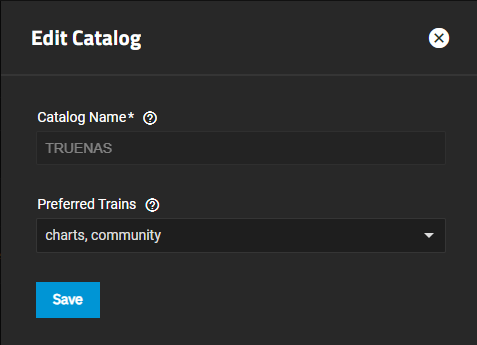
The Edit Catalog screen settings specify the name and train the UI should use to look up the catalog and retrieve applications for the catalog. The Catalog Name is not editable, but you can change the train.
| Setting | Description |
|---|---|
| Catalog Name | Enter a name TrueNAS should use to look up the catalog. |
| Preferred Train | Select the train(s) from which the UI retrieves available applications for the catalog. Dropdown list options are charts, test, enterprise, and community. |
Refresh initiates the catalog refresh operation for the selected catalog.
Opens a confirmation dialog before deleting the catalog. You cannot delete the TRUENAS catalog.
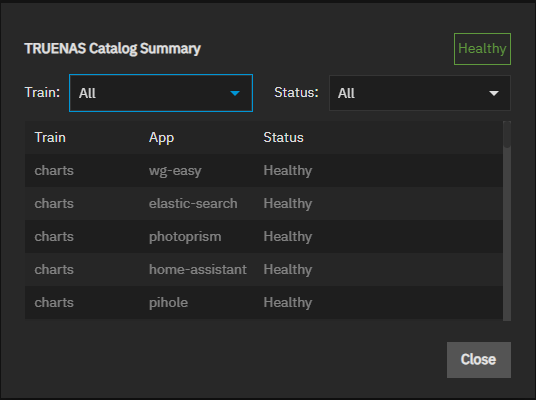
The Summary option for each catalog Name Catalog Summary window where Name is the name of the catalog displays the current catalog status (Healthy, Unhealthy), the train, and list of application information. The Trains dropdown options are All, charts, community, and enterprise. The Status dropdown list options are All, Healthy, and Unhealthy. Select options to alter the information included in the displayed summary. Close closes the window.
| Setting | Description |
|---|---|
| Train | Select the trains you want to include in the catalog summary information. Options are All, charts, test, enterprise or community. |
| Status | Select the statuses you want to include in the catalog summary information. Options are All, Healthy, or Unhealthy. This is useful to filter the summary to locate trains or applications with the Unhealthy status. |
- Install Custom App Screen: Provides information on the Install Custom App screen and configuration settings.


