TrueNAS Documentation Archive
This content follows the TrueNAS 23.10 (Cobia) releases. Archival documentation is provided for reference only and not actively maintained. Use the Product and Version selectors above to view content specific to different TrueNAS software or major version.
Adding a Storj Cloud Sync Task
7 minute read.
Last Modified 2023-08-08 12:08 EDTTrueNAS can send, receive, or synchronize data with the cloud storage provider Storj. Cloud sync tasks allow for single-time transfers or recurring transfers on a schedule. They are an effective method to back up data to a remote location.
This procedure provides instructions to set up both Storj and SCALE.To take advantage of the lower-cost benefits of the Storj-TrueNAS cloud service, you must create your Storj account using the link provided on the Add Cloud Credentials screen.
You must also create and authorize the storage buckets on Storj for use by SCALE.
iXsystems is not responsible for any charges incurred from using a third-party vendor with the cloud sync feature.
TrueNAS supports major providers like Amazon S3, Google Cloud, and Microsoft Azure. It also supports many other vendors. To see the full list of supported vendors, go to Credentials > Backup Credentials > Cloud Credentials click Add and open the Provider dropdown list.
You must have all system storage (pool and datasets or zvols) configured and ready to receive or send data.
To create your cloud sync task for a Storj-TrueNAS transfer you:
Create the SCALE cloud credential.
Adding the cloud credential in SCALE includes using the link to go create the Storj-TrueNAS account, create a new bucket and obtain the S3 authentication credentials you need to complete the process in SCALE.
Create the Storj-TrueNAS account.
You must create the new Storj-TrueNAS account to use SCALE to access a Storj account.
Add a new Storj bucket.
Create Storj S3 access for the new bucket.
Finish creating the SCALE cloud credential using the S3 access and secret keys provided by Storj.
Create the cloud sync task for one bucket.
In this section you add your cloud service credentials in SCALE and in Storj. This process includes going to Storj to create a new Storj-TrueNAS account and returning to SCALE to enter the S3 credentials provided by Storj for this credential.
Go to Credentials > Backup Credentials and click Add on the Cloud Credentials widget. The Add Cloud Credential screen opens with Storj displayed as the default provider in the Provider field.
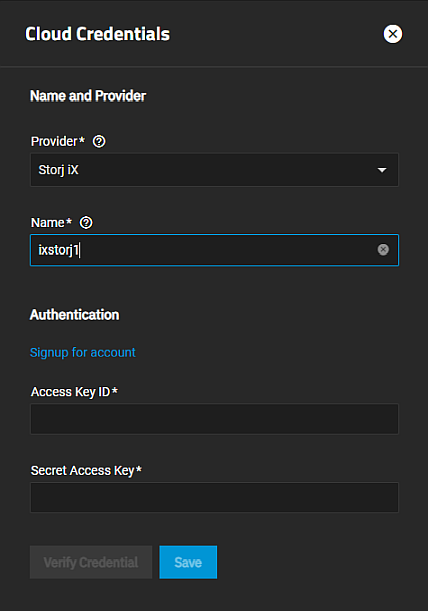
Enter a descriptive name you want to identify this credential in the Name field.
Click Signup for account to create your Stor-TrueNAS account. This opens the Storj new account screen for TrueNAS.
You must use this link to create your Storj account to take advantage of the benefits of the Storj-TrueNAS pricing!After setting up your Storj-TrueNAS account, create your Storj bucket and create the Storj S3 access for the new bucket.
Enter the authentication information provided but Storj in the Acces Key ID and Secret Access Key fields.
Click Verify Credentials, and wait for the system to verify the credentials.

Click Save.
After completing this configuration form, you can set up the cloud sync task.
Click Signup for account on the Add Cloud Credential screen. The Storj Sign In website opens.
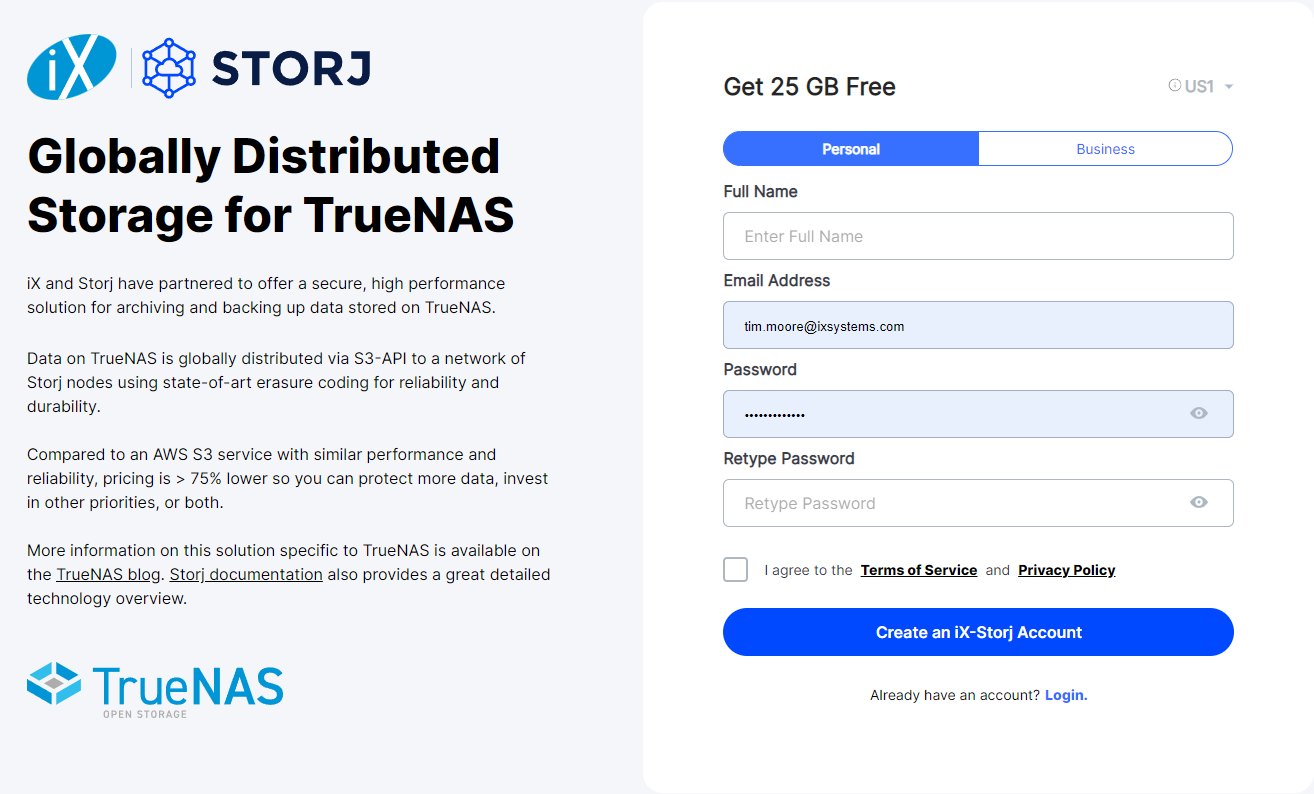
Enter your information in the fields, select the I agree to the Terms of Service and Privacy Policy, then click Create an Ix-Storj Account.
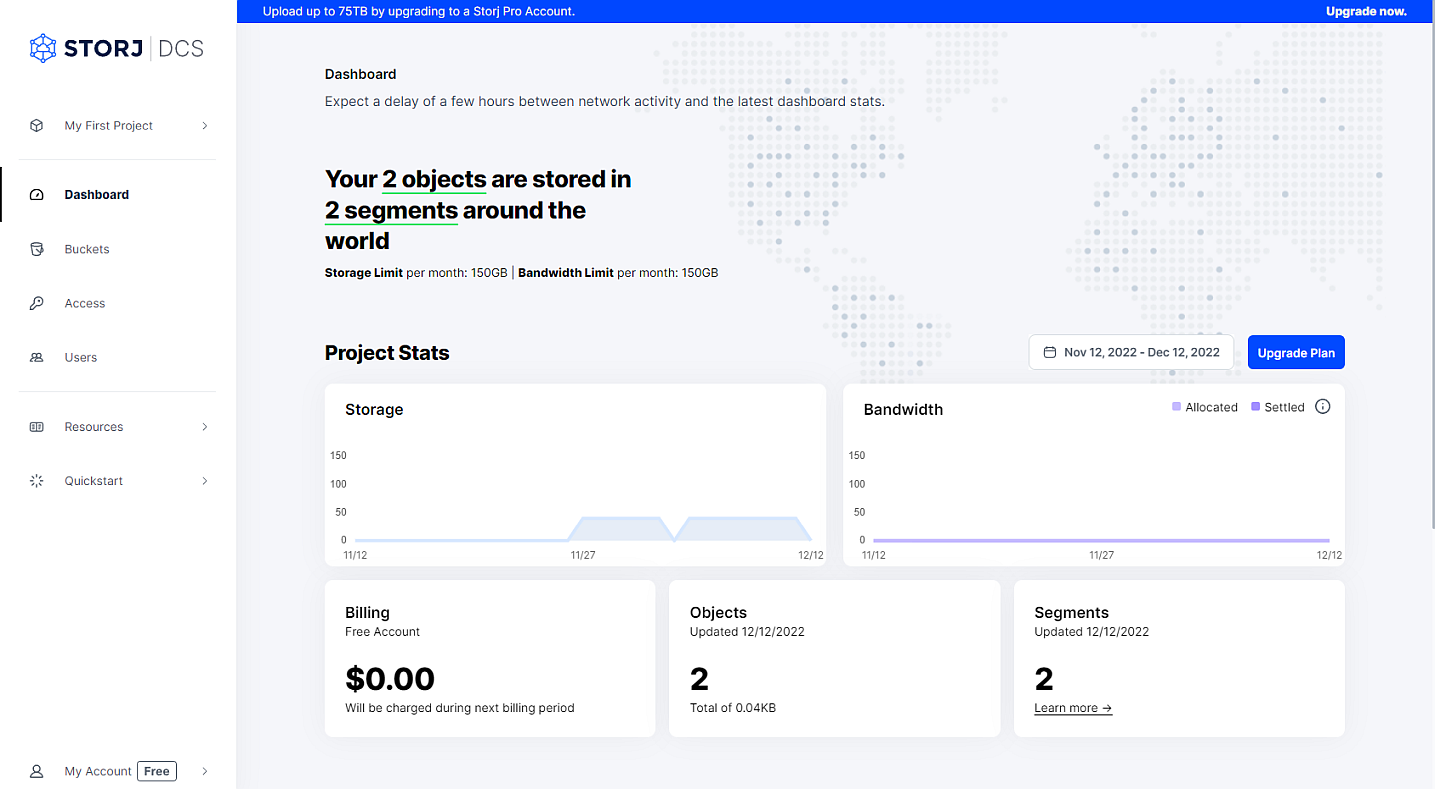
Now add the storage bucket to use in your Storj-TrueNAS account and to add in the SCALE cloud sync task.
From the Storj main dashboard:
Click Buckets on the navigation panel on the left side of the screen to open the Buckets screen.
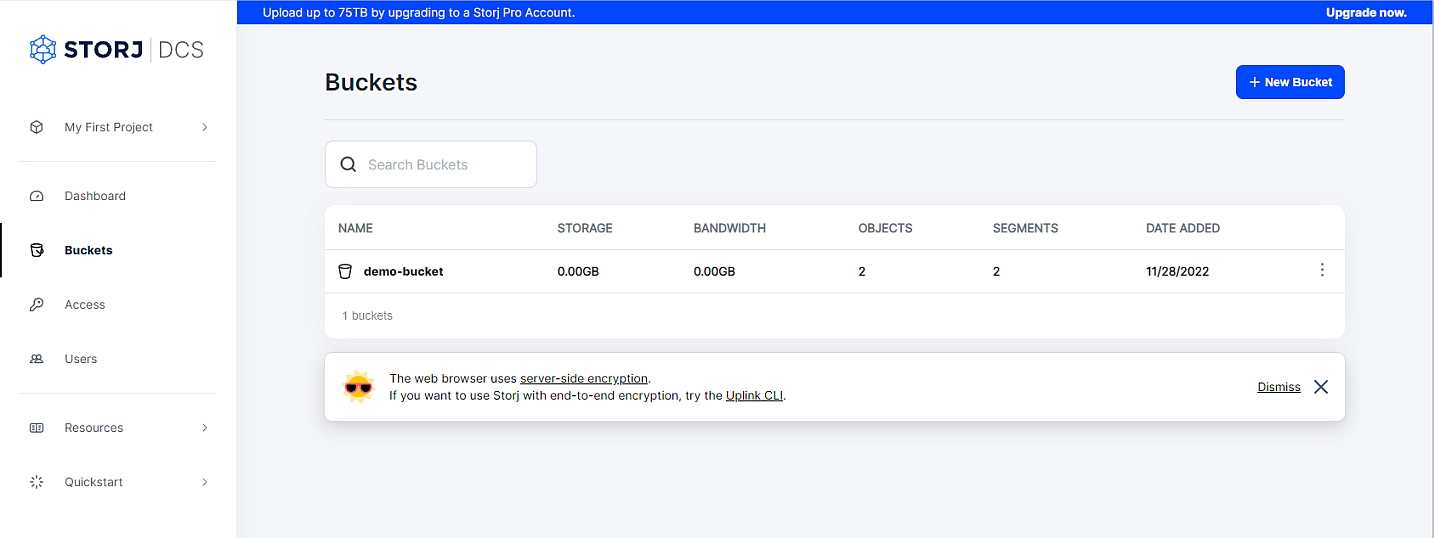
Click New Bucket to open the Create a bucket window.
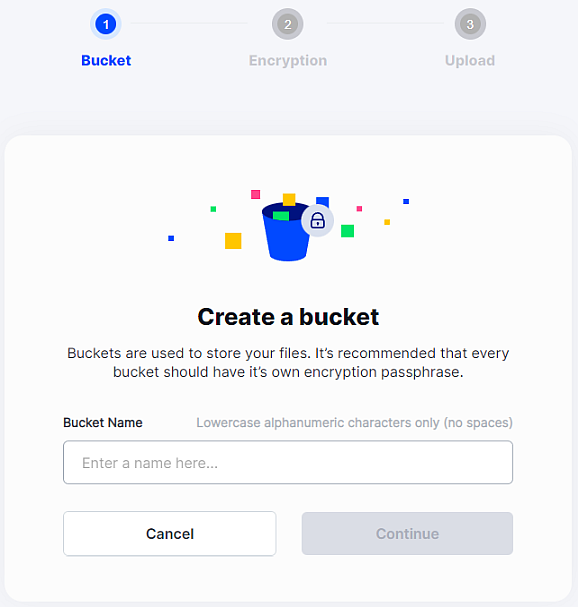
Enter a name in Bucket Name using lower case alphanumeric characters, with no spaces between characters, then click Continue to open the Encrypt your bucket window.
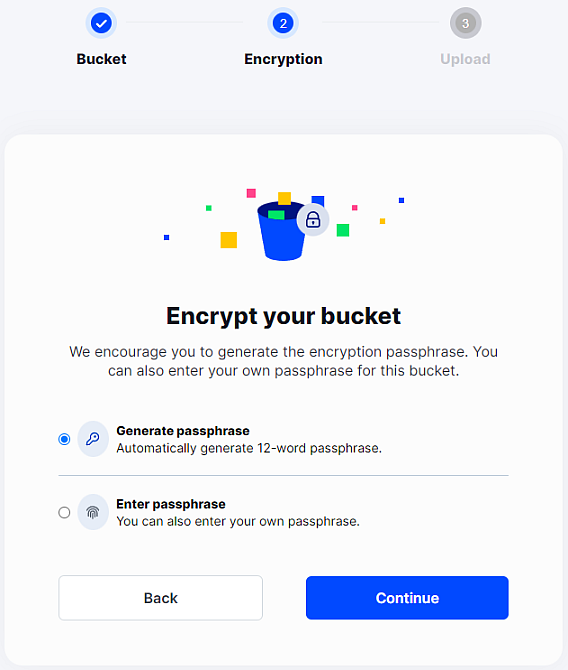
Select the encryption option you want to use. Select Generate passphrase to let Storj provide the encryption or select Enter Passphrase to enter your own. If you already have a Storj account and want to use the same passphrase for your new bucket, select Enter Passphrase.
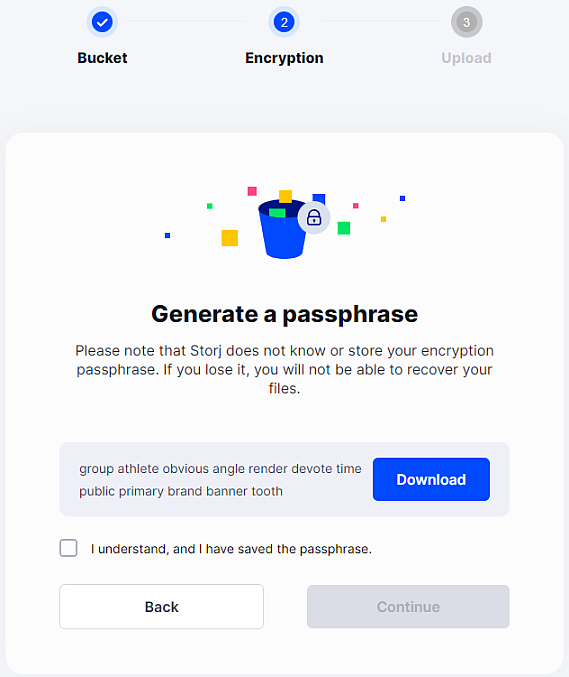
If you select Generate a passphrase Storj presents you with the option to download the encryption keys. You must keep encryption keys stored in a safe place, and where you can back up the file. Select I understand, and I have saved the passphrase then click Download.
Click Continue to complete the process and open the Buckets screen with your new bucket.
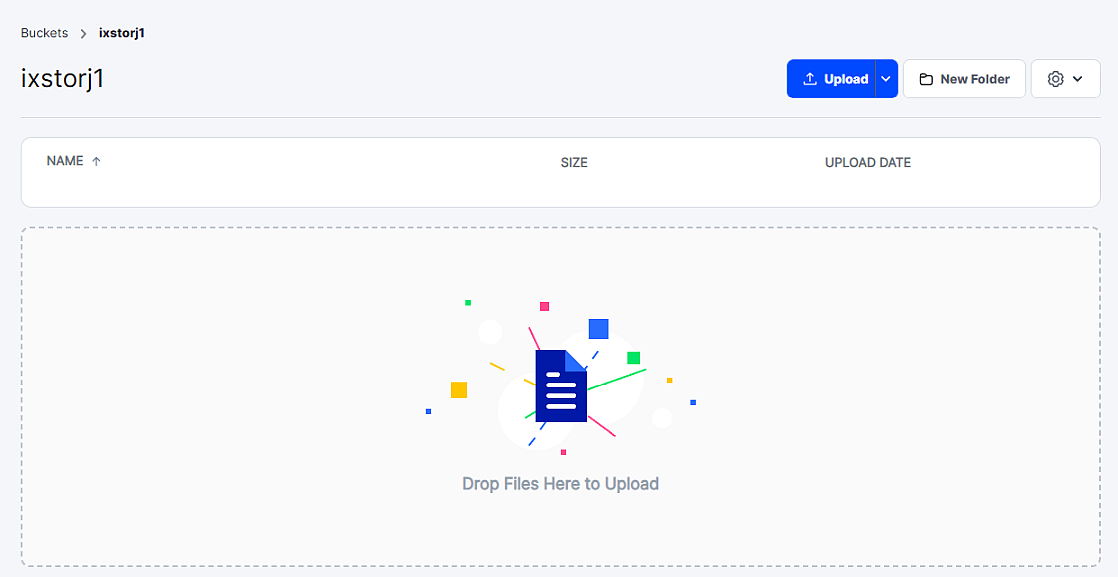
After creating your bucket, add S3 access for the new bucket(s) you want to use in your Storj-TrueNAS account and use in the SCALE cloud sync task.
Click Access to open the** Access Management** dashboard, then click Create S3 Credentials on the middle S3 credentials widget.
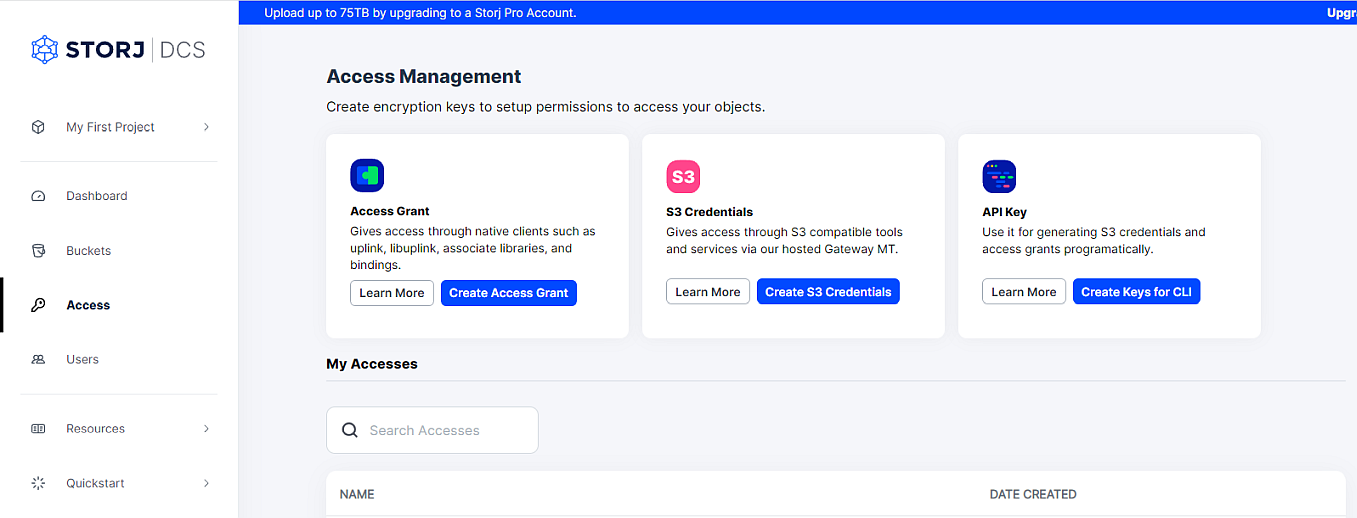
The Create Access window opens with Type set to S3 Credentials.
Enter the name you want to use for this credential. Our example uses the name of the bucket we created.
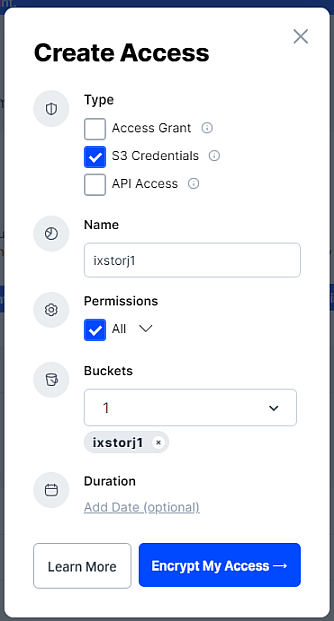
Select the permissions you want to allow this access from the Permissions dropdown and select the bucket you want to have access to this credential from the dropdown list. The example selects All for Permissions and selected the one bucket we created ixstorj1.
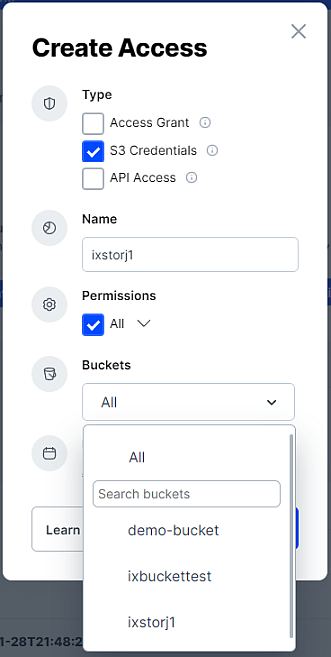 If you want to use the SCALE option to add new buckets in SCALE, set Storj Permissions to All and Buckets to All.
Select Add Date (optional) if you want to set the duration or length of time you want to allow this credential to exist. This example set this to Forever. You can select a preset period of time or use the calendar to set the duration.
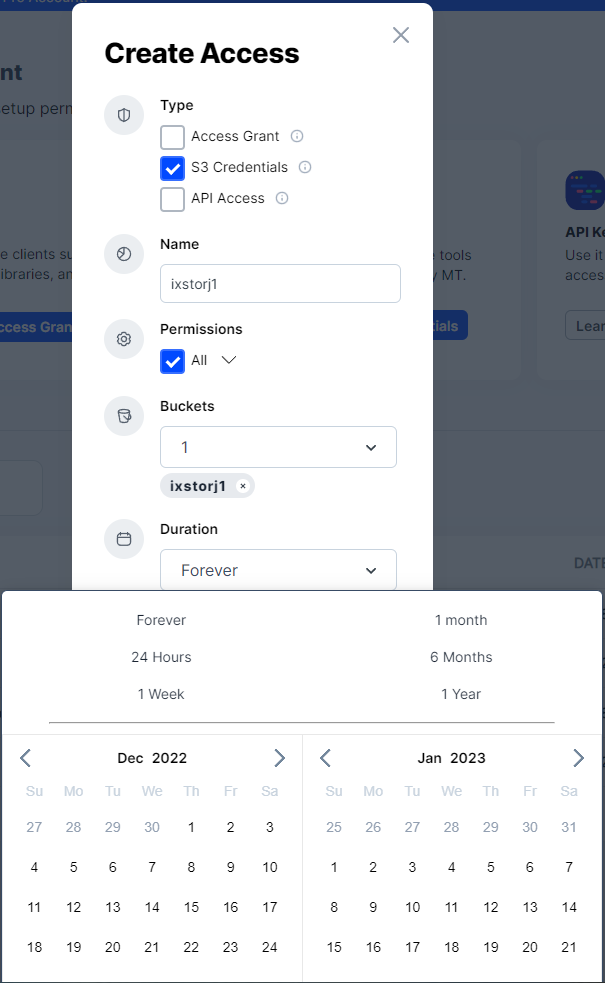
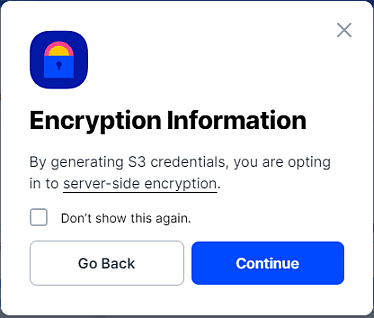
Click Encrypt My Access to open the Encryption Information dialog, then click Continue to open theSelect Encryption options window.
Select the encryption option you want to use. Select Generate Passphrase to allow Storj to provide the encryption passphrase, or select Create My Own Passphrase to enter a passphrase of your choice.
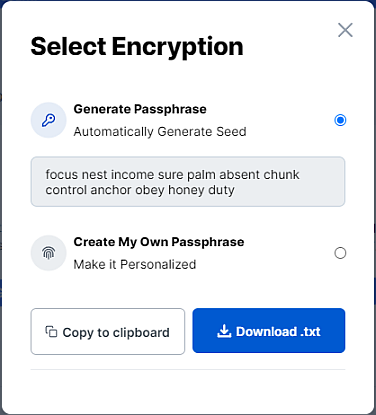
Use Copy to Clipboard or Download.txt to obtain the Storj generated passphrase. Keep this passphrase along with the access keys in a safe place where you can back up the file.
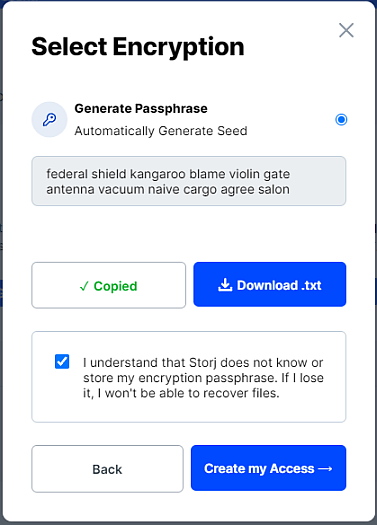 If you lose your passphrase neither Storj or iXsystems can help you recover your stored data!
7 . Click Create my Access to obtain the access and secret keys. Use Download.txt to save these keys to a text file.
This completes the process of setting up your Storj buckets and S3 access. Enter these keys in the Authentication fields in TrueNAS SCALE on the Add Cloud Credential screen to complete setting up the SCALE cloud credential.
To add the Storj cloud sync task, go to Data Protection > Cloud Sync Tasks:
Click Add to open the Add Cloud Sync Task screen.
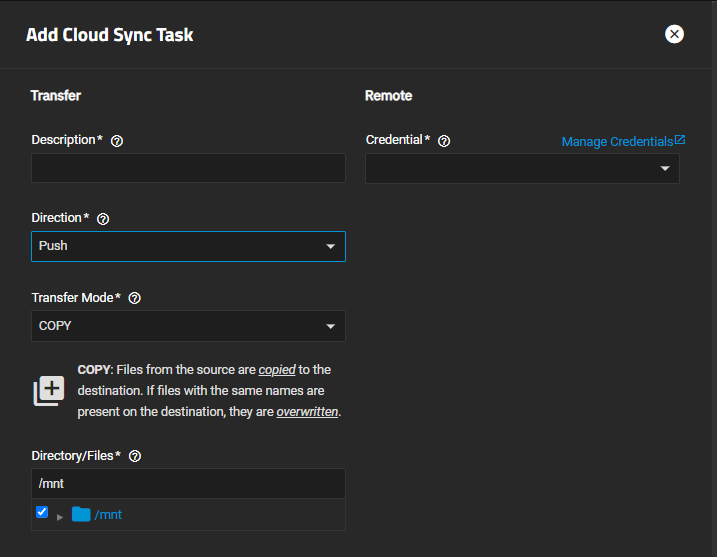
(Required) Type a memorable task description in Description. You can use the the name of the Storj-TrueNAS bucket or credential you created as the name of the cloud sync task.
Select the Storj credential you just created from the Credential dropdown list.

Set the Direction and Transfer Mode you want to use.
Browse to the dataset or zvol you want to use on SCALE for data storage.
Select the bucket you just created in Storj from the Bucket dropdown list.
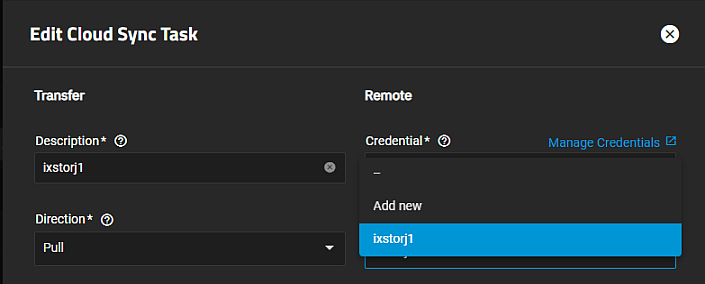
If you set the Storj S3 access to only apply to the new bucket created in Storj, you can only use that bucket, selecting Add New results in an error. If you set the Storj S3 Bucket access to All you can either select the new bucket you created in Storj or Add New to create a new Storj bucket here in SCALE!
Set the task schedule when you want this task to run.
Click Save.
The task is added to the Cloud Sync Task widget with the Pending status until the task runs on schedule. You can click Dry Run to test the task or Run Now to run the task now and apart from the scheduled time.


