TrueNAS SCALE Documentation Archive
This content follows the TrueNAS SCALE 22.12 (Bluefin) releases. Archival documentation is provided for reference only and not actively maintained.
Use the Product and Version selectors above to view content specific to different TrueNAS software or major versions.
Configuring WebDAV Service
2 minute read.
Last Modified 2024-03-19 08:47 EDTSCALE 22.12.3 and continuing with SCALE 22.12.4 deprecates the built-in WebDAV sharing feature and no longer allows creating new WebDAV shares from these screens. All existing WebDAV shares remain saved and continue to be editable until the next major TrueNAS SCALE version (23.10) removes the Sharing > WebDAV and System Settings > Services > WebDAV screens from the TrueNAS web interface.
To create new or migrate existing WebDAV sharing configurations, see the webdav application tutorial
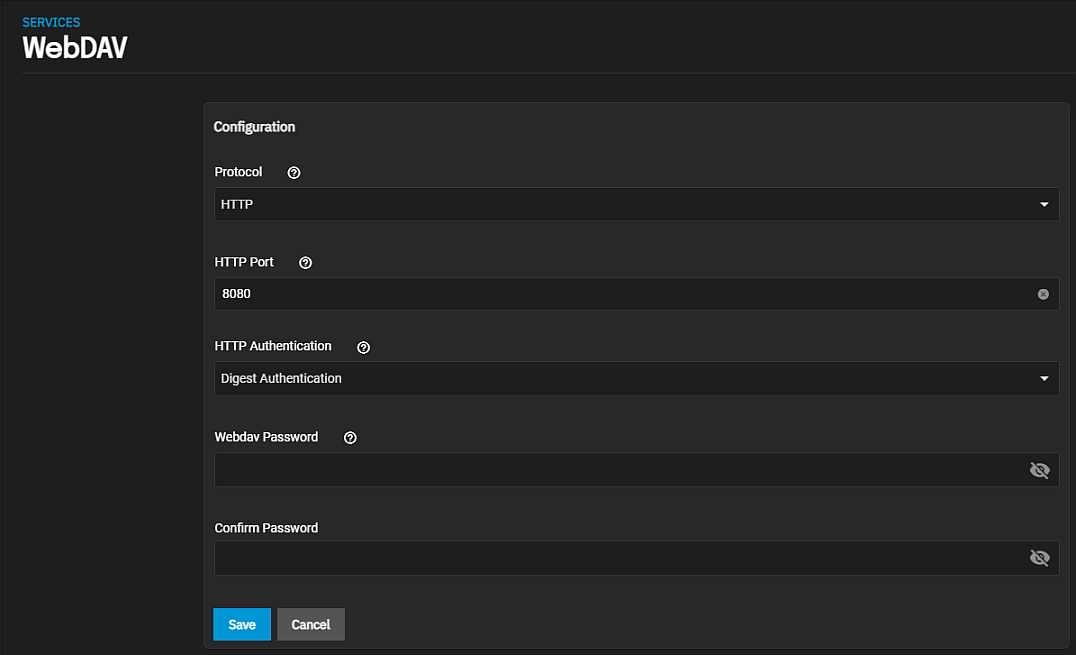
The Services > WebDAV configuration screen displays settings to customize the TrueNAS WebDAV service.
You can access it from System Settings > Services screen. Locate WebDAV and click edit to open the screen, or use the Config Service option on the WebDAV widget options menu found on the main Sharing screen.
Select Start Automatically to activate the service when TrueNAS boots.

If you require it, you must choose an SSL certificate (freenas_default is always available). All Protocol options require you to define a number in the Port field. Make sure the network is not already using the WebDAV service port.
Select the protocol option from the Protocol dropdown list. For better security, select HTTPS.
Enter a port number for unencrypted connections in HTTP Port. The default 8080 is not recommended. Do not reuse a port number.
Select the authentication method from the HTTP Authentication dropdown list. Select Basic Authentication for unencrypted or Digest Authentication for encrypted. No Authentication to not use any authentication method. To prevent unauthorized access to the shared data, set the HTTP Authentication to either Basic or Digest and create a new Webdav Password.
Enter and then confirm a password but do not use the know default davtest password.
Click Save.
Start the service.

