TrueNAS SCALE Documentation Archive
This content follows the TrueNAS SCALE 22.12 (Bluefin) releases. Archival documentation is provided for reference only and not actively maintained.
Use the Product and Version selectors above to view content specific to different TrueNAS software or major versions.
Migrating from Dynamic DNS Service to DDNS Updater App
3 minute read.
Last Modified 2024-03-19 08:47 EDTSCALE 22.12.3 deprecates several built-in features. SCALE 23.10 replaces deprecated features with applications that perform their roles. See SCALE Feature Deprecations for more details about feature deprecation and replacement.
This article provides instructions on how to move from using the deprecated dynamic DNS service to the new ddns-updater application.
The ddns-updater application is a lightweight universal dynanmic DNS (DDNS) updater with web UI. When installed, a container launches with root privileges in order to apply the correct permissions to the ddns-updater directories. Afterwards, the containter runs as a non-root user.
Before you configure the new ddns-updater application:
Disable the Dynamic DNS service. Go to System Settings > Services, disable the service, and clear the Start Automatically checkbox. This prevents the service from re-enabling after a system restart.
Review your Dynamic DNS service settings and note all provider, domain, IP address, port number, URL, and credential (username and password) settings.
If establishing a new provider, create the user account before proceeding. Otherwise, use the existing provider details.
If you want to grant access to a specific user (and group) other than using the defaults, add the new non-root administrative user and take note of the UID and GID for this user.
After disabling the dynamamic DNS service, install the ddns-updater application. Go to Apps, click on Available Applications, and locate the ddns-updater application widget.
Click Install to open the ddns-updater configuration wizard.
Select the timezone that applies to your server location from the Timezone dropdown list.
Click Add to the right of DNS Provider Configuration to display provider setting options. Select the DDNS provider from the Provider dropdown list. Each provider displays the settings required to establish a connection with and authenticate to that provider.
The SCALE service dynamic DNS list includes providers not on the ddns-Updater application list. If the service configuration uses a service not in the application, create a new account with a provider on the list in the ddns-updater application.
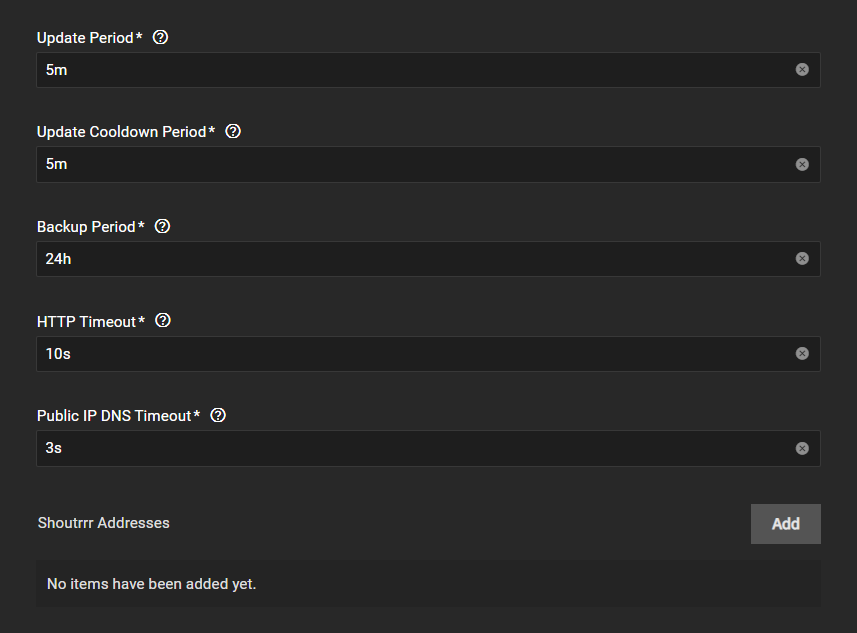
The update period default for the SCALE service is different from the application. Accept the default settings.
To use a notification service, enter the service in Shoutrrr Addresses. Shoutrrr addresses are a way to make sending notifications easy by standardizing them. Enter the shoutrrr gopher notification service(s) addresses and separate each entry with a comma.
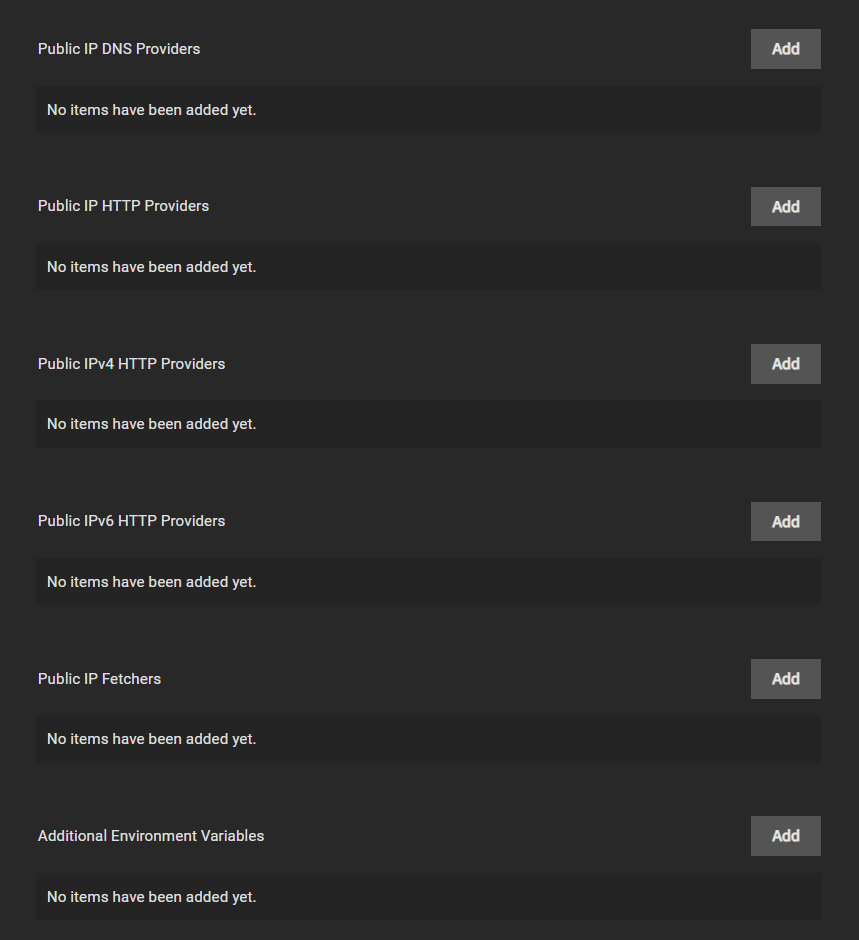
Enter either the IPv4 or IPv6 HTTP public provider and then the public IP fetcher type you want to use to obtain the public IP address, or select All providers in each field.
Select Host Network to bind to the host network, but we recommend leaving this disabled.
Select the DDNS Updater Data Storage option from the Type dropdown list. Options are the iXVolume or host path.
Click Save.


