TrueNAS SCALE Documentation Archive
This content follows the TrueNAS SCALE 22.12 (Bluefin) releases. Archival documentation is provided for reference only and not actively maintained.
Use the Product and Version selectors above to view content specific to different TrueNAS software or major versions.
Installing Syncthing
6 minute read.
Last Modified 2023-08-31 13:31 EDTTrueNAS Enterprise
Syncthing is available to Enterprise systems with the appropriate VM and applications license. Community users can add Syncthing to the list of available applications by adding Enterprise to the Official catalog on the Manage Catalogs screen.
Syncthing is tested and validated to work in harmony with TrueNAS platforms and underlying technologies such as ZFS to offer a turnkey means of keeping data across many systems. It can seamlessly integrate with TrueNAS.
Syncthing is a file synchronization application that provides a simple and secure environment for file sharing between different devices and locations.
Use it to synchronize files between different departments, teams, or remote workers.
Syncthing does not use or need a central server or cloud storage. All data is encrypted and synchronized directly between devices to ensure files are protected from unauthorized access.
Syncthing is easy to use and configure. You can install on a wide range of operating systems, including Windows, macOS, linux, FreeBSD, iOS or Android. The Synchthing web UI provides users with easy management and configuration of the application software.
You can add a dataset for Syncthing storage (for example, syncthing) before you install the application or create the dataset through the application installation wizard.
Decide on a consistent file-naming convention to avoid conflict situations where data does not or cannot synchronize because of file name conflicts. Path and file names in the Syncthing application are case sensitive. Creating a file named MyData.txt is not the same mydata.txt file in Syncthing.
If not already complete, set the pool for applications to use.
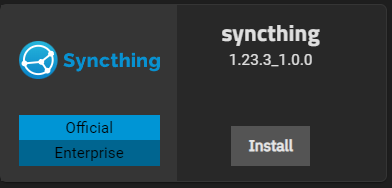
Go to Apps > Available Applications, locate the Syncthing application widget.
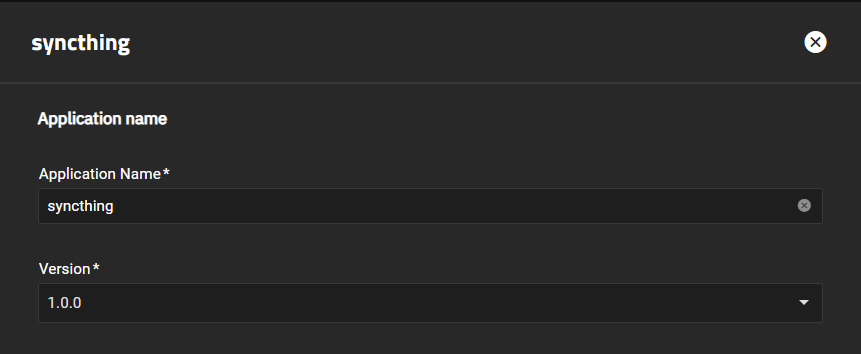
Click Install to open the sycnthing configuration wizard.
Accept the default value or enter a name in Application Name.
Select the timezone where the TrueNAS server is located from the Timezone dropdown list.
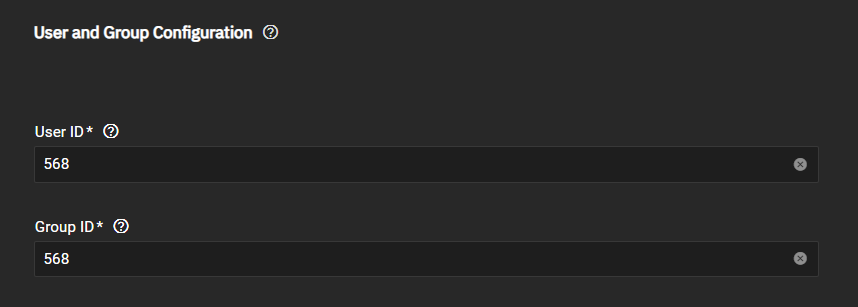
Accept the default user and group ID settings.
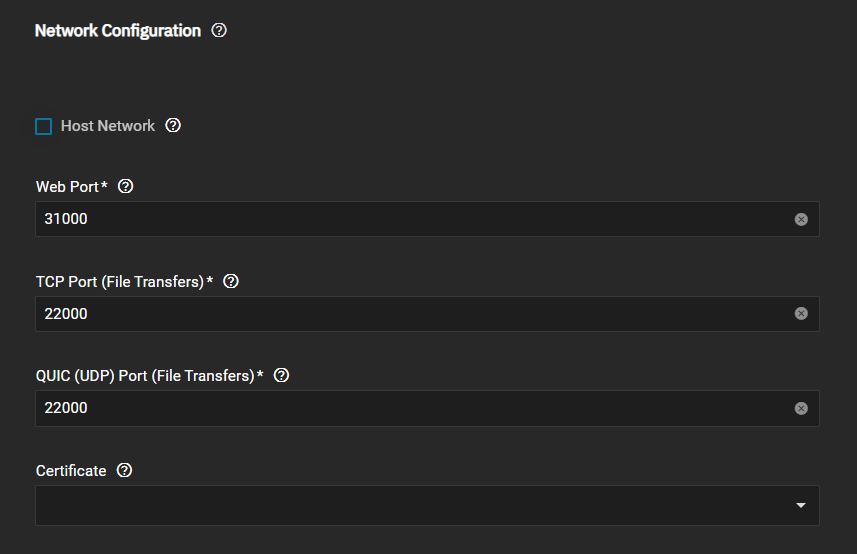
If selected, Host Network binds to the default host settings programmed for Syncthing. To manually enter your local network settings, select Host Network to clear the checkmark and display the TCP Port (File Transfer) and QUIC (UDP) Port (File Transfer) fields.
We recommend you accept the default port settings. If you plan to change these values, see [Default Ports]({{> relref “DefaultPorts.md” }}) to see which port numbers are available.
Select the certificate from the Certificates dropdown list.
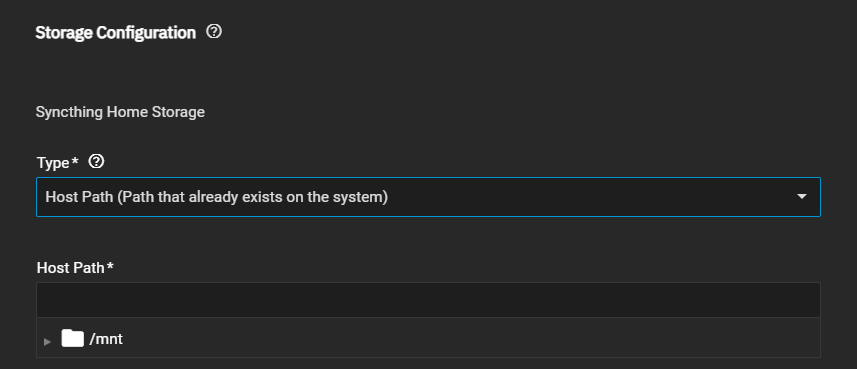
Configure the storage settings. To use the dataset TrueNAS creates for Syncthing, leave Type set to ixVolume (Dataset created automatically by the system). To use a dataset you created for Syncthing, select Host Path (Path that already exists on the system). Enter or browse to delect the dataset you created and to populate the Host Path field (for example, /mnt/tank/syncthing/config).
To add a dataset path inside the container for where to mount the storage, click Add to the right of Additional Storage, then enter the mount path to use.
Enter or browse to select the host path you added for the container pod to use (for example, /mnt/tank/syncthing/data1). You can add a dataset in the Host Path field by typing / followed by the dataset name to the end of the path (for example /nmt/pool/adddatasetname).
Click Add for each dataset mount and host path you want to add (for example, /mnt/tank/syncthing/data2).
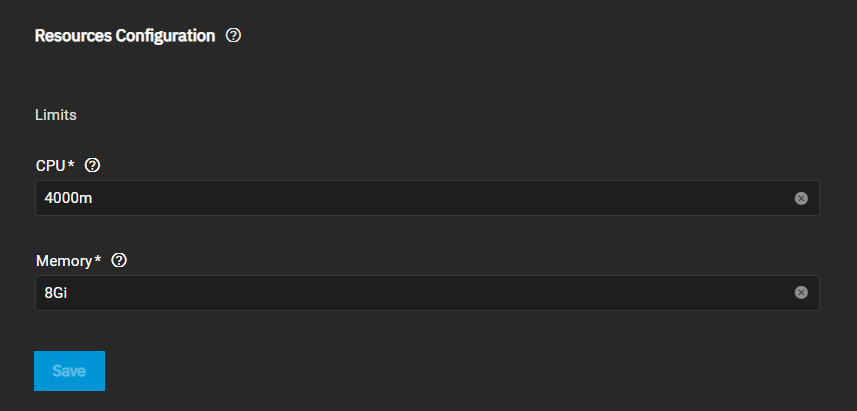
Accept the default resource configuration values for CPU and memory, or enter new values you want to use for Syncthing.
Click Save.
After installing the application, go to Installed Applications and click Start on the Syncthing application widget. Next open the Syncthing web UI and set up a user name and password.
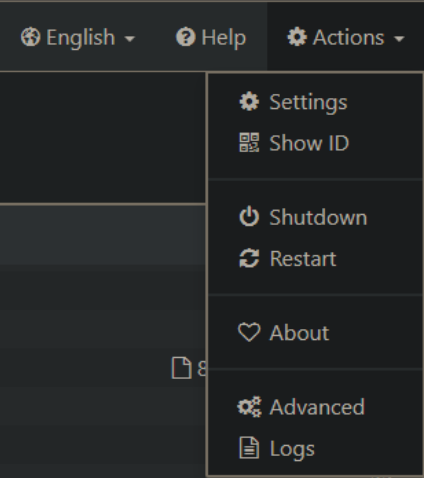
After installing and starting the Syncthing application, launch the Syncthing webUI. Go to Actions > Settings and set a user password for the web UI.
The Syncthing web UI allows administrators to monitor and manage the synchronization process, view logs, and adjust settings.
Folders list configured sync folders, details on sync status and file count, capacity, etc. To change folder configuration settings, click on the folder.
This Device displays the current system IO status including transfer/receive rate, number of listners, total uptime, sync state, and the device ID and version.
Actions displays a dropdown list of options that includes general and global settings. You can manage directional settings for sync configurations, security, encryption, and UI server settings through the Actions options.
To change or enter a directory paty for a folder you want to share, click on a folder and select Edit. We recommend each shared folder have sync folder to allow for more granular traffic and data flow. Syncthing creates a default sync folder in the main user or HOME directory during installation of the application.
The Sharing tab shows the devices synced with the current folder (for example, the Home_Sync folder).
Untrusted Device Password is a beta feature and not trusted for production environments. This feature is for an edge cases where two users want to share data on a given device but cannot risk interception of data. Only trusted users with the code can open the file(s) with shared data.
File Versioning applies to changes received from other devices. For example, Bill turns on versioniong and Alice changes a file. Syncthing archives the old version on Bill’s computer when it syncs the change from Alice. But if Bill changes a file locally on his computer, Syncthing does not and cannot archive the old version.
For more information on specific file versioning, see Versioning
Go to Actions > Advanced to access advanced settings. These setting options allow you to set up network isolation, directory services, database, and bandwidth throttling, and to change device-specific settings and global default settings.
Incorrect configuration can damage folder contents and render Syncthing inoperable!
Go to Logs to access current logs and debug files. The Log tab displays current logs, and the Debugging Facilities tab provides access to debug logging facilities. Select different parameters to add to the logs and assist with debugging specific functionalities.
You can forward logs to a specific folder or remote device.
Syncthing includes the ability to maintain ownership and extend attributes during transfers between nodes (systems). This ensures ACLs and permissions remain consistent across TrueNAS SCALE systems during one and bi-directional Syncthing moves. You can configure this setting on a per folder basis.


