TrueNAS CORE Version Documentation
This content follows the TrueNAS CORE 13.0 releases. Use the Product and Version selectors above to view content specific to different TrueNAS software or major version.
Editing a Physical Interface
2 minute read.
Be careful when configuring the network interface that controls the TrueNAS® web interface. An error can result in the loss of web connectivity.
Network > Interfaces lists all the physical Network Interface Controllers (NICs) connected to your TrueNAS® system.

To edit an interface, click > next to it to expand the view. This provides a general description about the chosen interface. Click EDIT.
TrueNAS Enterprise customers: you cannot edit an interface with High Availability (HA) enabled.
Go to System > Failover and check the Disable Failover box, then click SAVE.
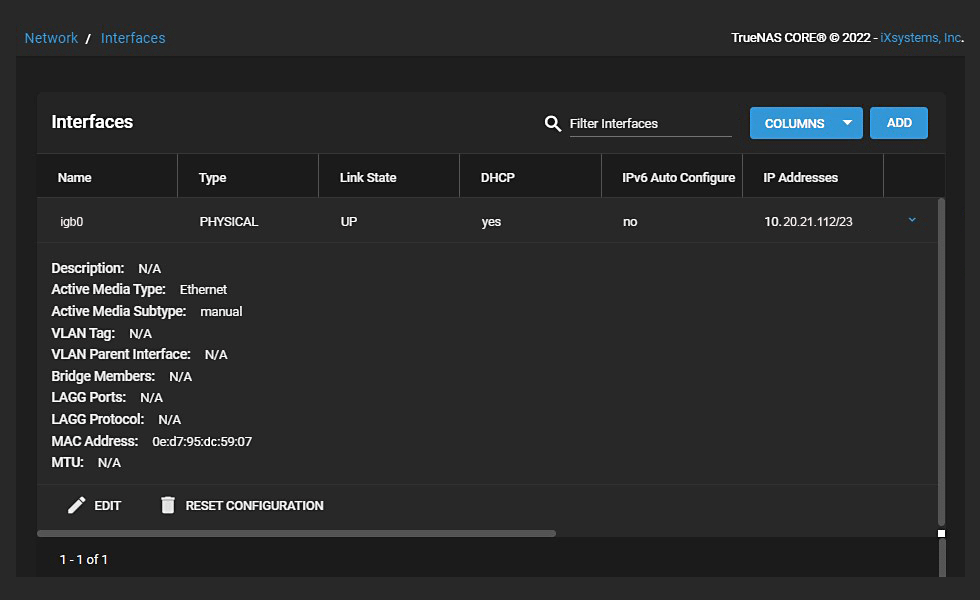
The Type of interface determines the interface editing options available.
See Interfaces Screen for more information on settings.
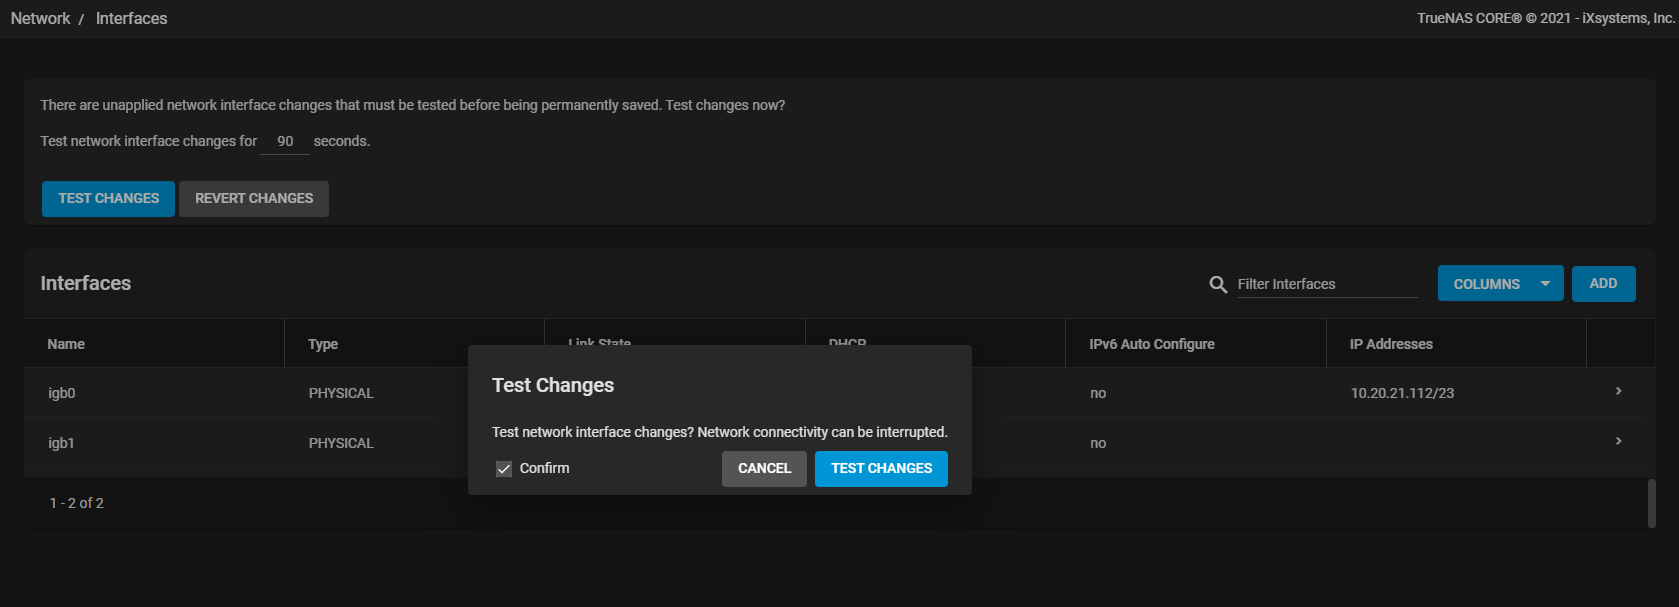
After you’re done editing, click SAVE. You have the option to TEST CHANGES or REVERT CHANGES. The default time for testing any changes is 60 seconds, but you can change it to your desired setting.

After clicking TEST CHANGES, confirm your choice and click TEST CHANGES again.
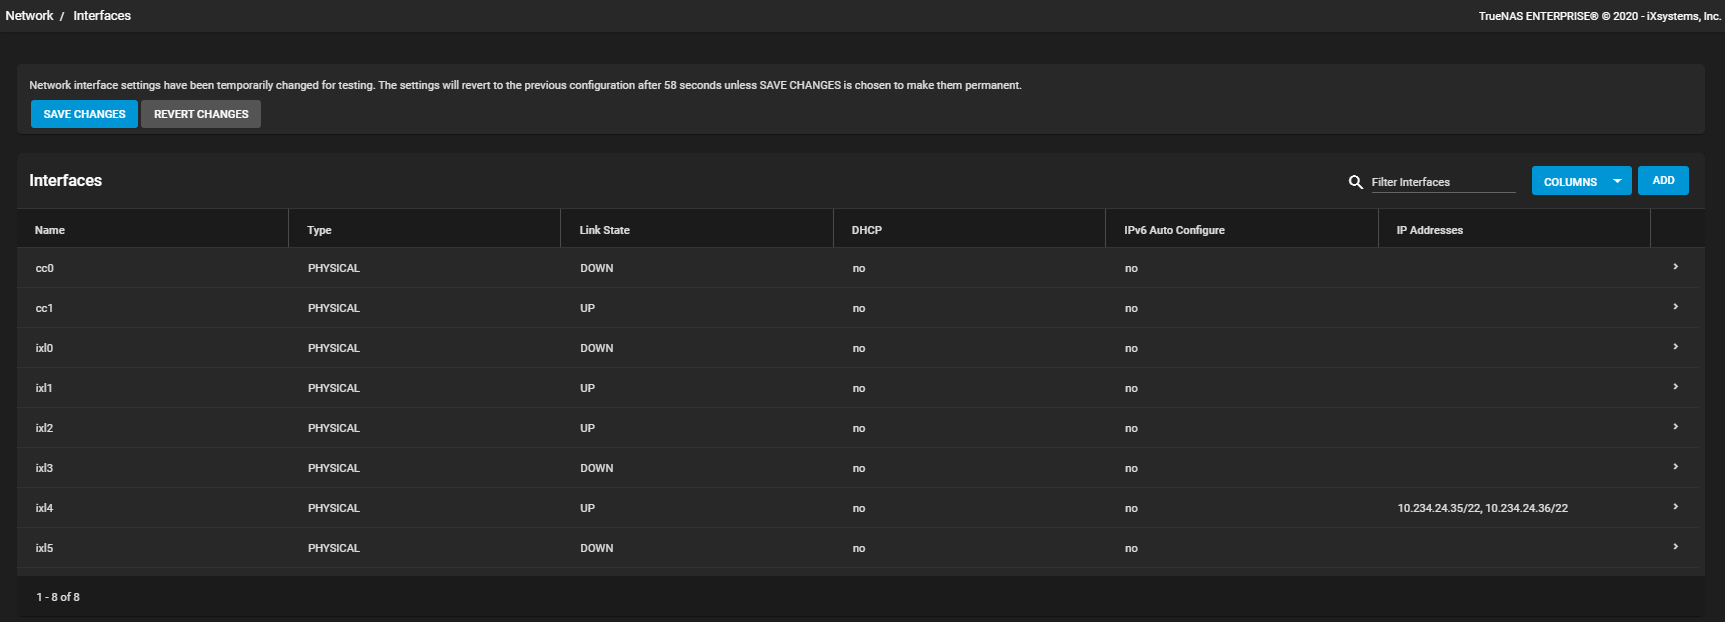
Users can either SAVE CHANGES or REVERT CHANGES. A user has the time they specified to make their choice. If you select SAVE CHANGES, a dialog box asks you to CANCEL or SAVE network interface changes. Click SAVE.
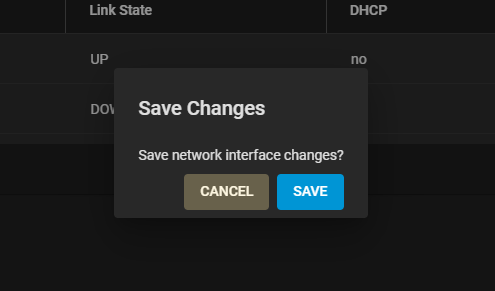
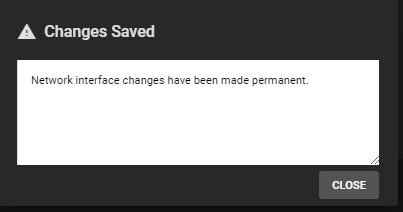
The system displays a dialog box to show that network interface changes are now permanent.
