


Updating Content
6 minute read.
Changes wanted! Contributing changes to the TrueNAS documentation has never been easier. The Documentation Hub is specifically built to allow users to quickly propose changes to the content without having to install any special applications. All that is required is to have a GitHub account and a basic understanding of Markdown.
You need to log in to your GitHub account to propose any changes. The repository automatically builds a preview site for each open pull request (PR) created in GitHub. The link to this preview site is added to the PR as a comment. The preview updates with the changes you make to the pull request, so you can always see an accurate preview of the changes you make to the website.
We welcome community contributions to keep the documentation current!
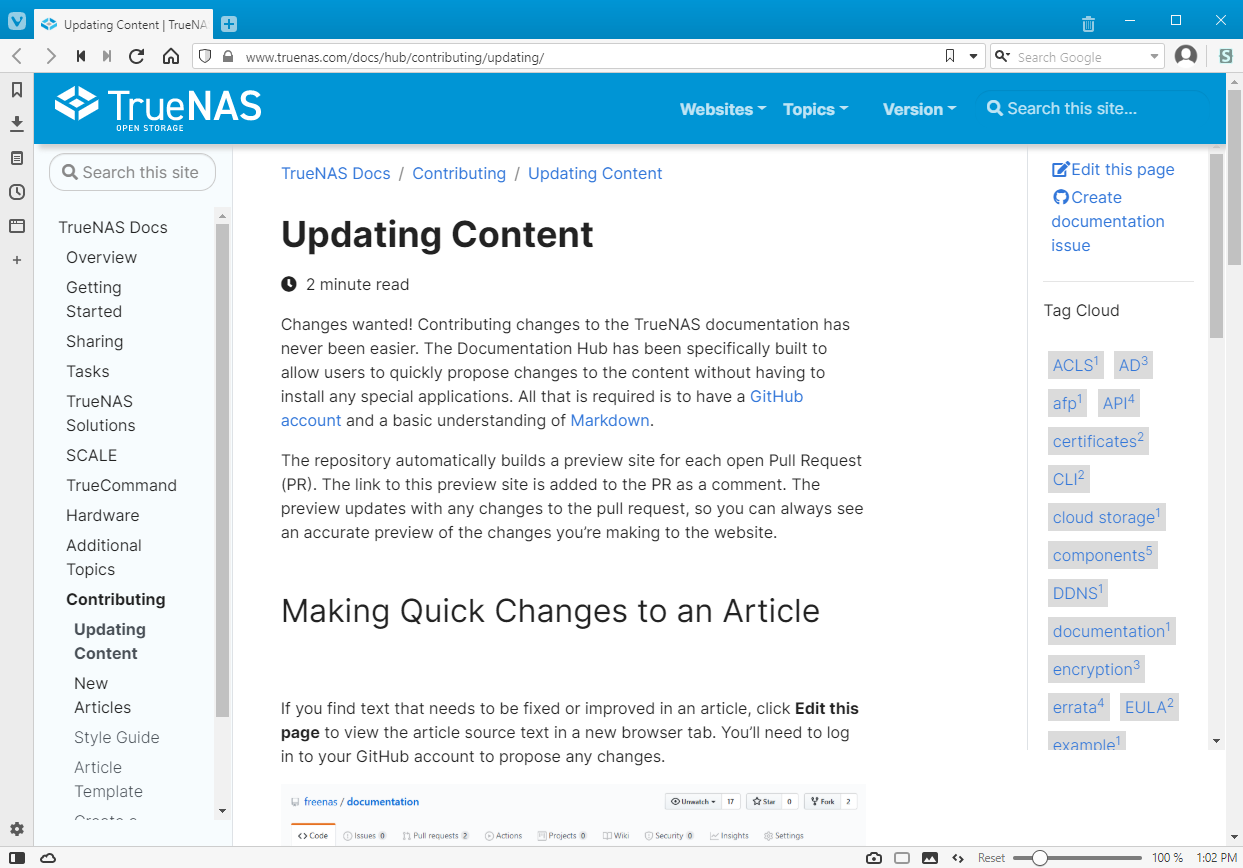
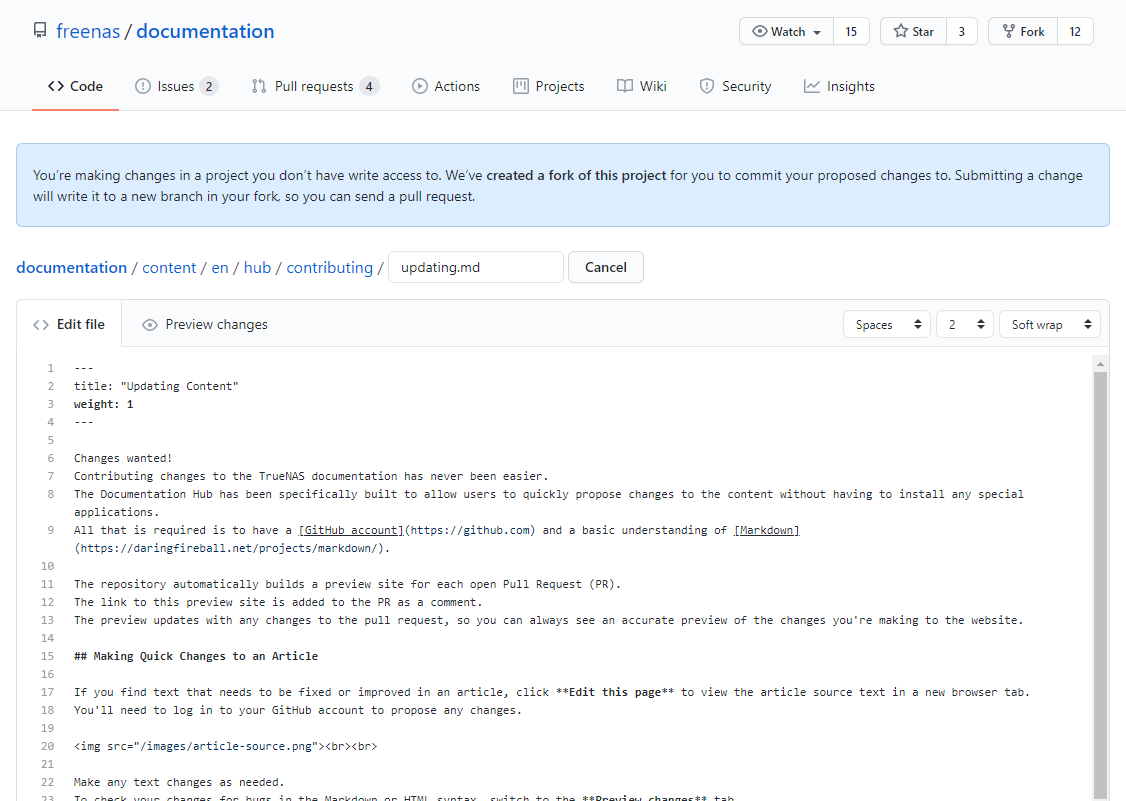
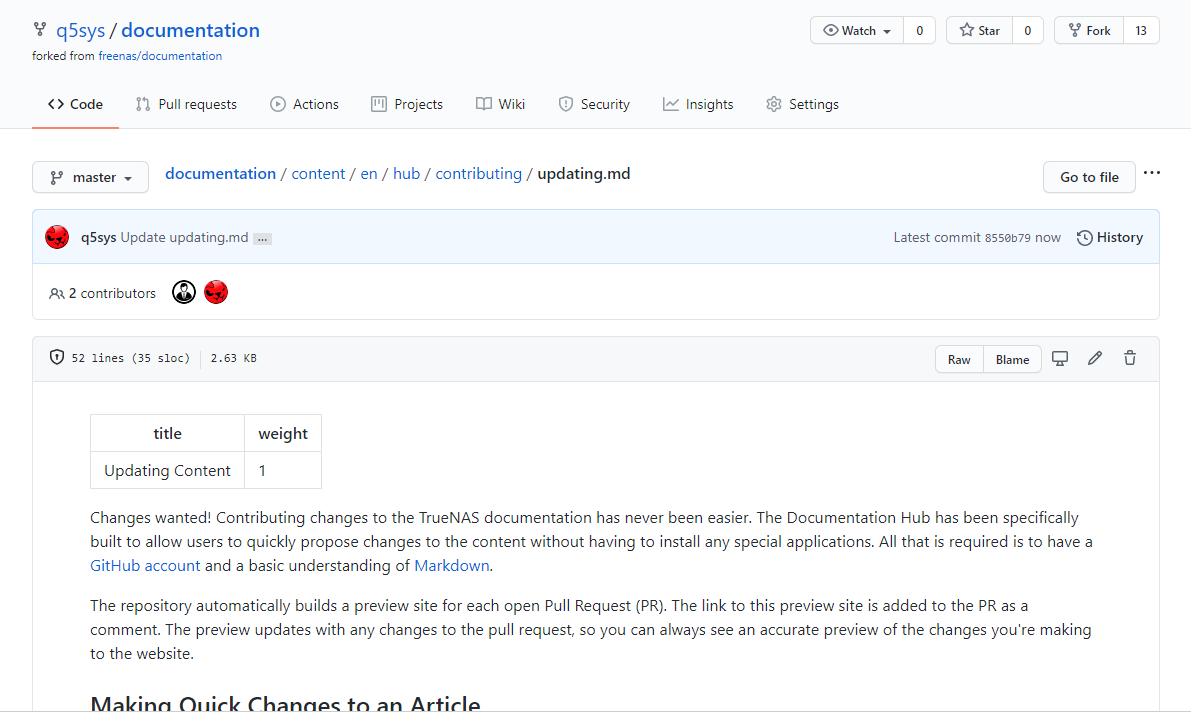
Click Edit Page in the top right corner of an article screen to propose changes to the article.
To check your changes for bugs in the Markdown or HTML syntax, switch to the Preview changes tab. The preview renders generic Markdown but does not render Hugo-specific syntax.
To update an existing image, click Edit Page and find the image location and name in the article source text. Name a replacement image with the same name as the existing image you are replacing.
In the repository, click Code and go to the image location in the repository.
Images are located in the
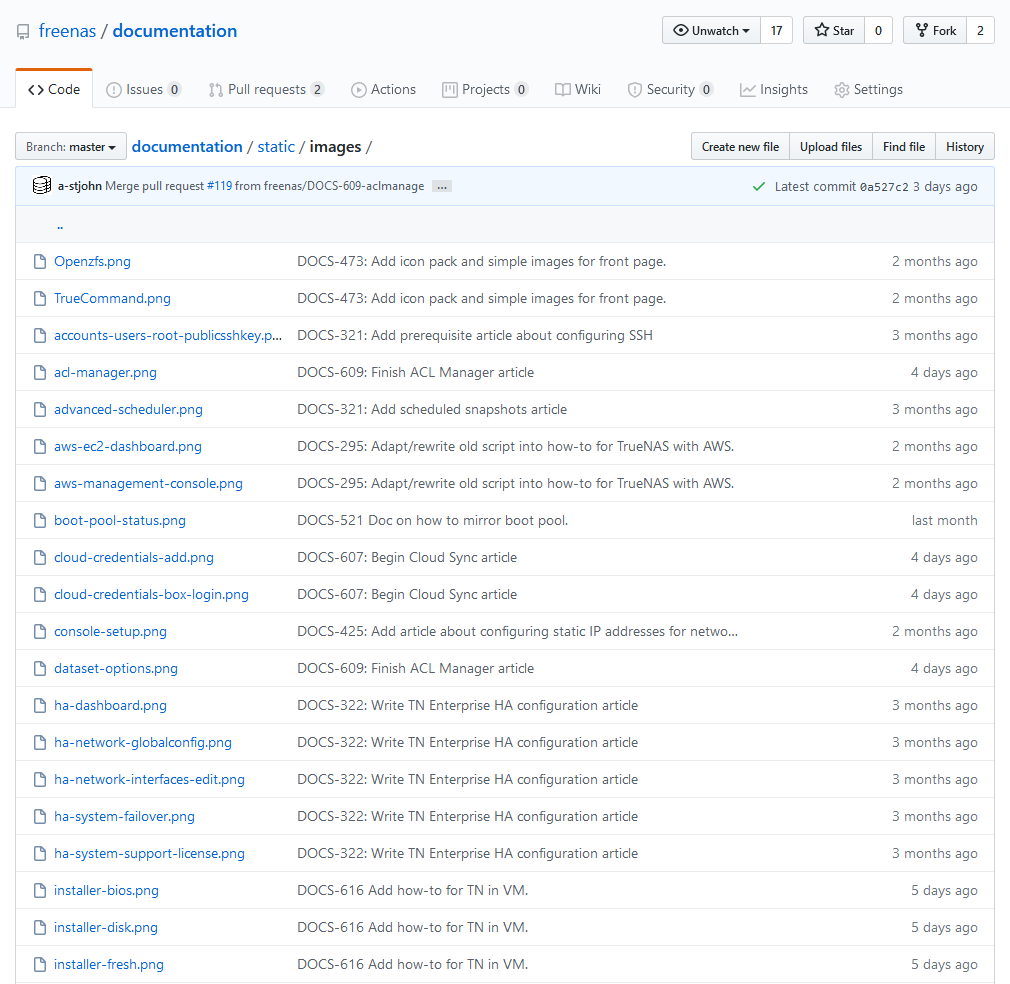
Click Upload files and either drag and drop the new or replacement image into the file upload area or open the file browser to select your image. Naming the new image name the same as the old image automatically replaces the old image with the new one in every article that includes it.
If adding a new image to the article, give the PNG image a descriptive name, such as Adding an SMB Share or Add SMB Share Advanced Settings and save it in the appropriate
Some article content comes from a separate include file statement, also referred to as a shortcode.
This statement pulls in content from a different location and allows using common text in multiple website articles simultaneously.
These files are called snippets.
Updating an
For example, the snippet file include file shortcode anywhere in the body of an article.
The example below shows this inside the expand tags.
Clicking Edit Page opens the article markdown file, but only these lines are visible for the included content (the added \ characters prevent rendering the shortcodes in this article):
{{\< expand "Advanced Scheduler" "v" >}}
{{\< include file="/static/includes/AdvancedScheduler.md" >}}
{{\< /expand >}}
(Do not include the escaping backslashes \)
In the above example, the expand and /expand shortcode tags create an expansion/collapse function in the document.
The include shortcode is within the expandable element: {{\< include file="/static/includes/AdvancedScheduler.md" >}}.
(Do not include the escaping backslashes )
The repository file
TrueNAS documentation uses branches to organize content related to specific software releases and updates, for example, the 24.04 and 23.10 branches of the Documentation Hub.
Content changes in the master branch result in changes to the TrueNAS Nightly Development Documentation content. To make changes in the master branch, fork this branch to create a simple copy of the main repository. Make changes in your forked master as the base for your changes. Do not make changes directly to the TrueNAS master branch of the Documentation Hub repository.
To make content changes in the 24.04 branch, select the 24.04 as the base, then create a fork of that main repository. This ensures approved modifications are added to the TrueNAS 24.04 (Dragonfish) Documentation content.
To make content changes in the 23.10 branch, select the 23.10 as the base, then create a fork of that main repository. This ensures that approved modifications are added to the TrueNAS 23.10 (Cobia) Documentation content.
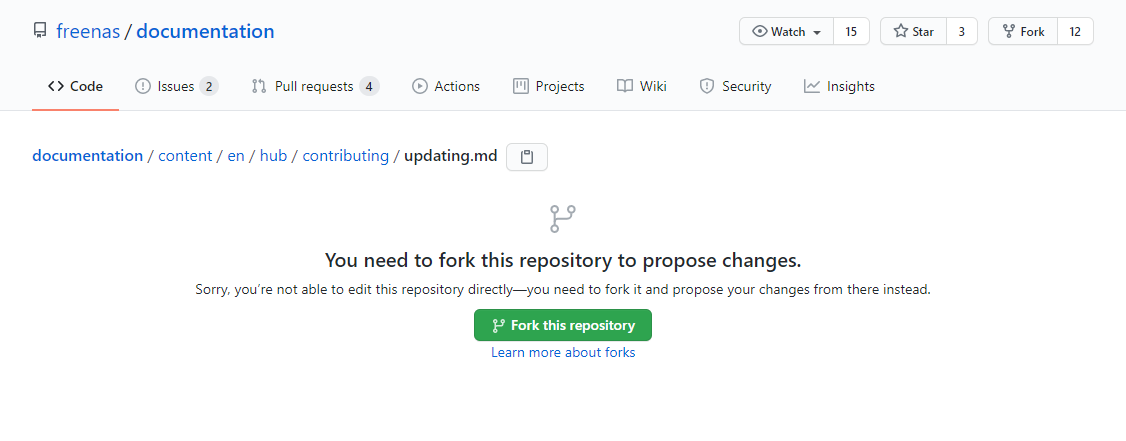
To submit a change or a new article, create a fork (local copy) of the main repository, edit your local copy, and then propose merging your changes back into the main repository.
To start, click the Edit Page link in the top right of the site.
To fork the repo to your GitHub account, click the green Fork this repository button.
Syncing an Existing Fork
When you already have a fork of the documentation repository, we recommend you sync your fork before continuing on to make changes. This updates your local copy with changes made to the main repository after you forked it.
- Open your fork repository, typically found by opening the GitHub profile drop-down and clicking Your repositories.
- Find the sync status bar and click Pull request.
- Set the base repository to your fork and the head repository to truenas/documentation. You might need to click compare across forks first.
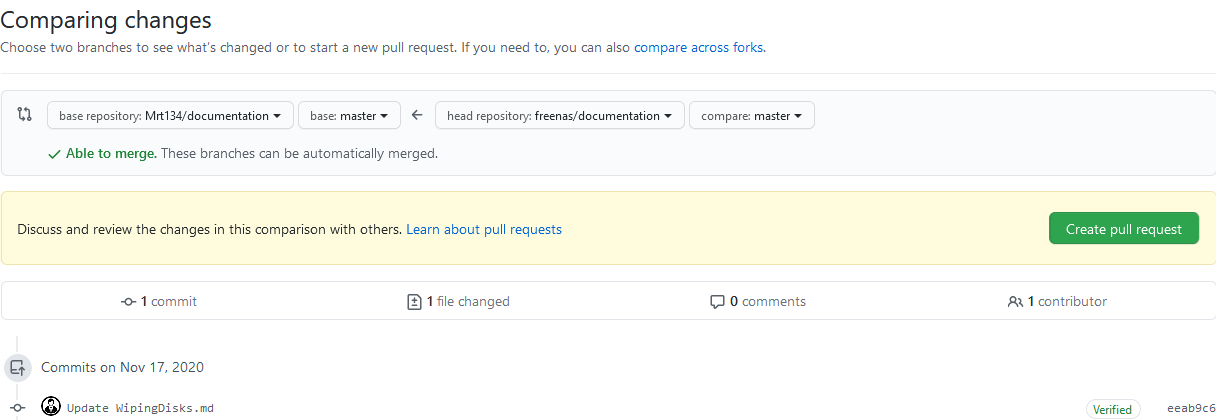
- Click Create pull request and continue to merge the pull request.
Edit the page as needed.
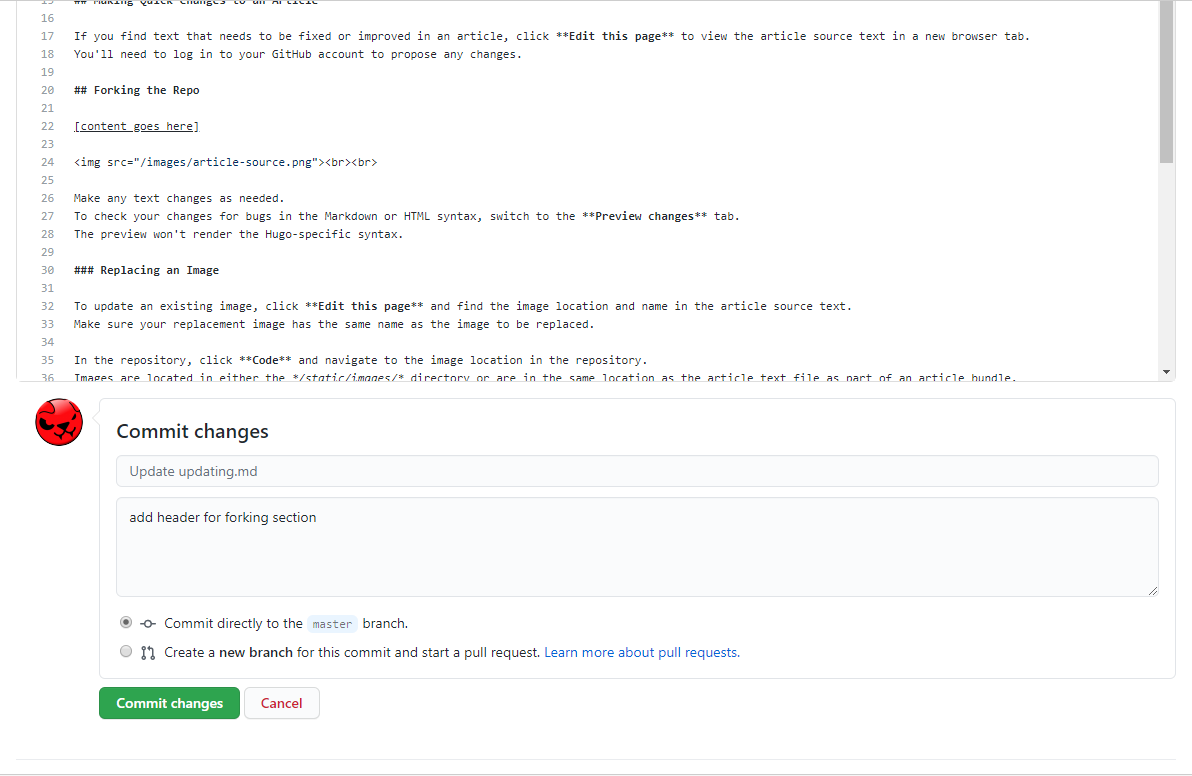
When the changes are complete, add a quick overview of the changes made in the** Description** box, and click the green Commit changes button.
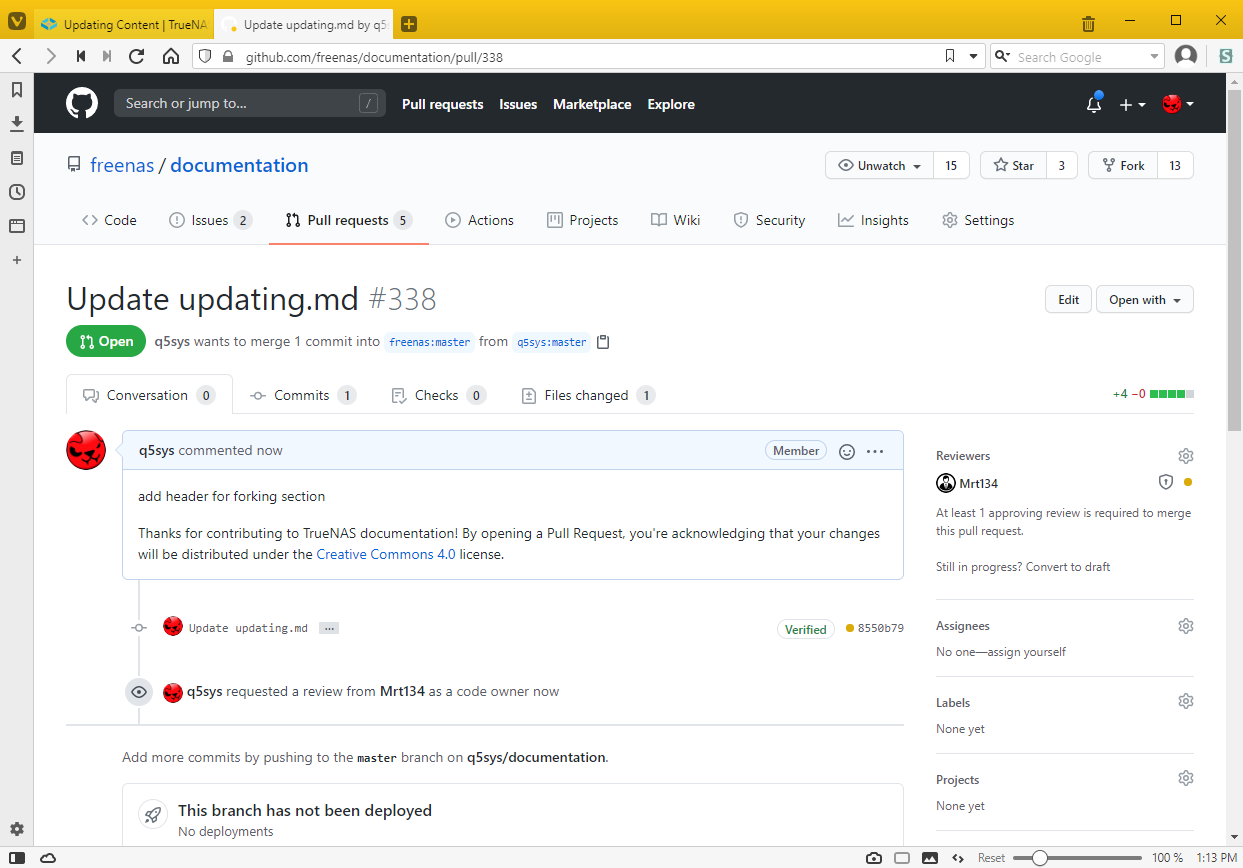
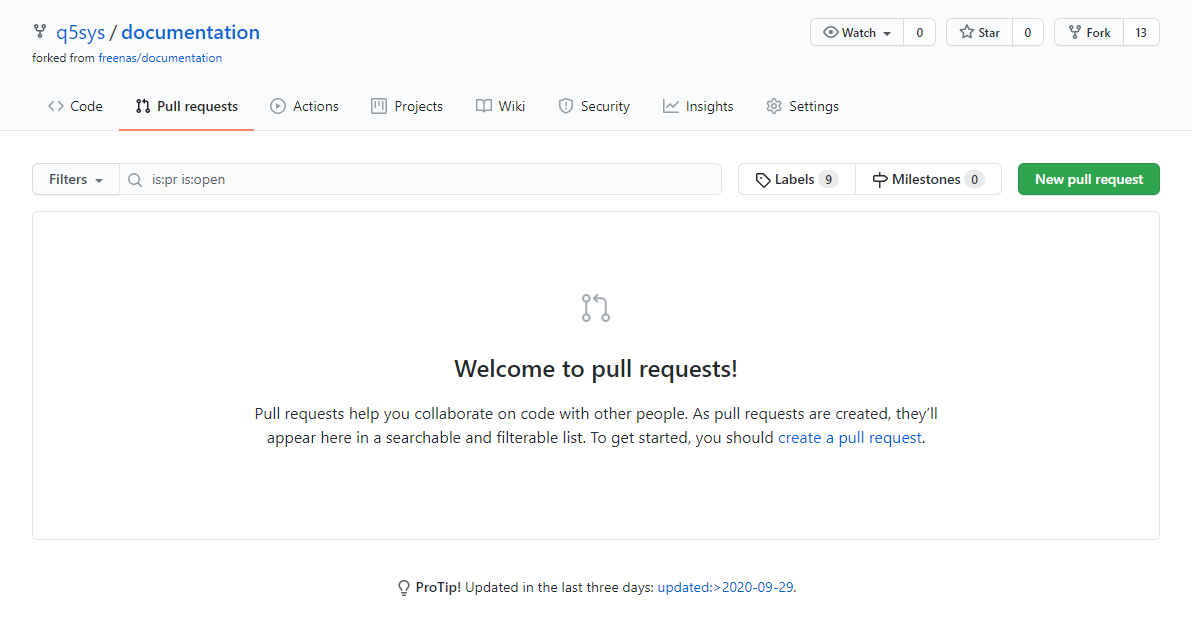
When the page refreshes the changes are complete in your forked repository. Now you can request merging these changes to the main repository using a pull request (PR). Click on Pull Requests.
After the Pull Requests page opens, click the green New Pull Request button.
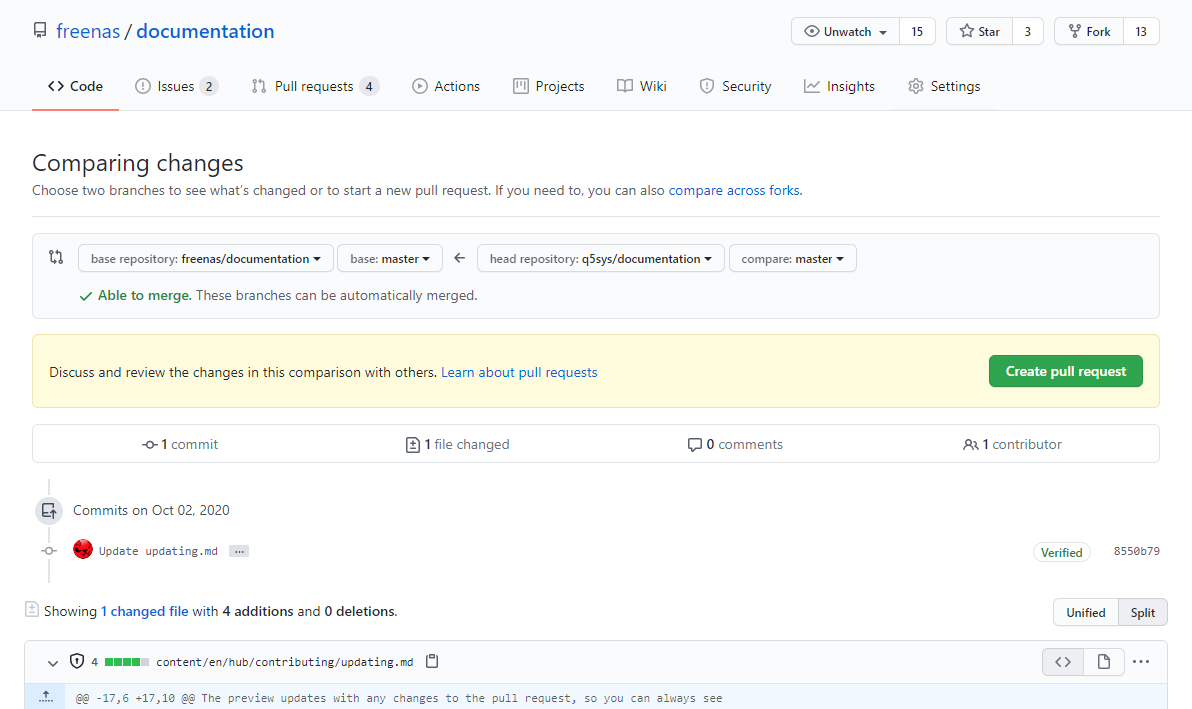
Confirm that the base repository is set to truenas/documentation and base is set to master or the version branch you are changing (i.e., if you are using 24.04, set that as the base). Set head repository to your forked repository, for example, q5sys/documentation. Set compare to master, or the version branch if proposing changes to either of those branches. Ensure these options are correct, then click the green Create pull request button to create the PR.
Describe your changes and click the green Create pull request button.
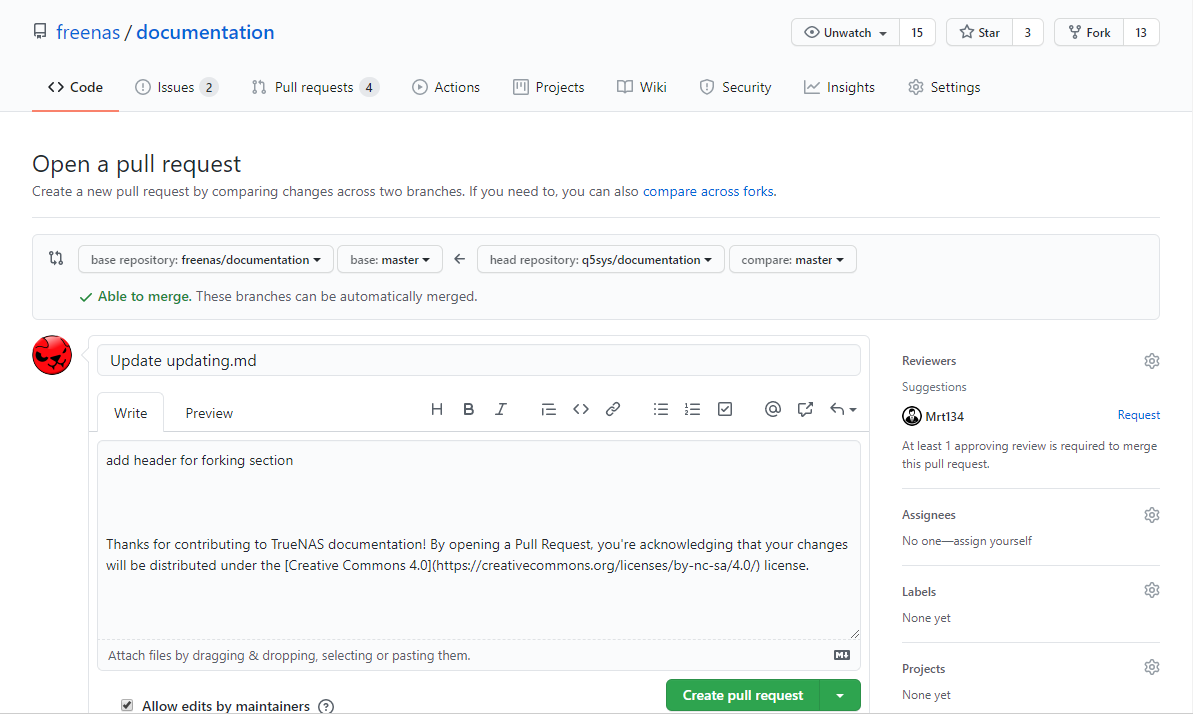
That is it! Other contributors review and merge your changes!
As part of the review process, automation builds a preview of the docs site with your changes. When the build completes, a comment appears in the PR that shows the automation result. Click on Show all checks and Details to see a live demo of the site with your changes.