TrueNAS SCALE Nightly Development Documentation
This content follows experimental early release software. Use the Product and Version selectors above to view content specific to a stable software release.
Using Install Custom App
6 minute read.
Last Modified 2024-04-24 11:56 EDTSCALE includes the ability to run third-party apps in containers (pods) using Kubernetes settings.
Generally, any container that follows the Open Container Initiative specifications can be deployed.
Always read through the documentation page for the application container you are considering installing so that you know all of the settings that you need to configure. To set up a new container image, first, determine if you want the container to use additional TrueNAS datasets. If yes, create a dataset for host volume paths before you click Custom App on the Discover application screen.
Custom Docker applications typically follow Open Container specifications and deploy in TrueNAS following the Custom Application deployment process described below.
If your application requires directory paths, specific datasets, or other storage arrangements, configure these before you start the Install Custom App wizard.
You cannot exit the configuration wizard and save settings to create data storage or directories in the middle of the process. If you are unsure about any configuration settings, review the Install Custom App Screen UI reference article before creating a new container image.
To create directories in a dataset on SCALE, before you begin installing the container, open the TrueNAS SCALE CLI and enter
storage filesystem mkdir path="/PATH/TO/DIRECTORY".
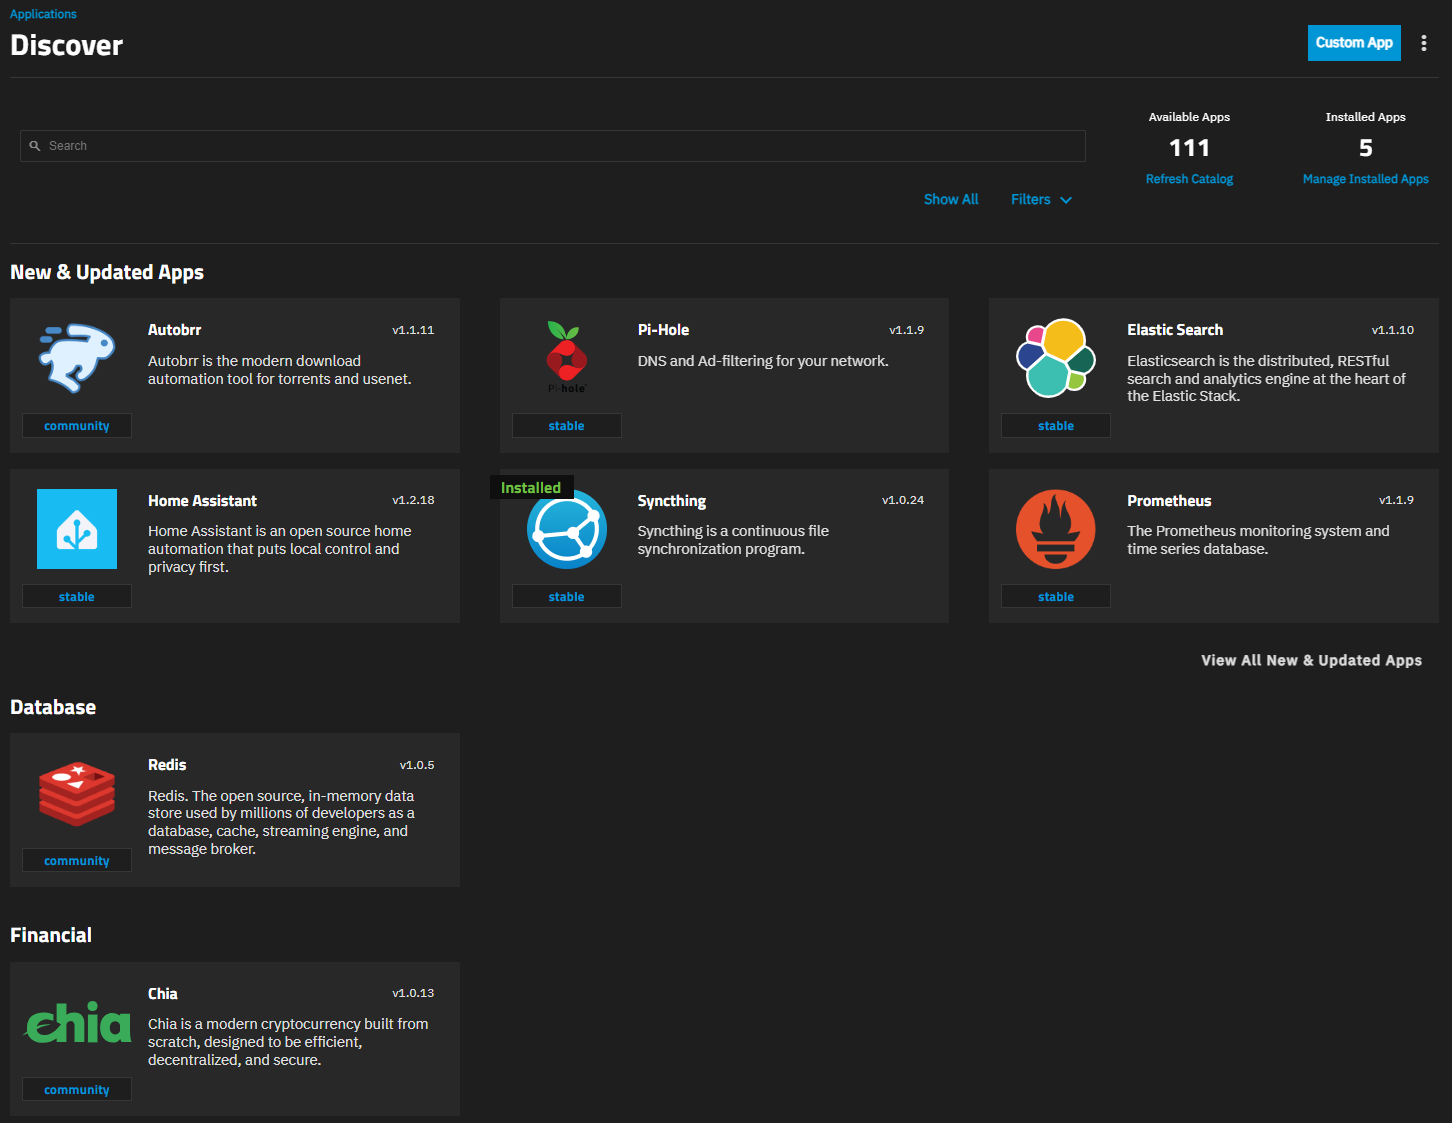
When you are ready to create a container, go to Apps, click Discover Apps, then click Custom App.
Fill in the Application Name and the current version information in Version. Add the GitHub repository URL in Image Repository for the docker container.
Enter the Github repository for the application you want to install in Image Repository. If the application requires it, enter the correct setting values in Image Tag and select the Image Pull Policy to use.
If the application requires it, enter the executables you want or need to run after starting the container in Container Entrypoint. Click Add for Container CMD to add a command. Click Add for Container Arg to add a container argument.
Enter the Container Entrypoint commands and arguments the application requires.
Enter the Container Environment Variables. Not all applications use environment variables. Check the application container documentation for details on what to install and to verify the variables that particular application requires.
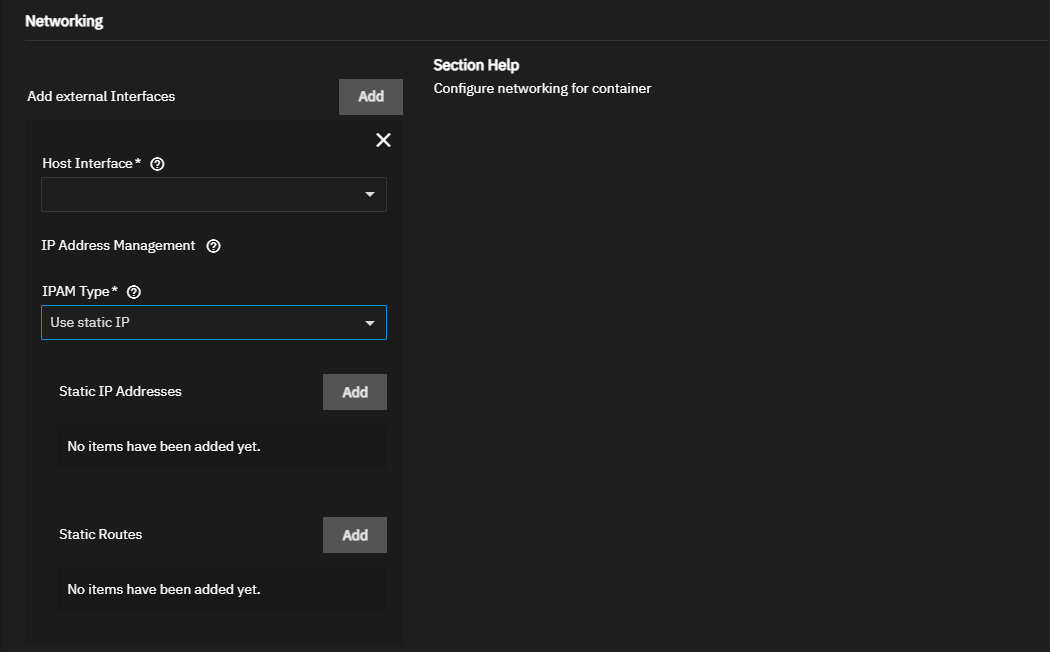
Enter the networking settings.
a. Enter the external network interface to use. Click Add to display the Host Interface and IPAM Type fields required when configuring network settings.
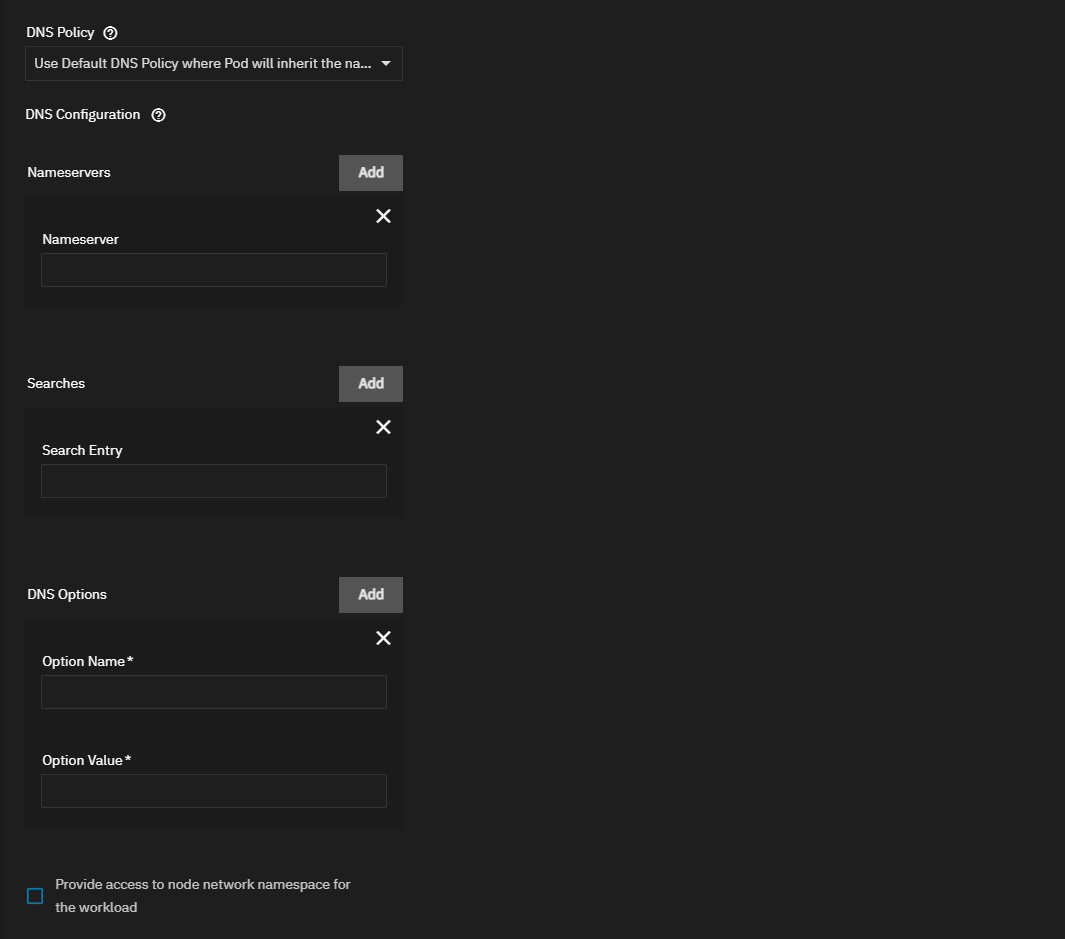
b. Scroll down to select the DNS Policy and enter any DNS configuration settings required for your application.
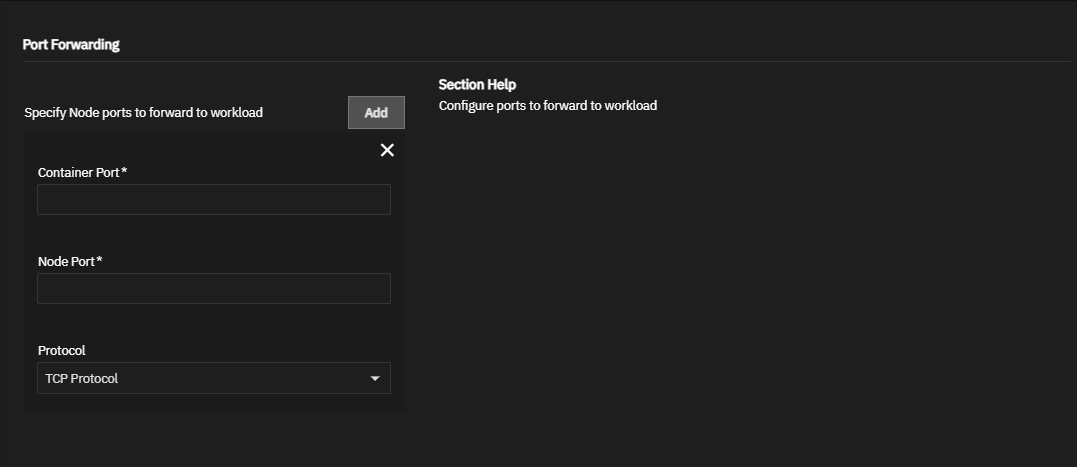
Enter the Port Forwarding settings. Click Add for all ports you need to enter. TrueNAS SCALE requires setting all Node Ports above 9000.
Enter the required Container Port and Node Port settings, and select the protocol for these ports. Repeat for all ports.
Add the Storage settings. Click Add for each application host path. Add any memory-backed or other volumes you want to use.
You can add more volumes to the container later if needed.
Enter any additional settings required for your application, such as workload details or adding container settings for your application.
Select the Update Strategy to use. The default is Kill existing pods before creating new ones.
Set any resource limits you want to impose on this application.
Enter or select any Portal Configuration settings to use.
Click Install to deploy the container. If you correctly configured the app, the widget displays on the Installed Applications screen.
When complete, the container becomes active. If the container does not automatically start, click Start on the widget.
Click on the App card reveals details.
Define any commands and arguments to use for the image. These can override any existing commands stored in the image.
You can also define additional environment variables for the container. Some Docker images can require additional environment variables. Check the documentation for the image you are trying to deploy and add any required variables here.
To use the system IP address for the container, set up Host Networking. TrueNAS does not give the container a separate IP address, and the container port number appends to the end of the system IP address.
Users can create additional network interfaces for the container if needed. Users can also give static IP addresses and routes to a new interface.
By default, containers use the DNS settings from the host system. You can change the DNS policy and define separate nameservers and search domains. See the Kubernetes DNS services documentation for more details.
Choose the protocol and enter port numbers for both the container and node. You can define multiple ports to forward to the workload.
The node port number must be over 9000. Ensure no other containers or system services are using the same port number.
You can mount SCALE storage locations inside the container. To mount SCALE storage, define the path to the system storage and the container internal path for the system storage location to appear. You can also mount the storage as read-only to prevent using the container to change any stored data. For more details, see the Kubernetes hostPath documentation.
Users can create additional Persistent Volumes (PVs) for storage within the container. PVs consume space from the pool chosen for application management. You need to name each new dataset and define a path where that dataset appears inside the container.
To view created container datasets, go to Datasets and expand the dataset tree for the pool you use for applications.
Users developing applications should be mindful that if an application uses Persistent Volume Claims (PVC), those datasets are not mounted on the host and therefore are not accessible within a file browser. Upstream zfs-localpv uses this behavior to manage PVC(s).
If you want to consume or have file browser access to data that is present on the host, set up your custom application to use host path volumes.
Alternatively, you can use the network to copy directories and files to and from the pod using k3s kubectl commands.
To copy from a pod in a specific container:
k3s kubectl cp <file-spec-src> <file-spec-dest> -c <specific-container>
To copy a local file to the remote pod:
k3s kubectl cp /tmp/foo <some-namespace>/<some-pod>:/tmp/bar
To copy a remote pod file locally:
k3s kubectl cp <some-namespace>/<some-pod>:/tmp/foo /tmp/bar


