TrueNAS SCALETrueNAS SCALE Nightly Development Documentation
This content follows experimental early release software. Use the Product and Version selectors above to view content specific to a stable software release.

Logging Into SCALE the First Time

Now that you have installed TrueNAS SCALE or migrated from TrueNAS CORE to SCALE, you can log into the SCALE web user interface (UI) to complete your initial system configuration and begin managing data!

Use only the web user interface (UI) to make configuration changes to the system. By default, using the LINUX shell command-line interface (CLI) to modify the system does not modify the settings database. After a system restart, changes made in the CLI revert to the original database settings, wiping away any user-made command line changes.

Web Interface Access

TrueNAS automatically creates several ways to access the UI, but you might need to adjust the default settings for your network environment.

By default, a fresh install of TrueNAS SCALE provides a default address for logging in to the web interface. To view the web interface IP address or reconfigure web interface access, either connect a monitor and keyboard to your TrueNAS system or connect with IPMI for out-of-band system management.

When powering on a TrueNAS system, the system attempts to connect to a DHCP server from all live interfaces to access the web UI. On networks that support Multicast Domain Name Services (mDNS), the system can use a host name and domain to access the TrueNAS web interface. By default, TrueNAS uses the host name and domain truenas.local. To change the host name and domain in the web interface, go to Network and click Settings on the Global Configuration widget.

To access the web interface using an IP address, either use the DHCP-assigned IP address displayed at the top of the Console Setup menu after installing SCALE or use the static IP address you assigned using the Console Setup menu.

TrueNAS Enterprise

SCALE Enterprise (HA) systems have specific network configuration requirements. Installing TrueNAS SCALE on High Availability (HA) systems and configuring networking is complicated and should be guided by Enterprise-level support. Contact iXsystems Support for assistance whenever attempting to install TrueNAS SCALE on Enterprise HA hardware or configure network settings.

Refer to the Preparing for SCALE UI Configuration (Enterprise) and Installing SCALE Enterprise (HA) for information on installing HA system and configuring networking.

Contacting Support

Customers who purchase iXsystems hardware or that want additional support must have a support contract to use iXsystems Support Services. The TrueNAS Community forums provides free support for users without an iXsystems Support contract.

Contact MethodContact Options
Webhttps://support.ixsystems.com
Emailsupport@ixsystems.com
TelephoneMonday - Friday, 6:00AM to 6:00PM Pacific Standard Time:

US-only toll-free: 1-855-473-7449 option 2
Local and international: 1-408-943-4100 option 2
TelephoneAfter Hours (24x7 Gold Level Support only):

US-only toll-free: 1-855-499-5131
International: 1-408-878-3140 (international calling
rates apply)

Logging Into the SCALE UI

Use a computer with access to the same network as the TrueNAS system. Enter the host name and domain or IP address assigned to the primary network interface in a web browser to connect to the SCALE web interface.

The browser used to access the SCALE UI can impact the quality of your user experience. We generally recommend using Firefox, Edge, or Chrome.

Starting with SCALE Bluefin 22.12.0, root account logins are deprecated for security hardening and to comply with Federal Information Processing Standards (FIPS). All TrueNAS users should create a local administrator account with all required permissions and begin using it to access TrueNAS. When the root user password is disabled, only an administrative user account can log in to the TrueNAS web interface.

TrueNAS SCALE plans to permanently disable root account access in a future release.

With the implementation of administrator accounts, the root user is no longer the default administrator username.

Based on the method used to install SCALE, you can be presented with different first-time login scenarios, each described below.

Clean Installing SCALE

When installing SCALE from an iso file, and based on the authentication method selected in step 4 of the SCALE TrueNAS installer process, you can see a different sign-in screen for the web UI and need to use different login credentials.

  • Selecting 1. Administrative user (admin) opens the standard SCALE sign-in screen where you enter the new admin username and password created during installation. The root user password is disabled by default. We recommend this option, as it creates the required administrative user and disables the root user password, and which brings the system into compliance with FIPS security hardening standards.

    The root user still exists but with the password disabled by default, which means only the admin user can log into the system. You can activate the password for the root user for some limited uses, but you should return to a security-hardened operation by disabling the root password immediately after you finish with the limited use.

  • Selecting 2. Root user (not recommended) opens the standard SCALE sign-in screen where you enter the root username and the root password created during installation.

    After logging in with the root user credentials, you must immediately create the admin user account and then disable the root user password to comply with FIPS security hardening standards.

    The root user still exists but with the password disabled by default. This means only an administrative user can log into the system.

    You can activate the password for the root user for some limited uses, but you should return to a security-hardened operation by disabling the root password immediately after you finish with the limited use.

  • Selecting 3. Configure using Web UI opens a SCALE sign-in screen with two options. Select the option to either create the admin or root user and password.

    If creating and logging in as the admin user, after logging in you must immediately disable the root user password to comply with FIPS security hardening standards.

    If creating and logging in as the root user, after logging in you must create the admin user and then immediately disable the root user password to comply with FIPS security hardening standards. The root user still exists but with the password disabled by default, which means only the admin user can log into the system. You can activate the password for the root user for some limited uses, but you should return to a security-hardened operation by disabling the root password immediately after you finish with the limited use.

Upgrading from SCALE Early Releases

Early releases of SCALE (Angelfish and pre-22.12.3 Bluefin release) use the root user credentials to log into the system. After upgrading from an earlier release, use the existing root user credentials to log into SCALE.

After logging in with the root user credentials, you must immediately create the admin user account and then disable the root user password to comply with FIPS security hardening standards.

The root user still exists but with the password disabled by default. This means only an administrative user can log into the system.

You can activate the password for the root user for some limited uses, but you should return to a security-hardened operation by disabling the root password immediately after you finish with the limited use.

Migrating/Upgrading from CORE to SCALE
TrueNAS Enterprise
Customers with a TrueNAS Enterprise High Availability (HA) system should review Migration Preparation, Enterprise HA Migrations, and consult with iXsystems Support prior to migrating from TrueNAS CORE to SCALE.
For non-HA systems, there are two possible scenarios when migrating from CORE to SCALE:
  • Clean installing SCALE using the iso file and then uploading the CORE configuration file.
  • Using the CORE Update UI option to upgrade to SCALE.

If performing a clean install using the SCALE iso file, after installing SCALE and uploading the CORE configuration file, your SCALE network settings get overwritten by the CORE config file uploaded so you cannot use the new IP address and admin user to access to the web UI. Use the CORE IP address and root credentials to access the UI. See Migrating CORE to SCALE for instructions on recovering the new network settings and access to the UI, and recreating the administrator account.

If using the CORE Update UI option, log into SCALE with the CORE root user credentials.

After logging in with the root user credentials, you must immediately create the admin user account and then disable the root user password to comply with FIPS security hardening standards.

The root user still exists but with the password disabled by default. This means only an administrative user can log into the system.

You can activate the password for the root user for some limited uses, but you should return to a security-hardened operation by disabling the root password immediately after you finish with the limited use.

Logging In as Admin

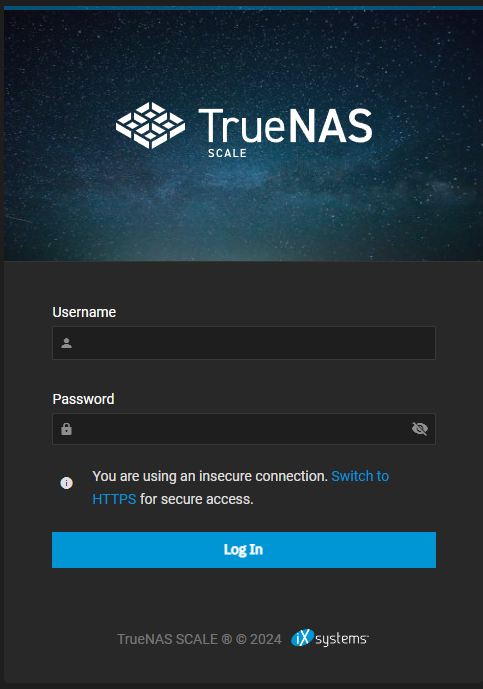
After setting up the admin user from one of the scenarios documented above, enter admin and the password to log into SCALE.

TrueNAS SCALE Login Screen
Figure 1: TrueNAS SCALE Login Screen

To modify user credentials, go to Credentials > Local Users, click anywhere on the user row, then click Edit. For more information, see Managing Users.

Logging In as Root

If logging in with the root user credentials, enter root as the user and the root password.

After logging in with the root user credentials, you must immediately create the admin user account and then disable the root user password to comply with FIPS security hardening standards.

The root user still exists but with the password disabled by default. This means only an administrative user can log into the system.

You can activate the password for the root user for some limited uses, but you should return to a security-hardened operation by disabling the root password immediately after you finish with the limited use.

Follow the directions in Managing Users to create an admin user with all required settings.

Creating an Administrator Account at First Log in

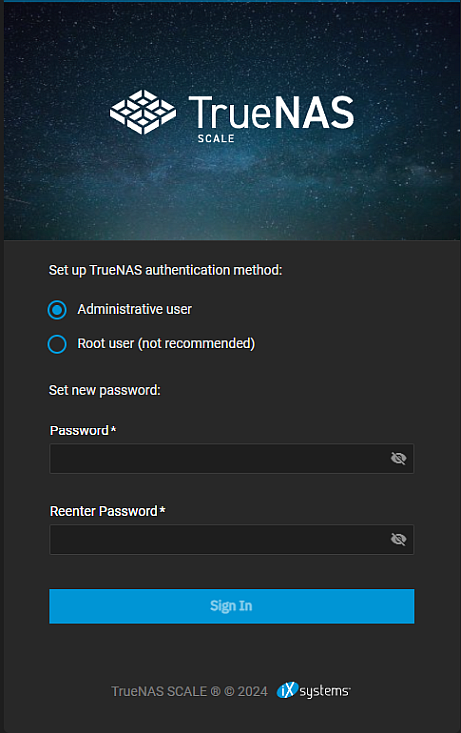
If you selected the SCALE installation option 3. Configure using Web UI, the sign-in screen shows two authentication methods. One allows you to log in as root or you can create the administration account.

SCALE Login Set Up Authentication Method
Figure 2: SCALE Login Set Up Authentication Method

Select either the Administrative user or Root user (not recommended) option, then enter the password to use with that user.

If you choose Root user (not recommended) as the TrueNAS authentication method, go to the Credentials > Local Users screen and create the admin account immediately after you enter the UI. Enter the admin user name and password, make sure the password is enabled, and click Save. After setting up the admin user, click on the root user and then click Edit. Disable the root user password and then click Save. This brings the system into compliance with FIPS system security-hardening standards.

Troubleshooting Accessing the Web UI

If you cannot remember the administrator password to log in to the web interface, connect a keyboard and mouse to the TrueNAS system and open the Console Setup menu to reset the admin account password.

UI is not accessible by IP address

If the user interface is not accessible by IP address from a browser, check the following:

  • If the browser configuration has proxy settings enabled, disable them and try connecting again.

  • If the page does not load, ensure a ping reaches the TrueNAS system IP address. If the IP address is in a private range, you must access it from within that private network.

UI displays but seems unresponsive

If the web interface displays but seems unresponsive or incomplete:

  • Make sure the browser allows cookies, Javascript, and custom fonts from the TrueNAS system.

  • Try a different browser. We recommend Firefox, Edge, or Chrome.

If the UI becomes unresponsive after an upgrade or other system operation, clear the site data and refresh the browser (Shift+F5).

Introducing the Main SCALE Dashboard

Dashboard Video Tutorial

(Video URL: https://www.truenas.com/docs/files/scaledashboardtour.mp4)

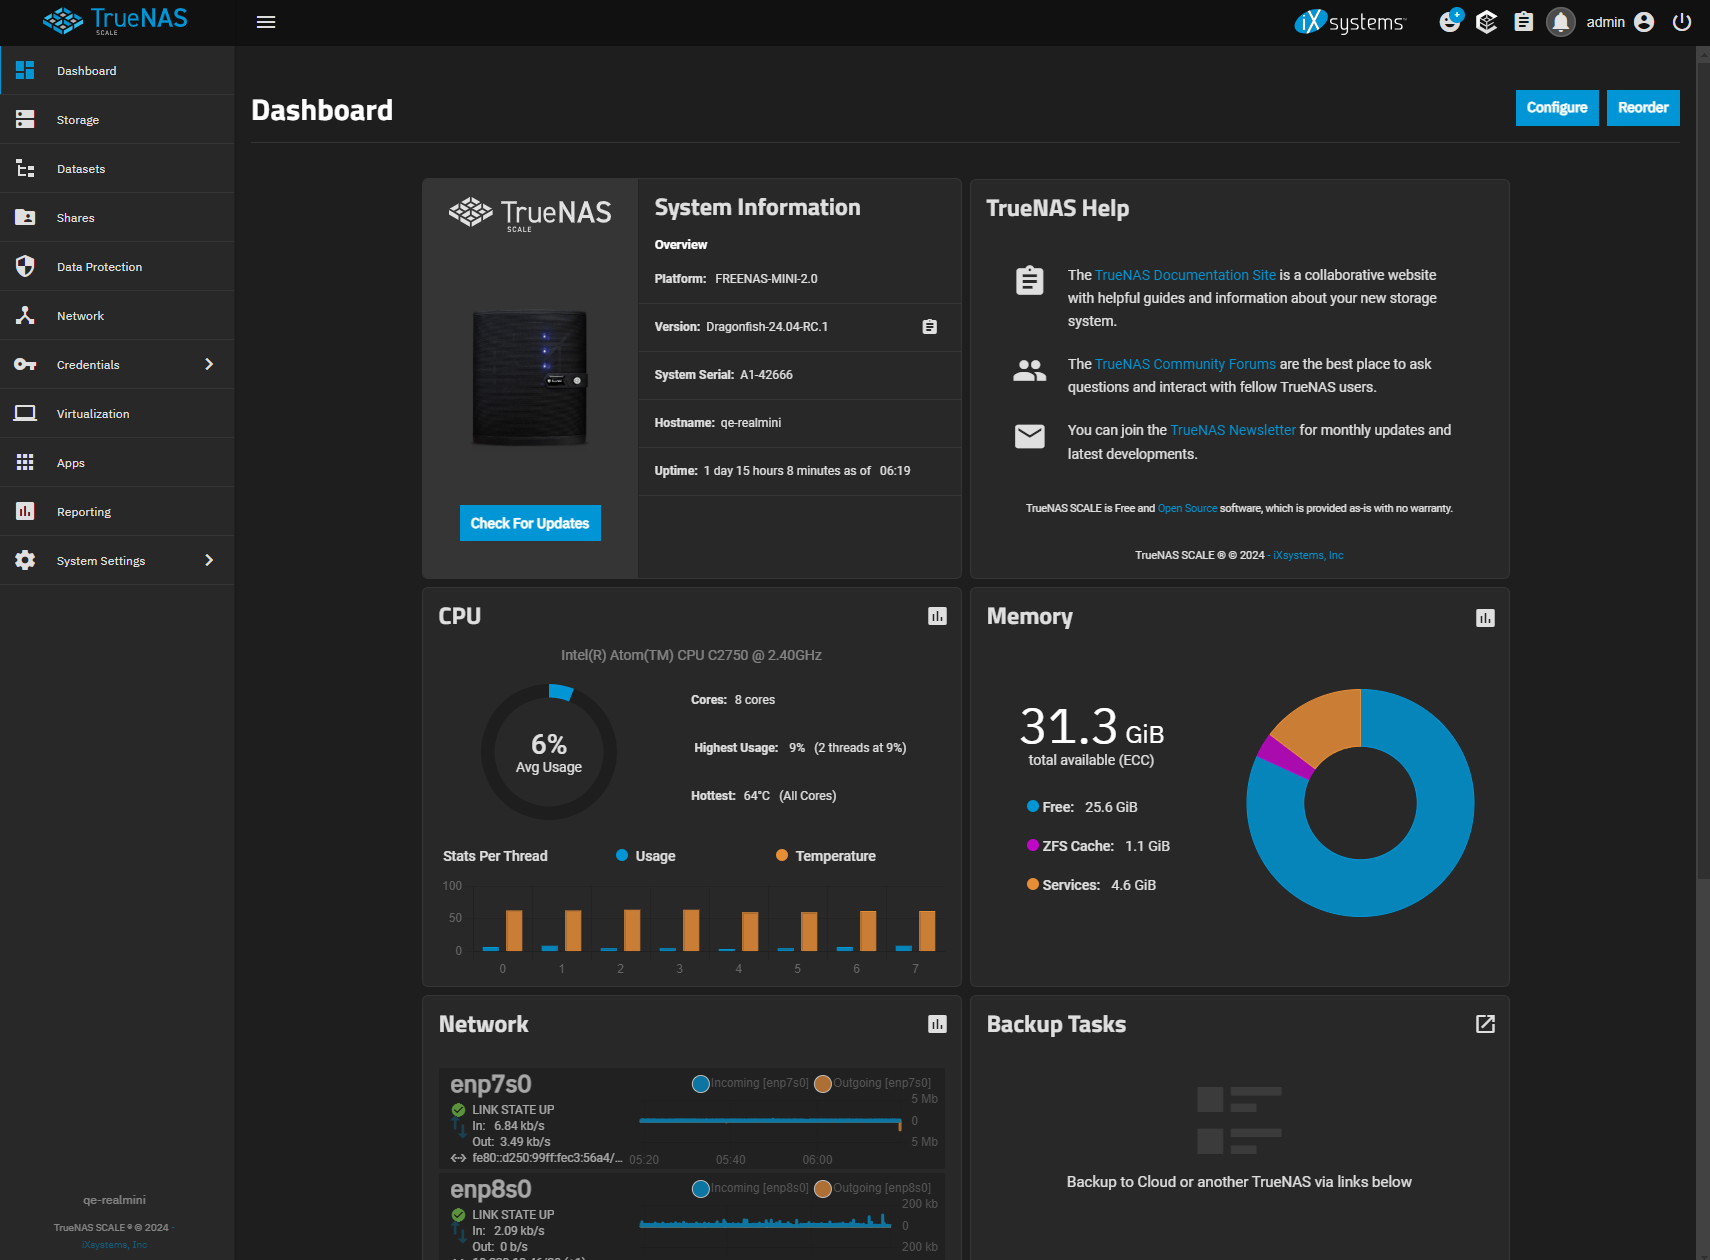
After logging in for the first time, the main system Dashboard screen displays. The Dashboard shows different system information cards (widgets) with basic information about the installed version, systems component usage, network traffic, and configured pools or storage usage.

TrueNAS Enterprise

SCALE Enterprise users with an iXsystems-provided TrueNAS server also see an image of the system in the System Information widget. Click on the system image to open the System Settings > View Enclosure screen.

The Dashboard for non-Enterprise systems displays the TrueNAS SCALE logo on the System Information widget.

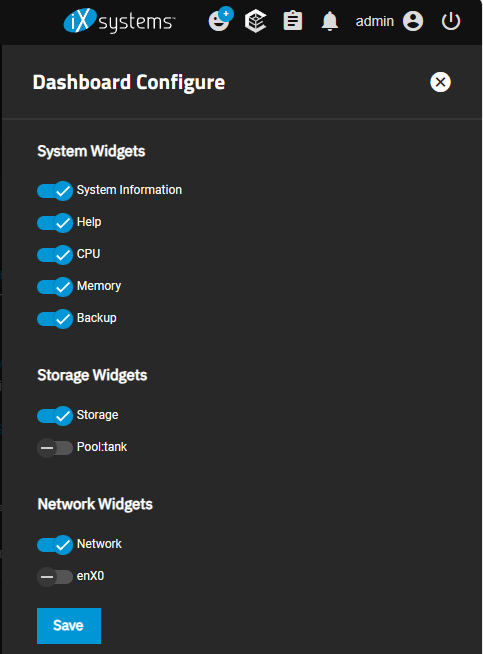
You can reorder dashboard widgets by clicking Reorder and then dragging them into your preferred order. You can also choose which widgets appear on the dashboard by clicking Configure.

Dashboard Configure Panel
Figure 4: Dashboard Configure Panel

Introducing SCALE Navigation Options

The top row (toolbar) has links to outside resources and buttons to control the system. The left-hand panel lists the main feature and functional areas and lets users navigate to the various TrueNAS configuration screens.

Top Toolbar

The SCALE top navigation top toolbar provides access to functional areas of the UI that you might want to directly access while on other screens in the UI. Icon buttons provide quick access to dropdown lists of options, dropdown panels with information on system alerts or tasks, and can include access to other information or configuration screens. It also shows the name of admin user currently logged into the system to the left of the Settings and Power icons.

You can also collapse or expand the main function menu on the left side of the screen.

iXsystems

The iXsystems logo opens the iXsystems home page where users can find information about iXsystems storage and server systems.

Users can also use the iXsystems home page to access their customer portal and the community section for support.

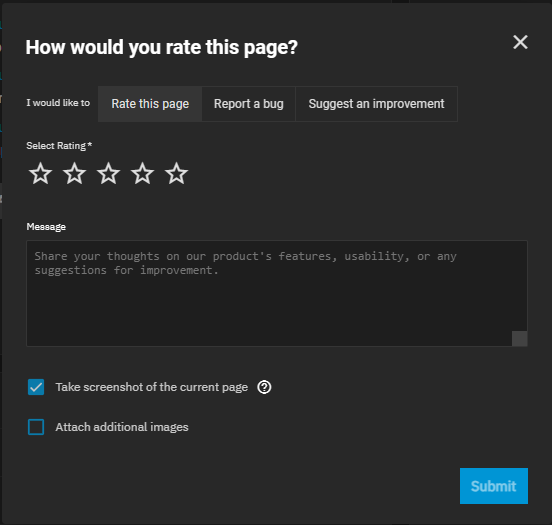
How would you rate this page?

The How would you rate this page? FeedbackIcon icon opens a feedback window. Alternately, go to System Settings > General, find the Support widget, and click File Ticket to see the feedback window.

The feedback window allows users to send page ratings, comments, and report issues or suggest improvements directly to the TrueNAS development team. Submitting a bug report or improvement suggestion requires a free Atlassian account.

Click between the different tabs at the top of the window to see different options for your specific feedback.

Rate this page Use the Rate this page tab to quickly review and provide comments on the currently active TrueNAS user interface screen. You can include a screenshot of the current page and/or upload additional images with your comments.

Report a bug or Suggest an improvement

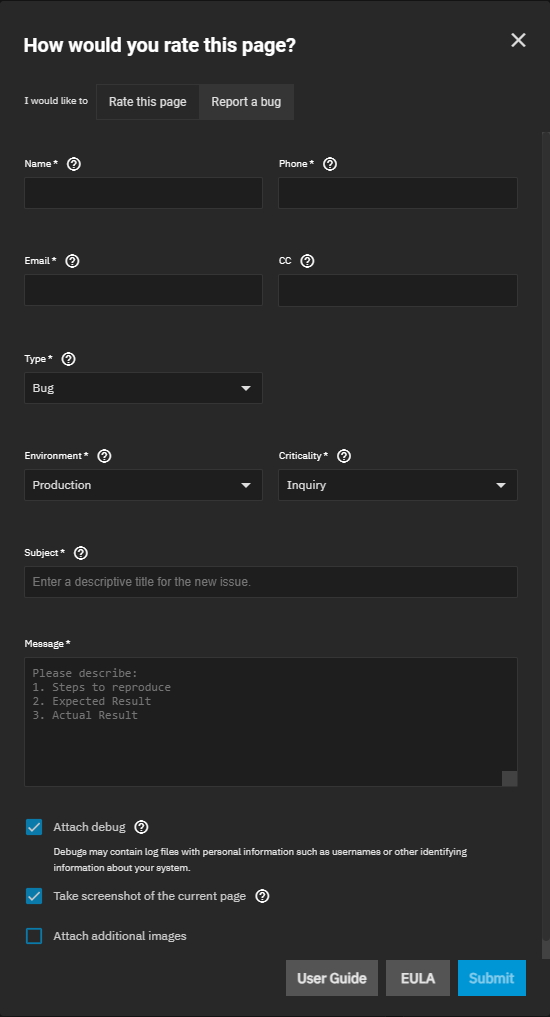
Use the Report a bug or Suggest an improvement tabs to notify the development team when a TrueNAS screen or feature is either not working as intended or can be evolved with new functionality. For example, report a bug when a middleware error and traceback appears while saving a configuration change or enter an improvement suggestion when a feature can be configured in fewer clicks.

Both bug reports and improvement suggestions are created in the publicly-visible TrueNAS Jira project and have the same reporting fields.

Enter a descriptive summary in the Subject. TrueNAS can show a list of existing Jira tickets with similar summaries. When there is an existing ticket about the issue, consider clicking on that ticket and leaving a comment instead of creating a new one. Duplicate tickets are closed in favor of consolidating feedback into one report.

Enter details about the issue in the Message. Keep the details concise and focused on how to reproduce the issue, what the expected result of the action is, and what the actual result of the action was. This helps ensure a speedy ticket resolution. Include system debug and screenshot files to also speed up the issue resolution.

Bug Reports from Enterprise Licensed Systems
TrueNAS Enterprise

When an Enterprise license is applied to the system, the Feedback window has a single Report a bug tab for sending bug reports directly to iXsystems.

Filling out the entire form with precise details and accurate contact information ensures a prompt response from the iXsystems Customer Support team.

Status of TrueCommand

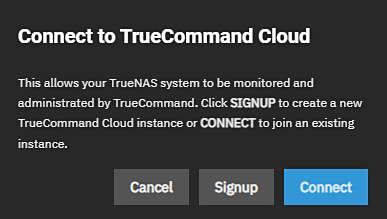
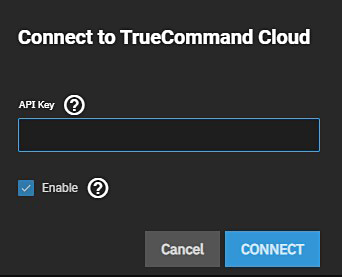
The Status of TrueCommand TrueCommandIcon icon lets users sign up with and connect to TrueCommand Cloud.

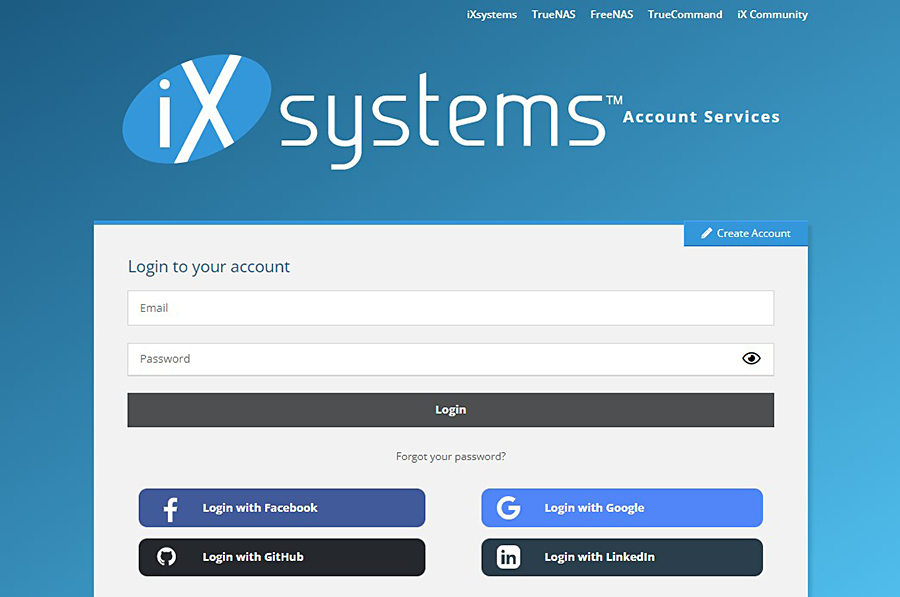
Clicking Signup opens the TrueCommand sign-up page in a new tab.

After users sign up, they can click the Connect button and enter their API key to connect SCALE to TrueCommand Cloud.

TrueNAS displays a message telling users to check their email for verification instructions.

Directory Services Monitor

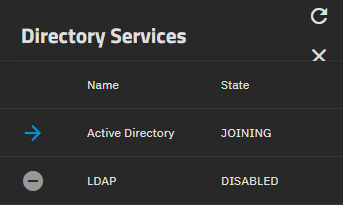
The Directory Services Monitor info icon button displays the status of Active Directory and LDAP services.

Click on either service to go to its configuration screen.

Jobs

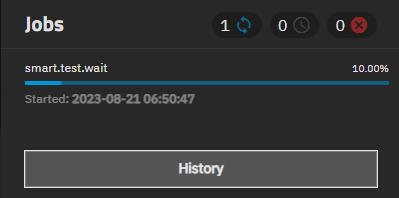
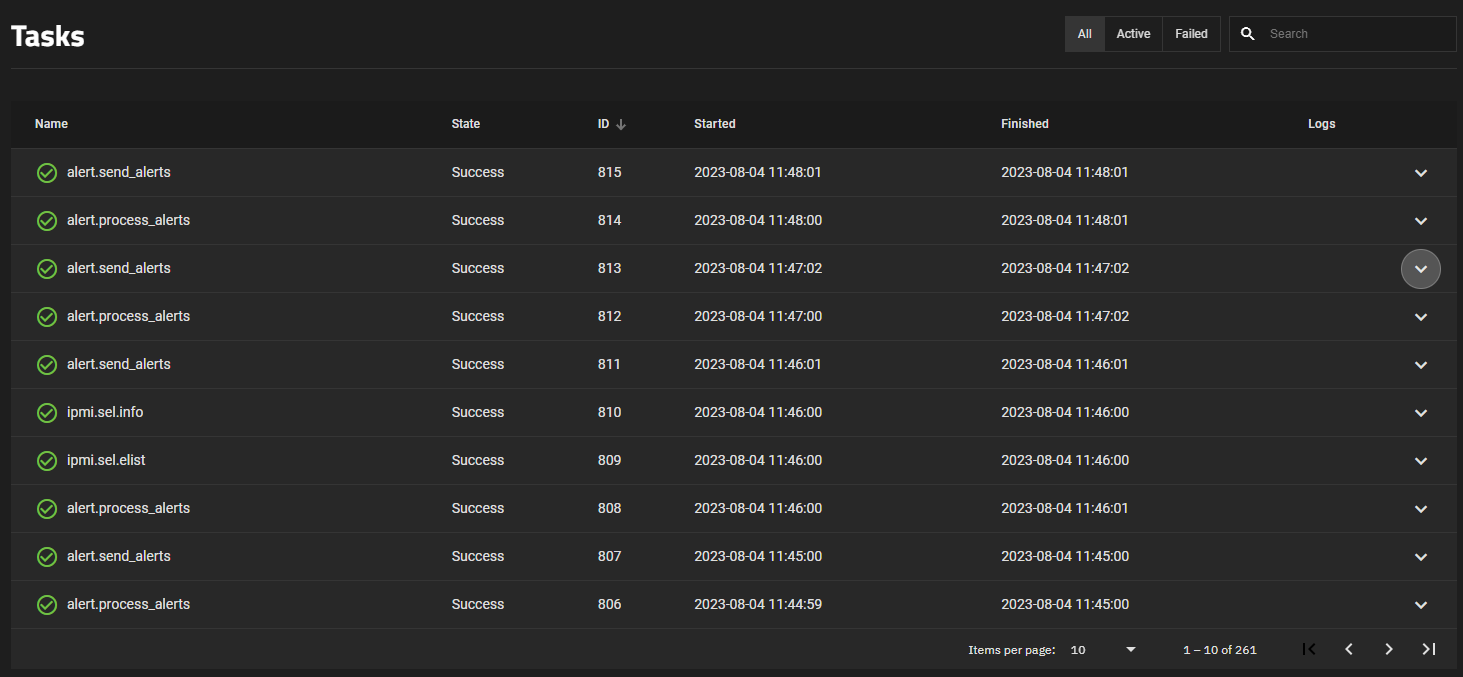
The Jobs assignment icon button displays all running and failed jobs/processes. Users can see minimized jobs/processes here.

Users can minimize a job/process by clicking the minus (-) at the top right corner of any dialog or pop-up window.

Click on a running task to display a dialog for that running task.

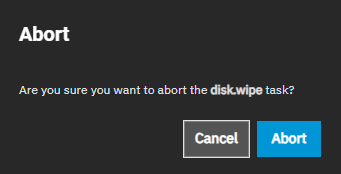
You can abort active jobs (for example, wiping a disk) by clicking the white circled X next to the active job.

Click on History to open the Tasks screen with lists of all successful, active, and failed jobs. Click on the All, Active, or Failed button at the top of the screen to show the log of jobs that fit that classification.

Click View next to a task to see the log information and error message for that task.

For more information, see Tasks Screens.

Alerts

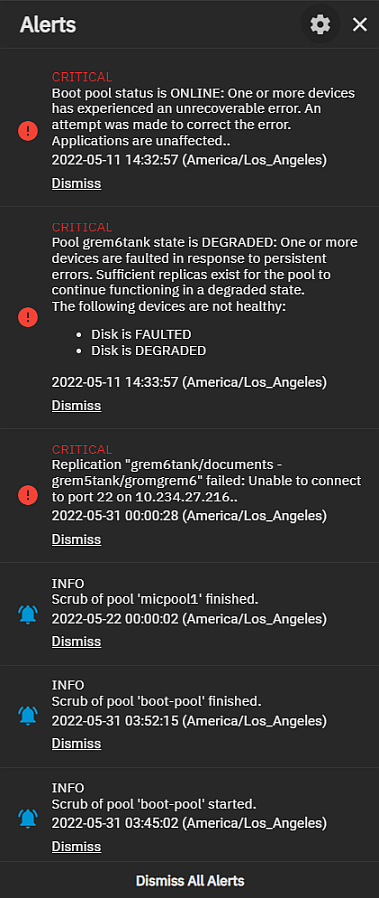
The Alerts notifications icon displays a list of current alert notifications. To remove an alert notification click Dismiss below it or use Dismiss All Alerts to remove all notifications from the list.

Use the settings icon to display the Alerts dropdown list with two options: Alert Settings and Email.

Select Alert Settings to add or edit existing system alert services and configure alert options such as the warning level and frequency and how the system notifies you. See Alerts Settings Screens for more information.

TrueNAS Enterprise
The Alert Settings Screens article includes information about the SCALE Enterprise high availability (HA) alert settings.

Select Email to configure the method for the system to send email reports and alerts. See Setting Up System Email for information about configuring the system email service and alert emails.

Settings

The Settings account_circle icon opens a dropdown list of options for passwords, API keys, and TrueNAS information.

Change Password

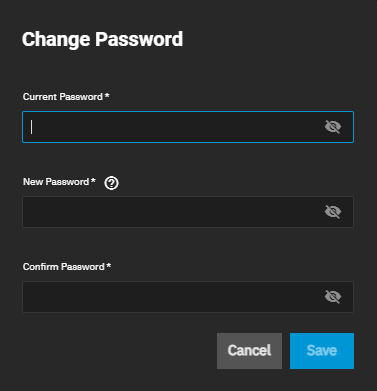
Click on the Change Password dialpad icon button to display the change password dialog where you can enter a new password for the currently logged-in user.

Click on the visibility_off icon to display entered passwords. To stop displaying the password, click on the visibility icon.

API Keys

Click on API Keys laptop to add an API key. API keys identify an outside resource or application without a principal. For example, when adding a new system to TrueCommand if you are required to add an API key to authenticate the system. Use this function to create an API key for this purpose.

Click API Docs to access the API documentation portal with information on TrueNAS SCALE API commands.

See API Keys for more information on adding or managing API keys.

Guide and About

Click on Guide library_books to open the TrueNAS Documentation Hub in a new tab.

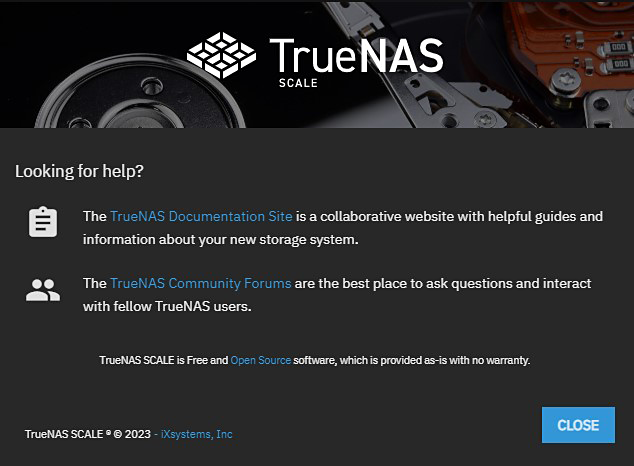
Click on About to display the information window with links to the TrueNAS Documentation Hub, TrueNAS Community Forums, FreeNAS Open Source Storage Appliance GitHub repository, and iXsystems home page.

Power Options

Click the Power power_settings_new button to open the dropdown list of power options. Options are Log Out which logs you out of the SCALE UI but does not power off the system, Restart which logs you out of the SCALE UI and restarts the server, or Shut Down which logs you out of the SCALE UI and powers off the system as though you pressed the power button on the physical server.

With the implementation of administrator roles, the power options displayed could be locked based on the level of privileges for the administrator role. The local administrator has access to all three power options. The Read-Only and Sharing Manager admin roles only have access to the Log Out option. The other power options display with a lock icon indicating the function is not permitted.

Managing Sessions

To monitor and manage all active sessions, go to System Settings > Advanced and locate the Access widget.

Next Steps

With access to the TrueNAS SCALE web interface and all the management options, you can begin configuring your system!